Return to Imperial Shadow: Continental Challenge High-Score Strategies
Author(Source): 2026-04-29 17:49:46
In the Continental Challenge, Travelers must build lineups with various heroes to challenge up to 6 Bosses. This guide offers team compositions suitable for each Boss, providing a strategic reference for Travelers.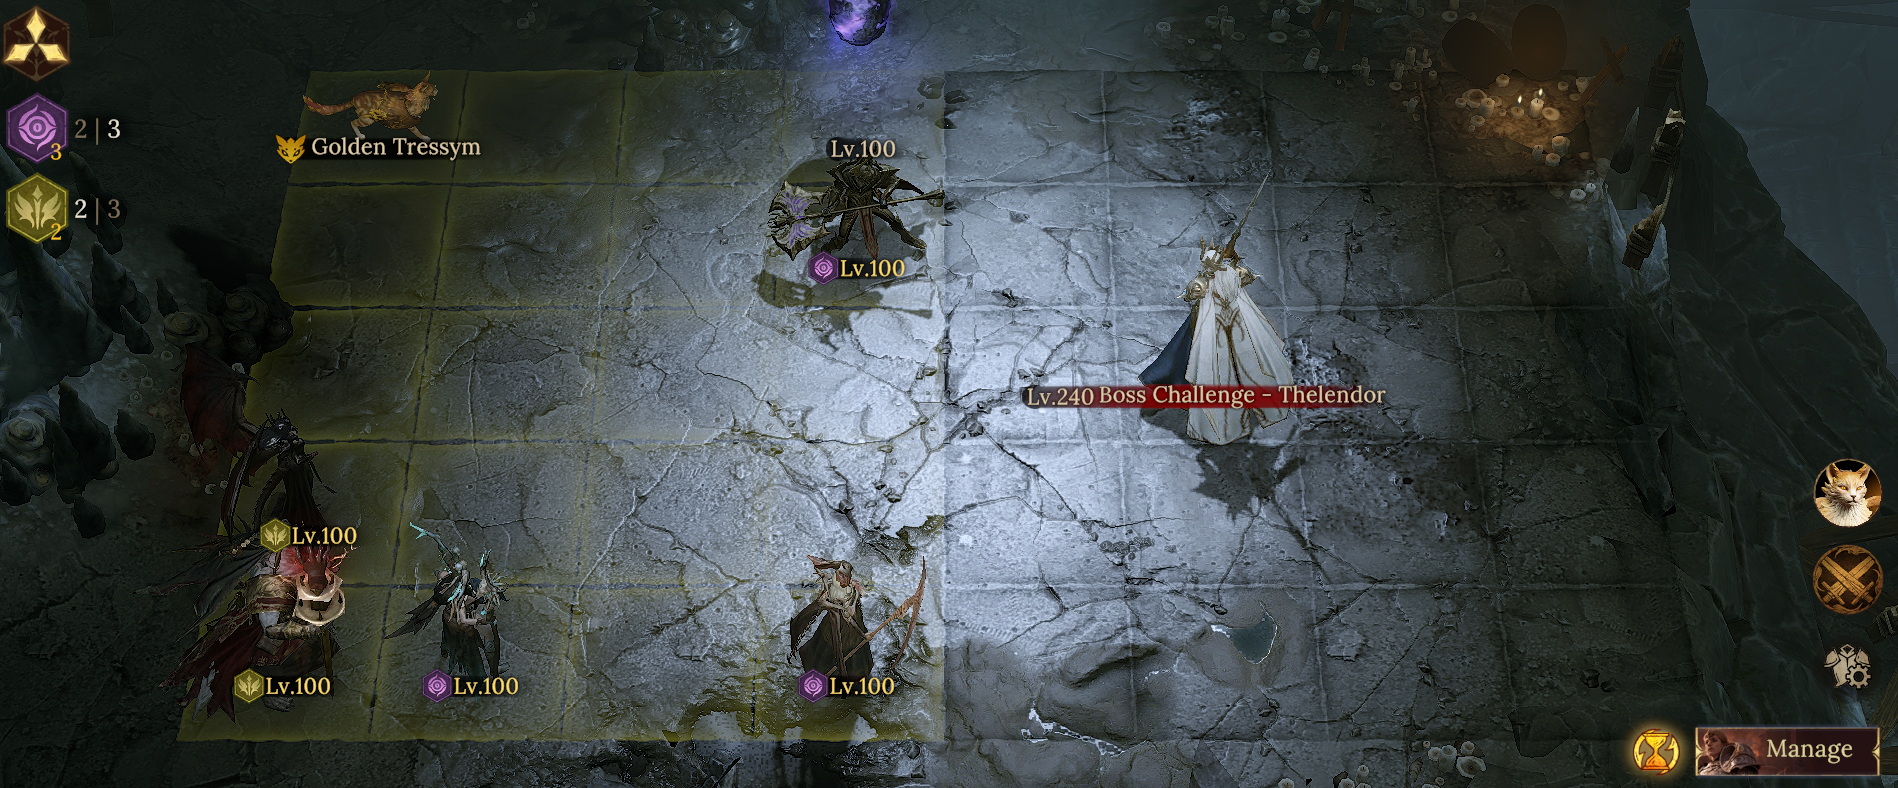
● Team Aura / Familiar
Pair Irzillas's Attack Aura with the Tressym Familiar to maximize the team's damage output.
● Skill Timing Guide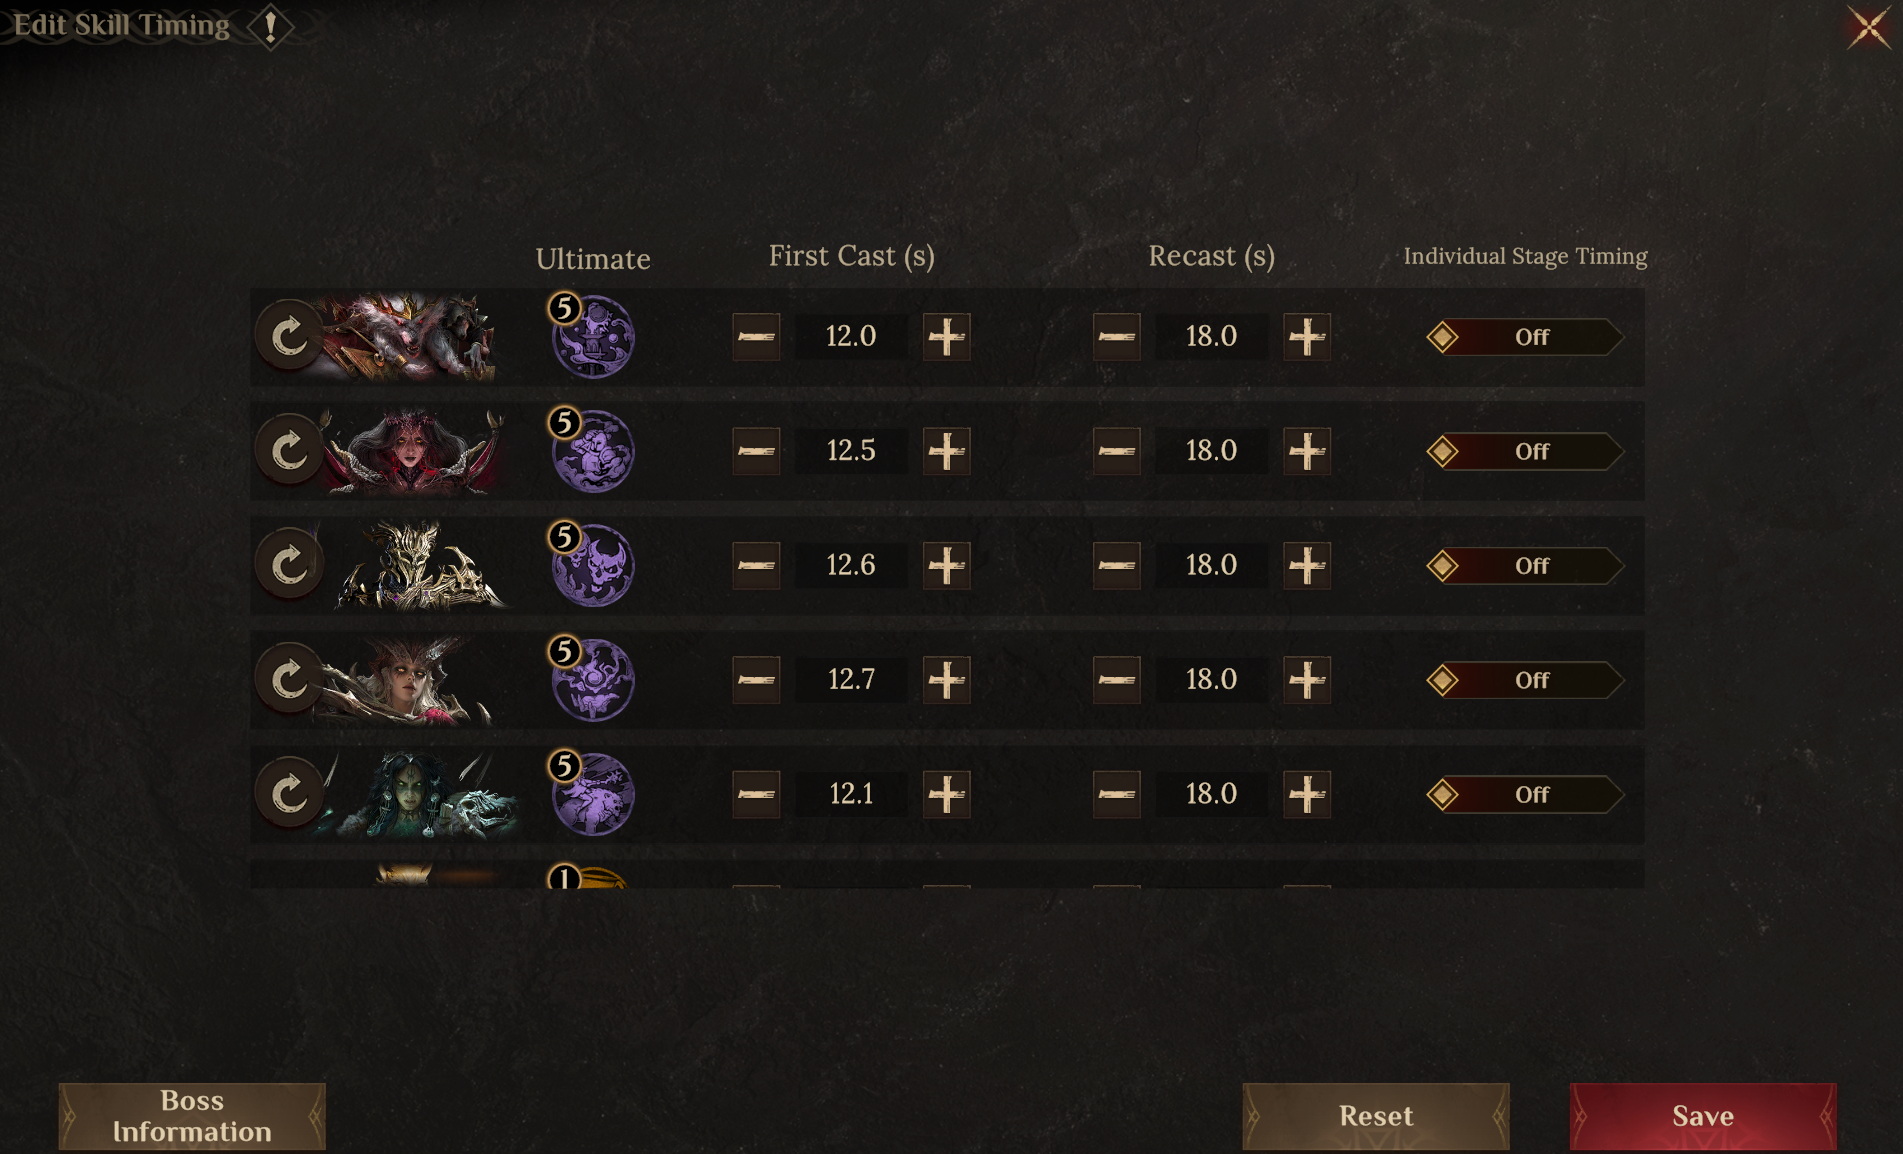 ● Important Notes
1. If you don't have Ethyreis or the Dark Lady, you can use Torrin or Felosia as replacements, but the team's damage output will be lower.
2. The Boss's skills attack random targets, so if Lelwanis dies too early, your total damage will be low. We recommend you try multiple runs until you achieve a satisfactory result.
● Hero Substitutions
The Dark Lady: Skill Haste > 40 and Accuracy > 260. For other stats, focus on stacking Attack and HP.
For Ethyreis, primarily stack Enlightenment and Skill Haste, then HP and Defense.
Irzillas and Bernade should both focus on stacking HP and Defense.
● Gear Reference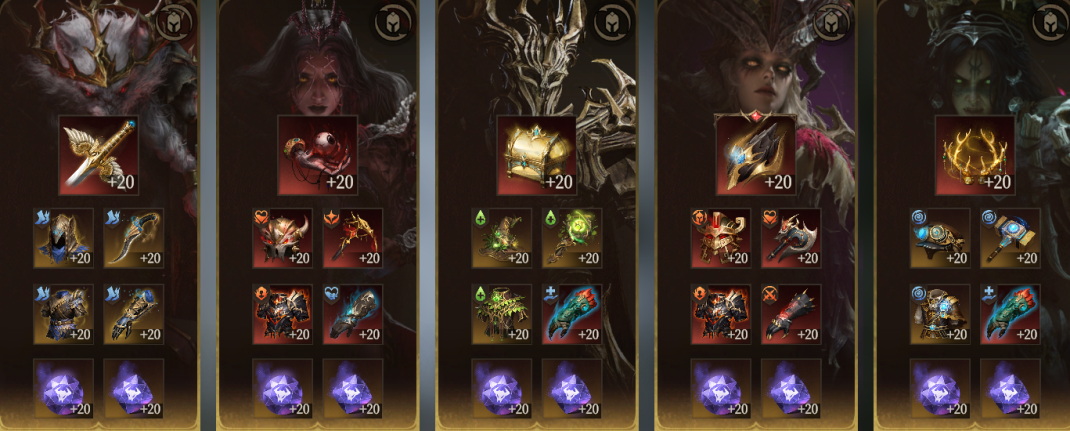 ● Talent Reference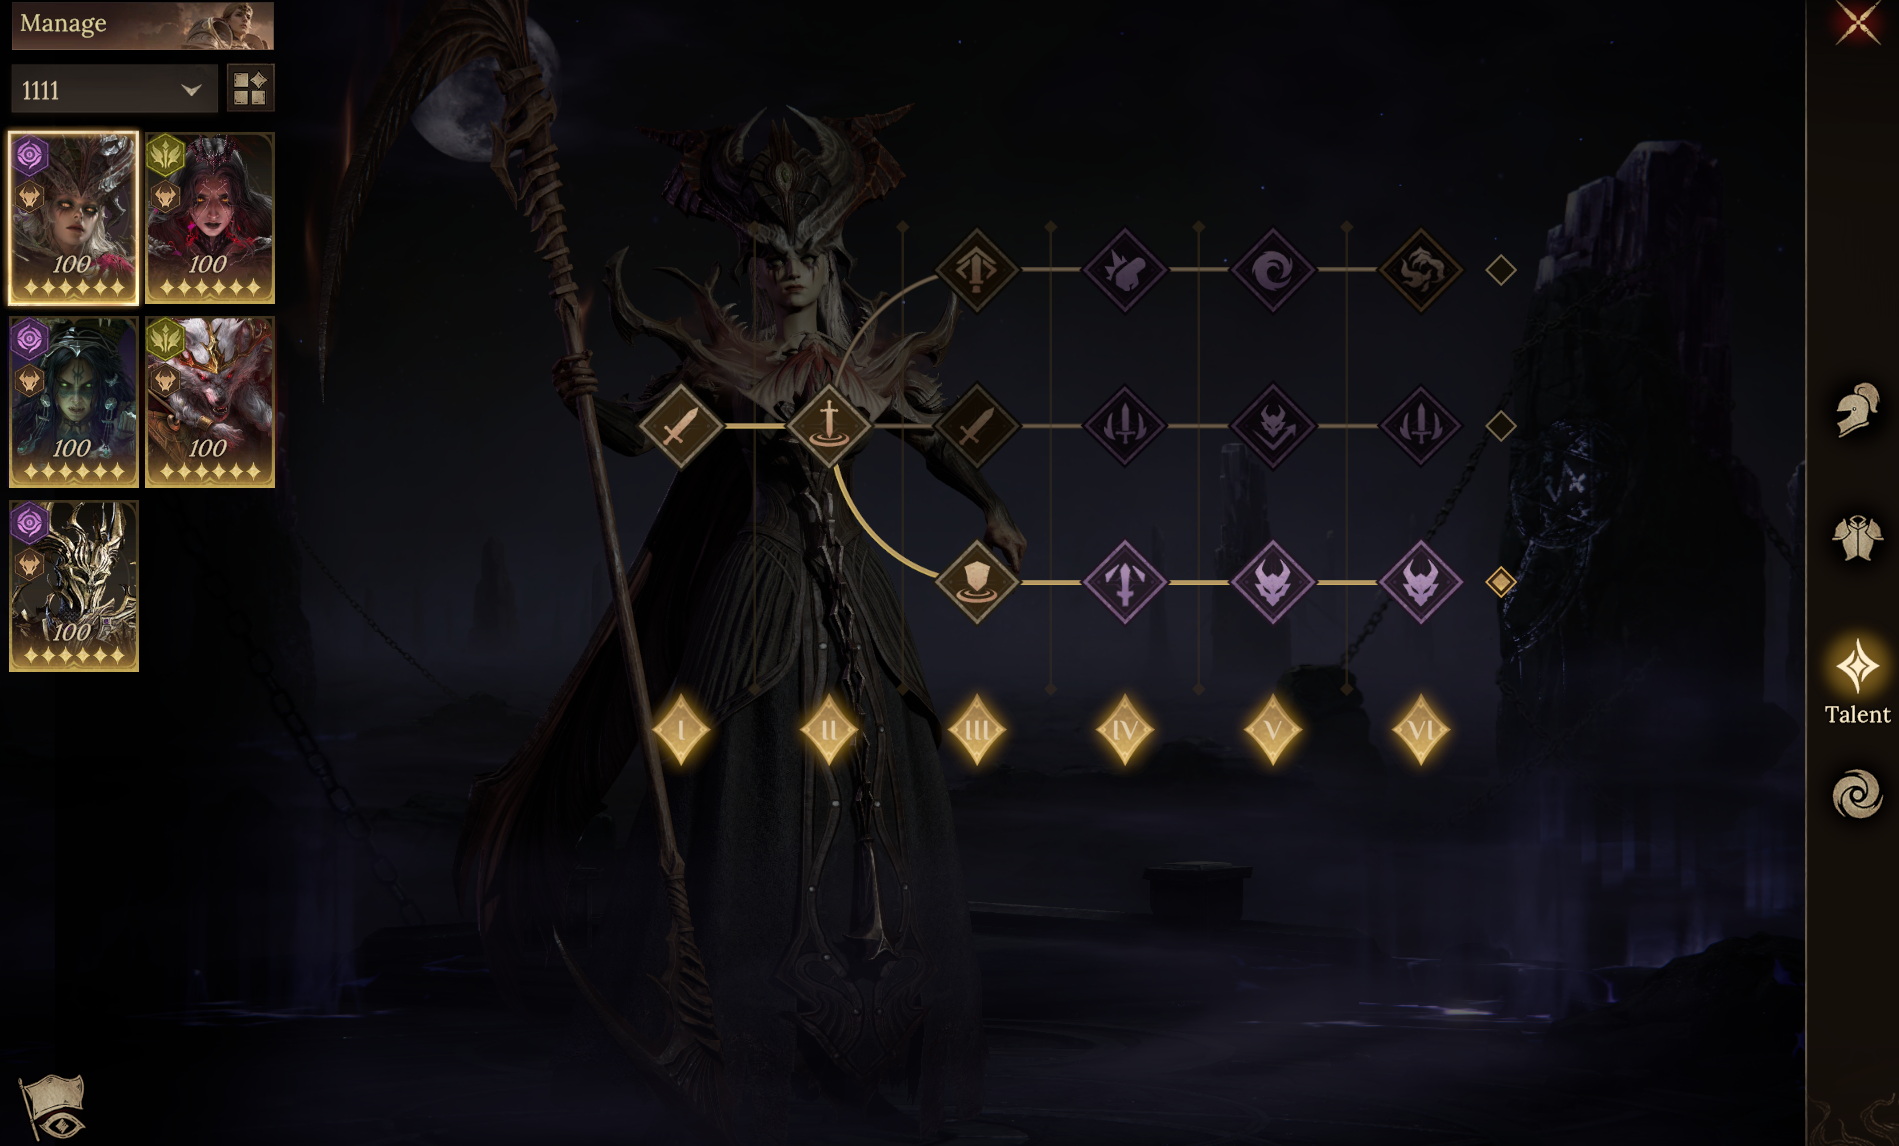
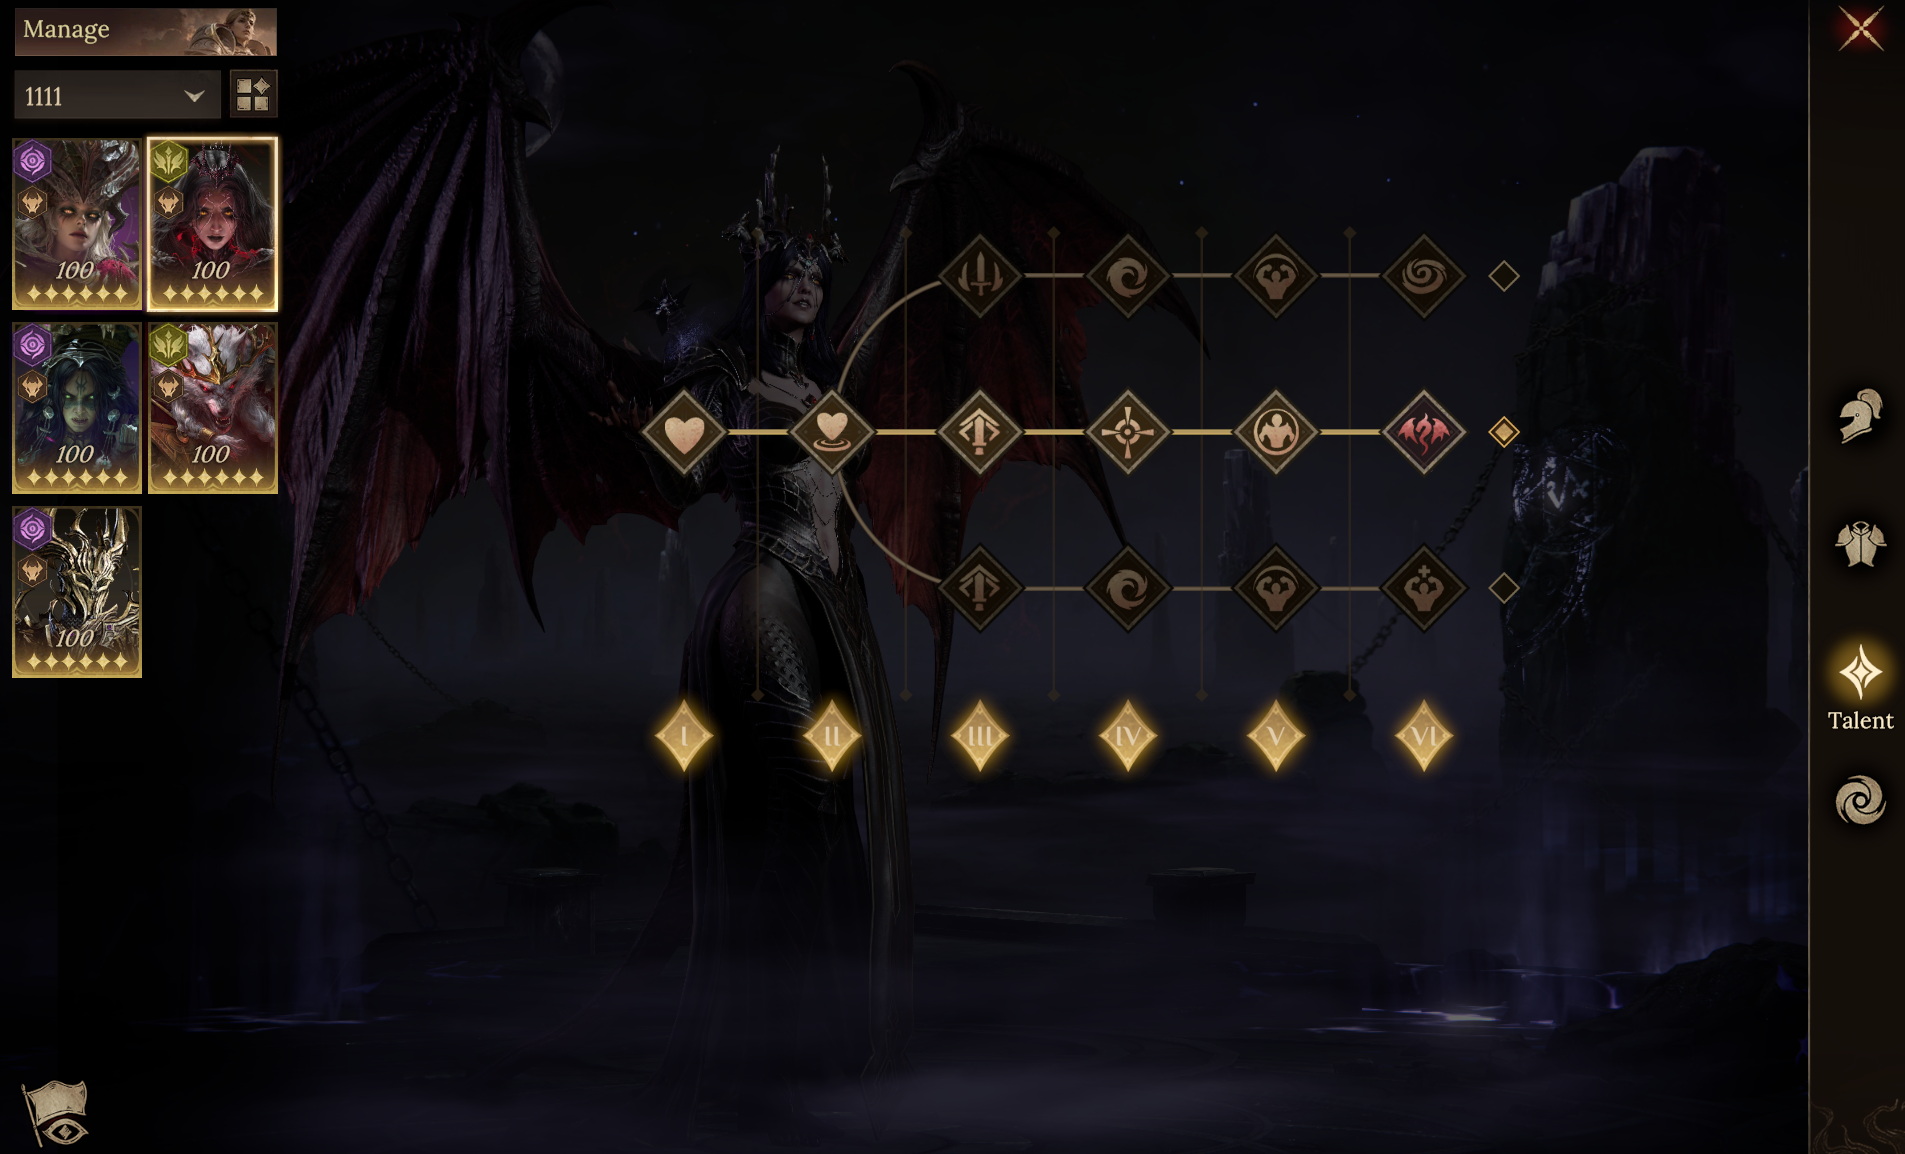
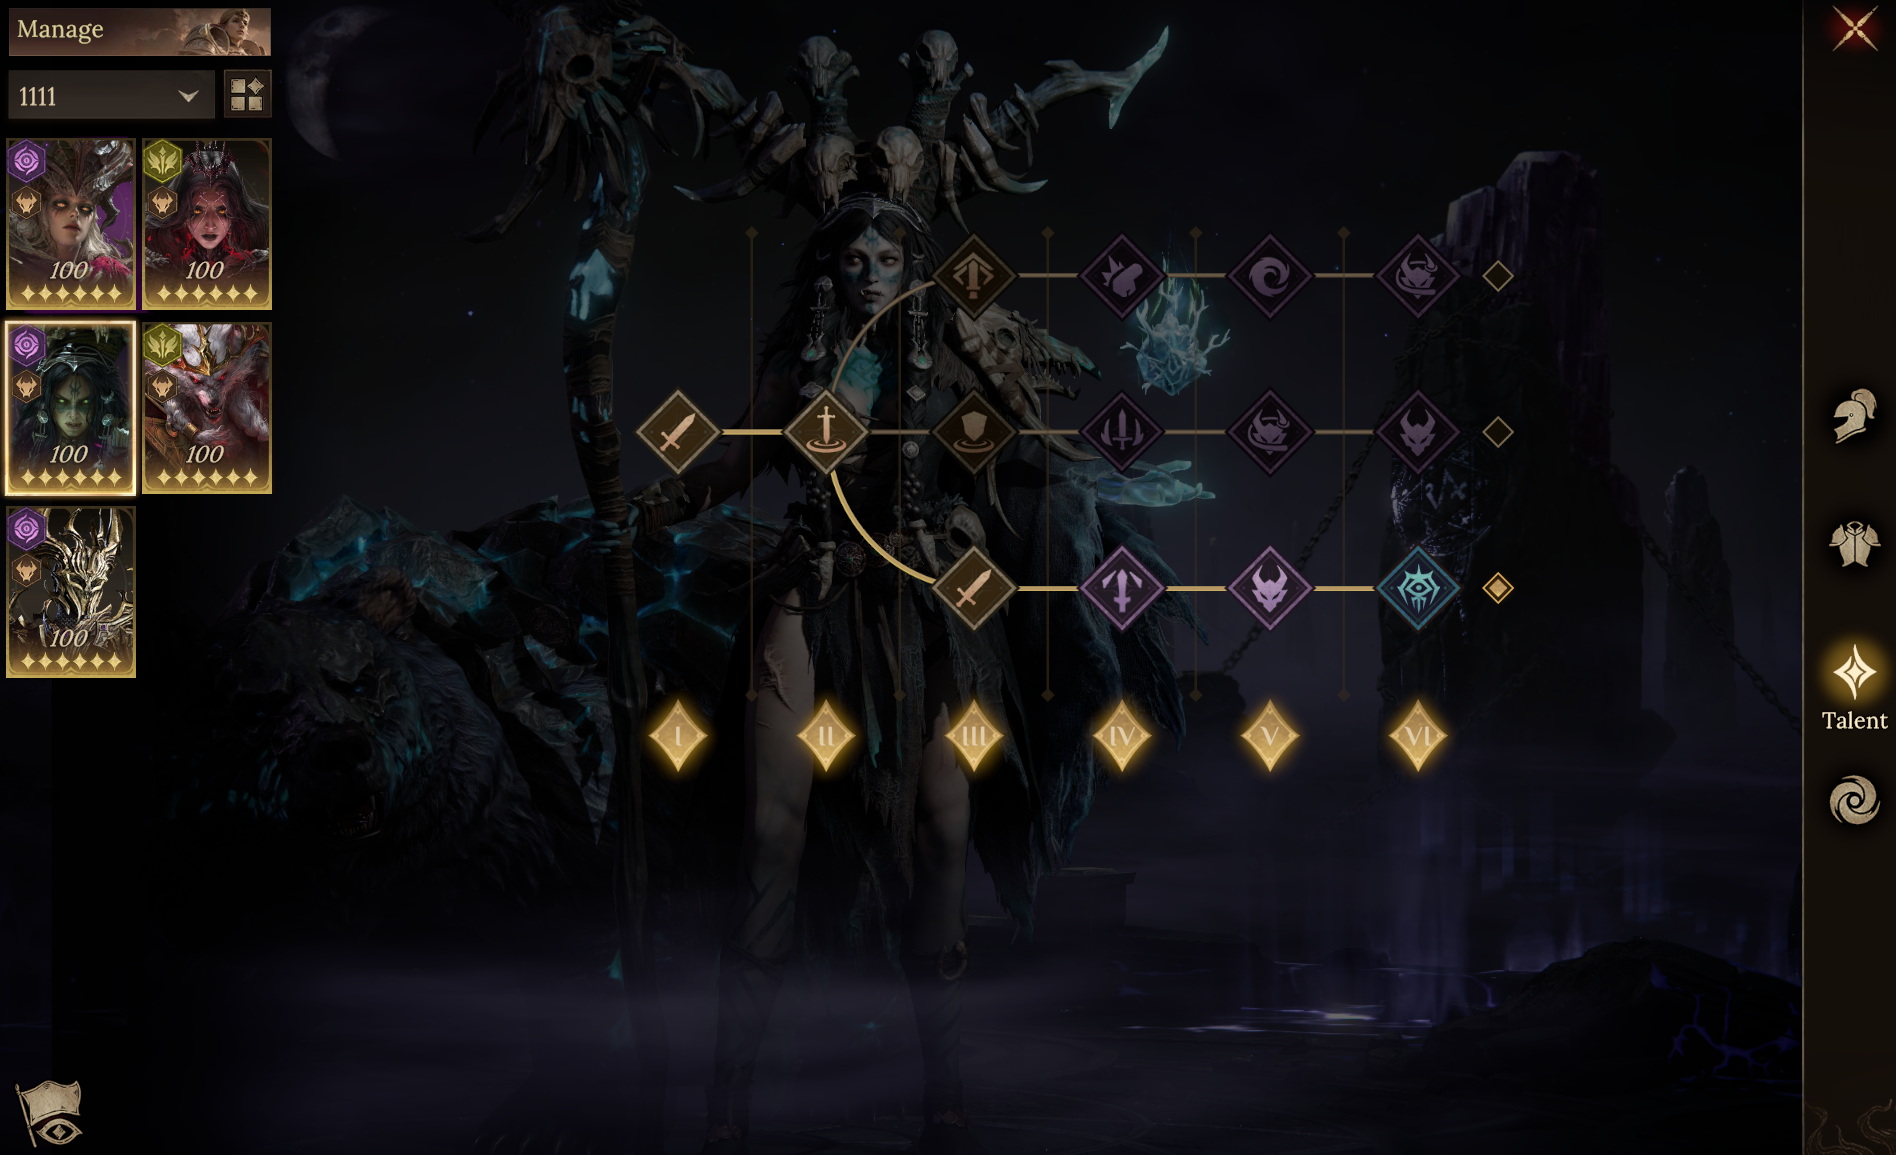
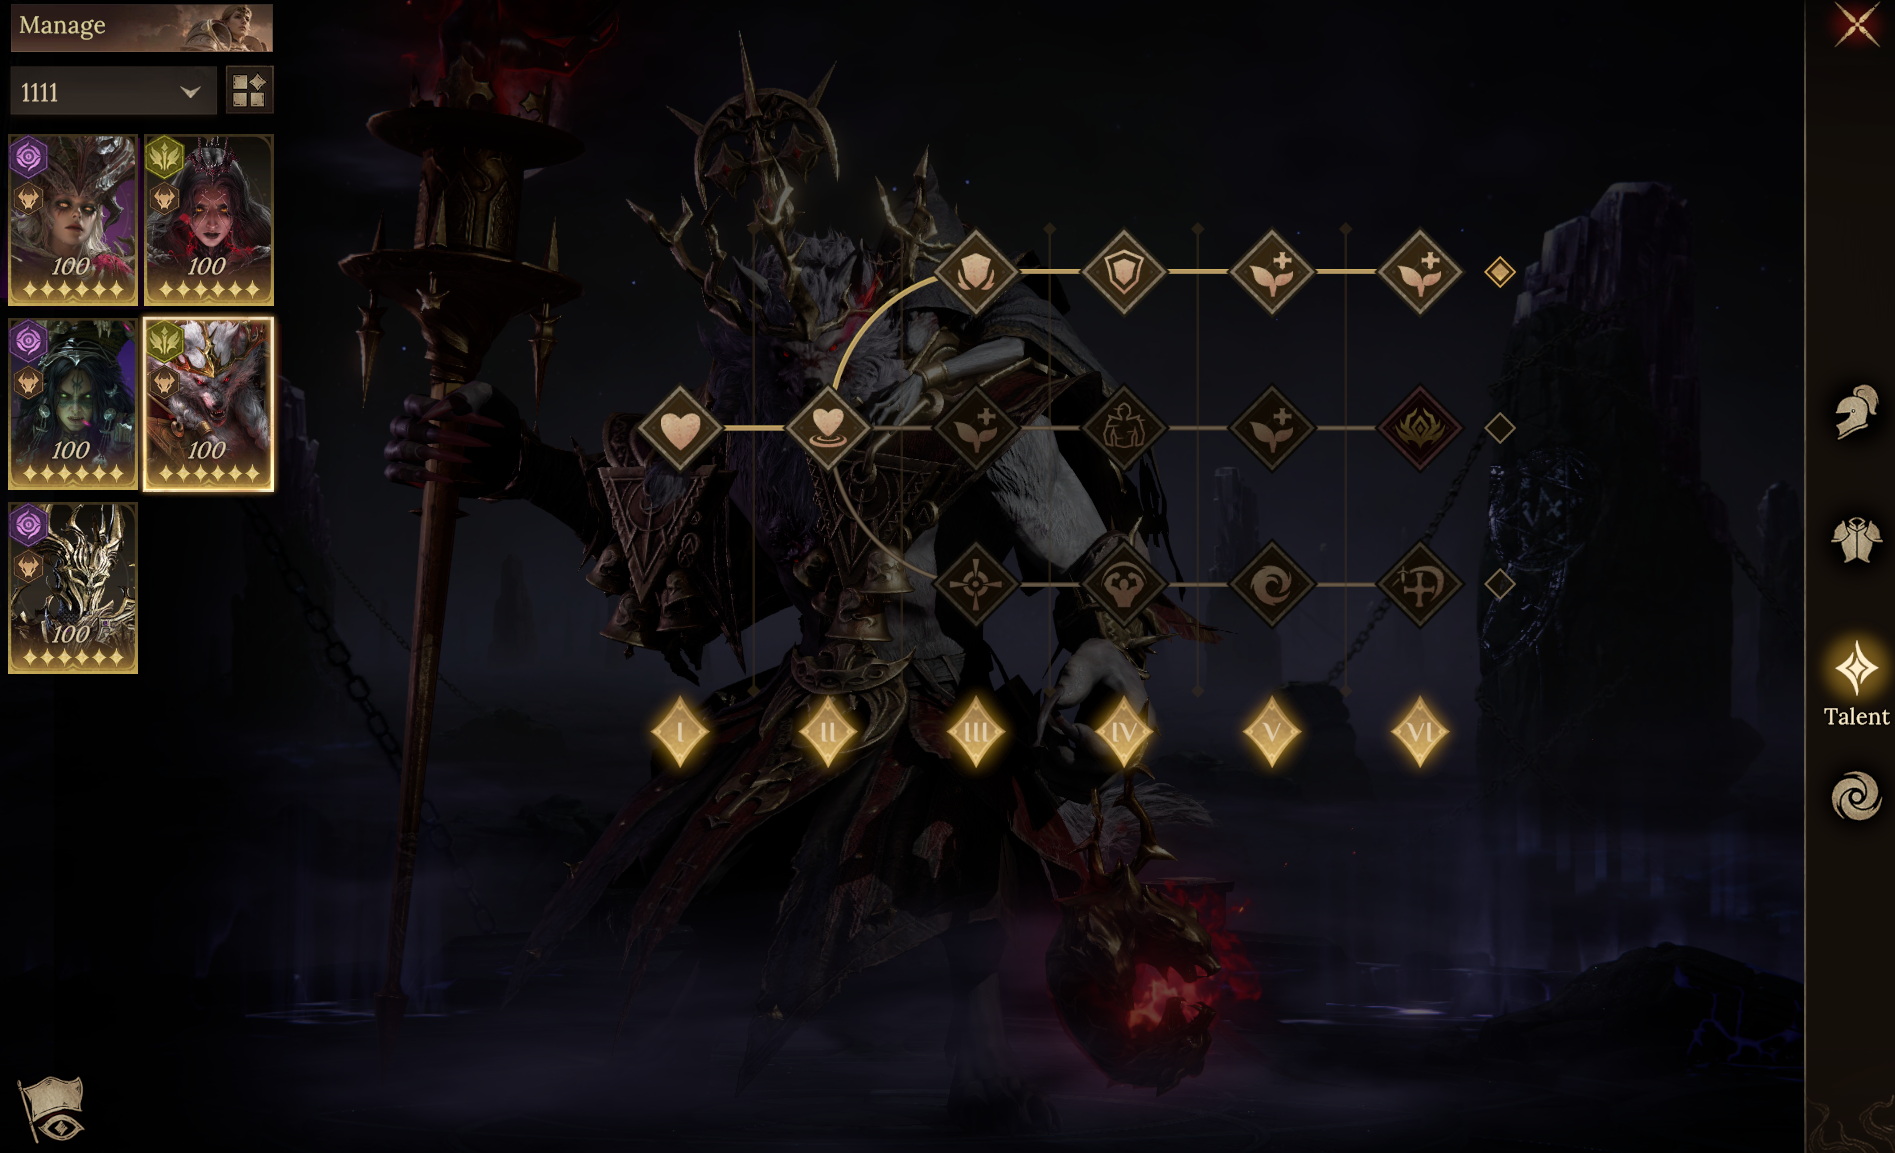
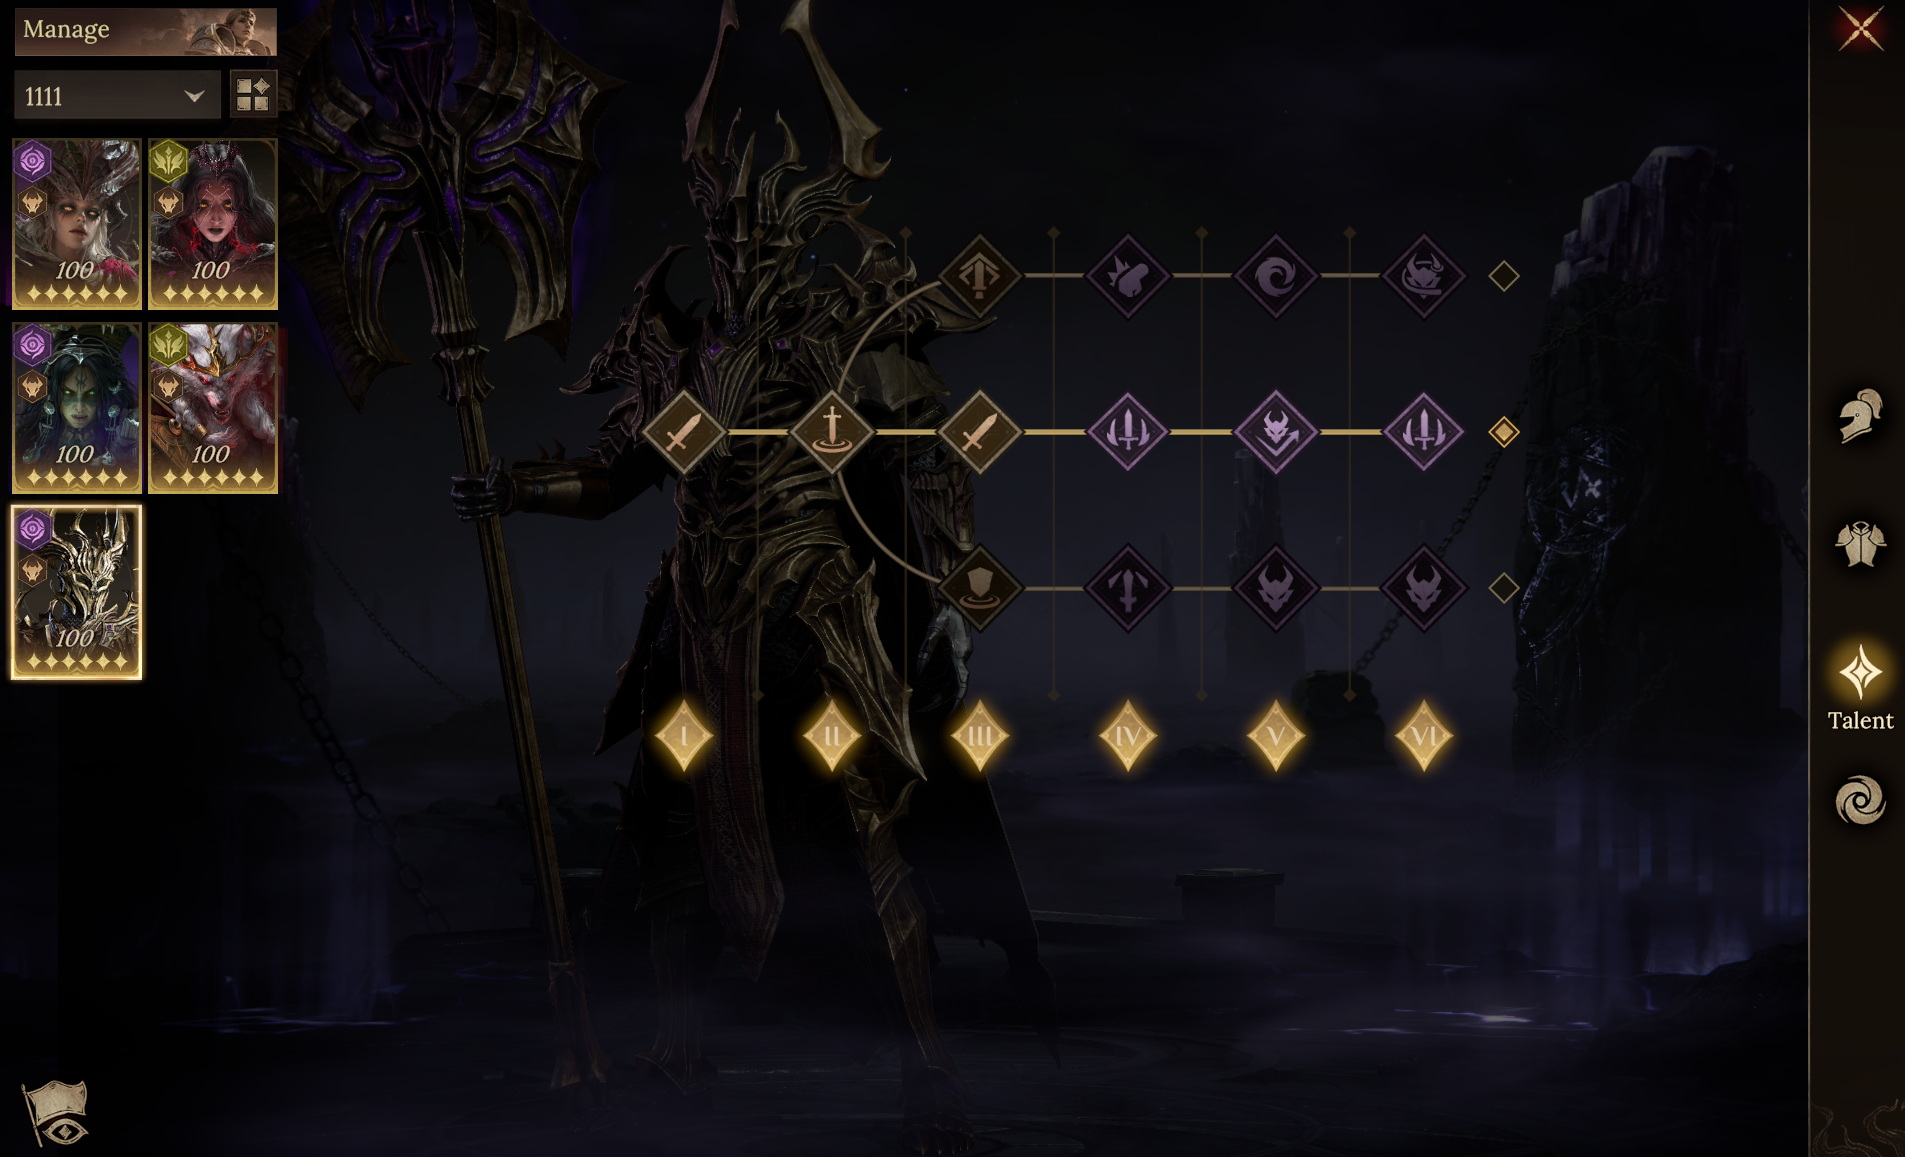
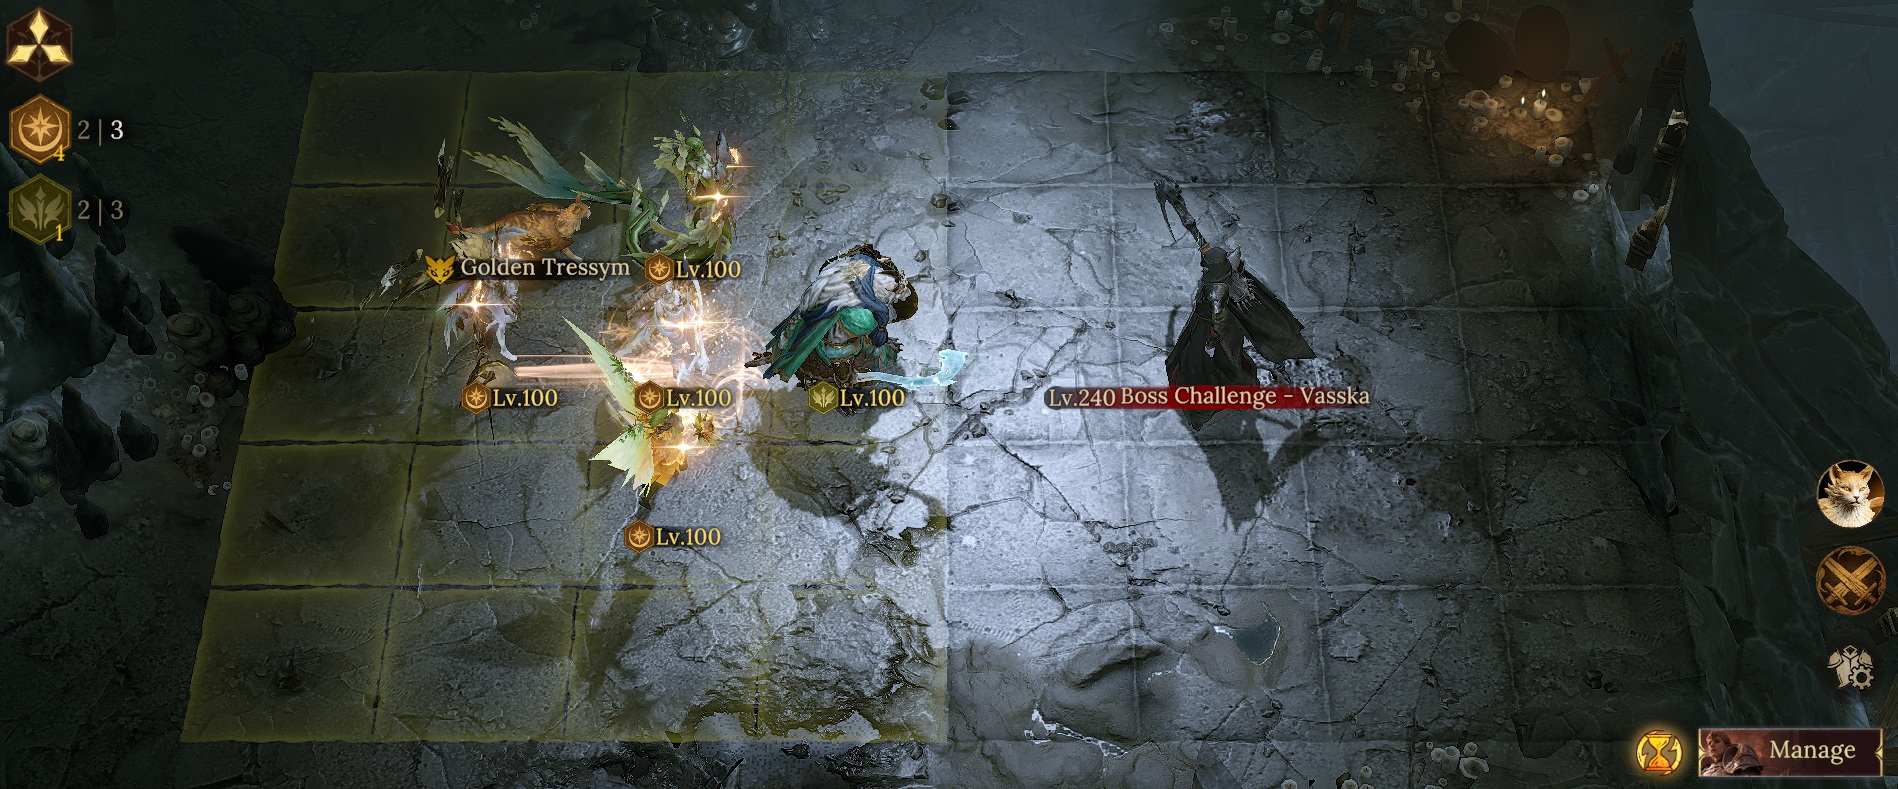 ● Team Aura / Familiar
Pair Diantha's Attack Aura with the Tressym Familiar to maximize the team's damage output.
● Skill Timing Guide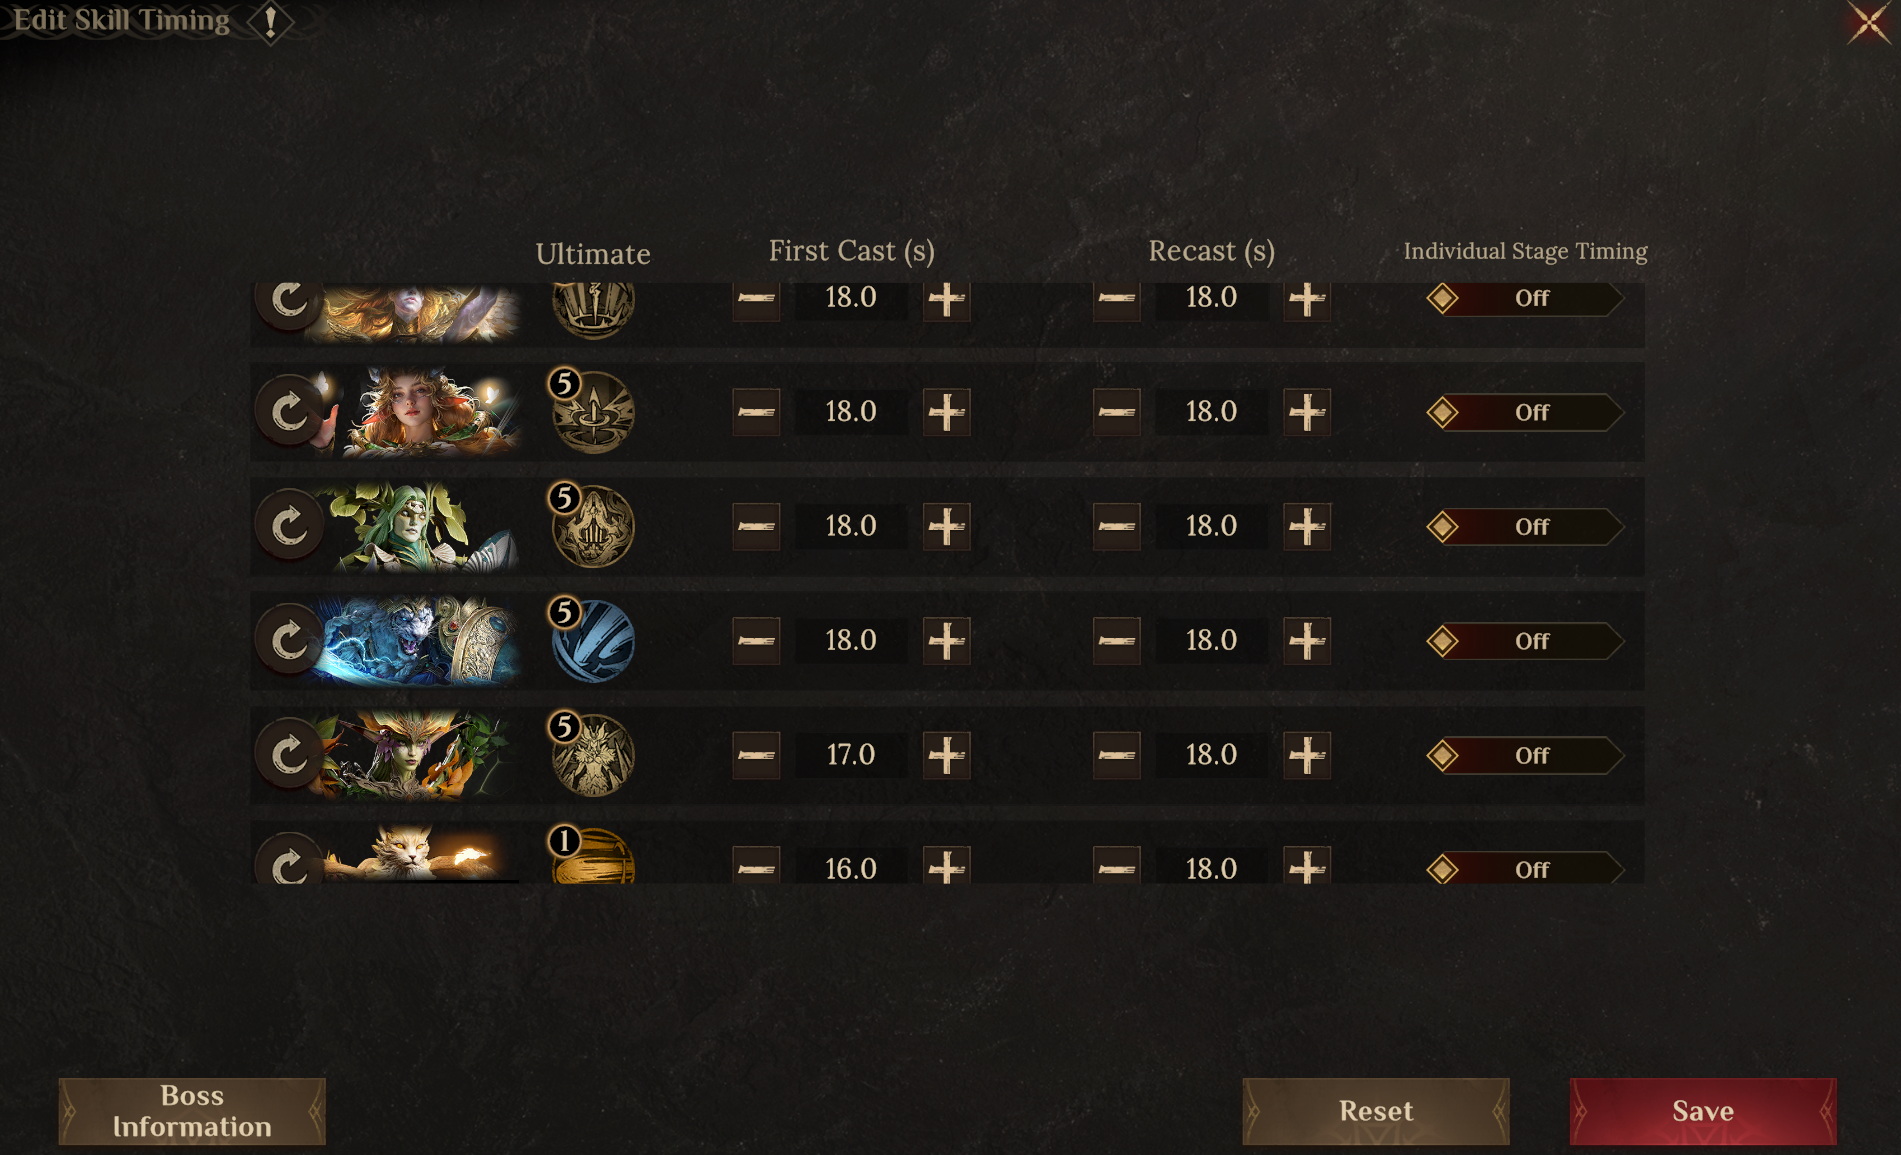 ● Important Notes
1. Anneliesis also provides Healing. If you don't have this hero, use a 3 Aura + 2 Support composition to ensure the team's survivability. In this scenario, Maashtur can be replaced by any survival-focused Support hero from the Radiant & Lightning affinity.
● Hero Substitutions
Maashtur: Skill Haste > 60;
Maashtur, Diantha: Accuracy > 260;
● Gear Reference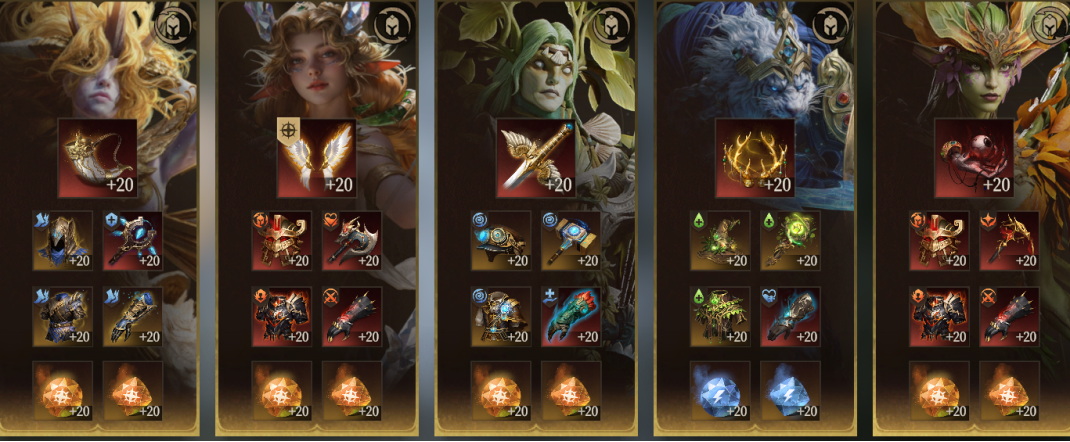 ● Talent Reference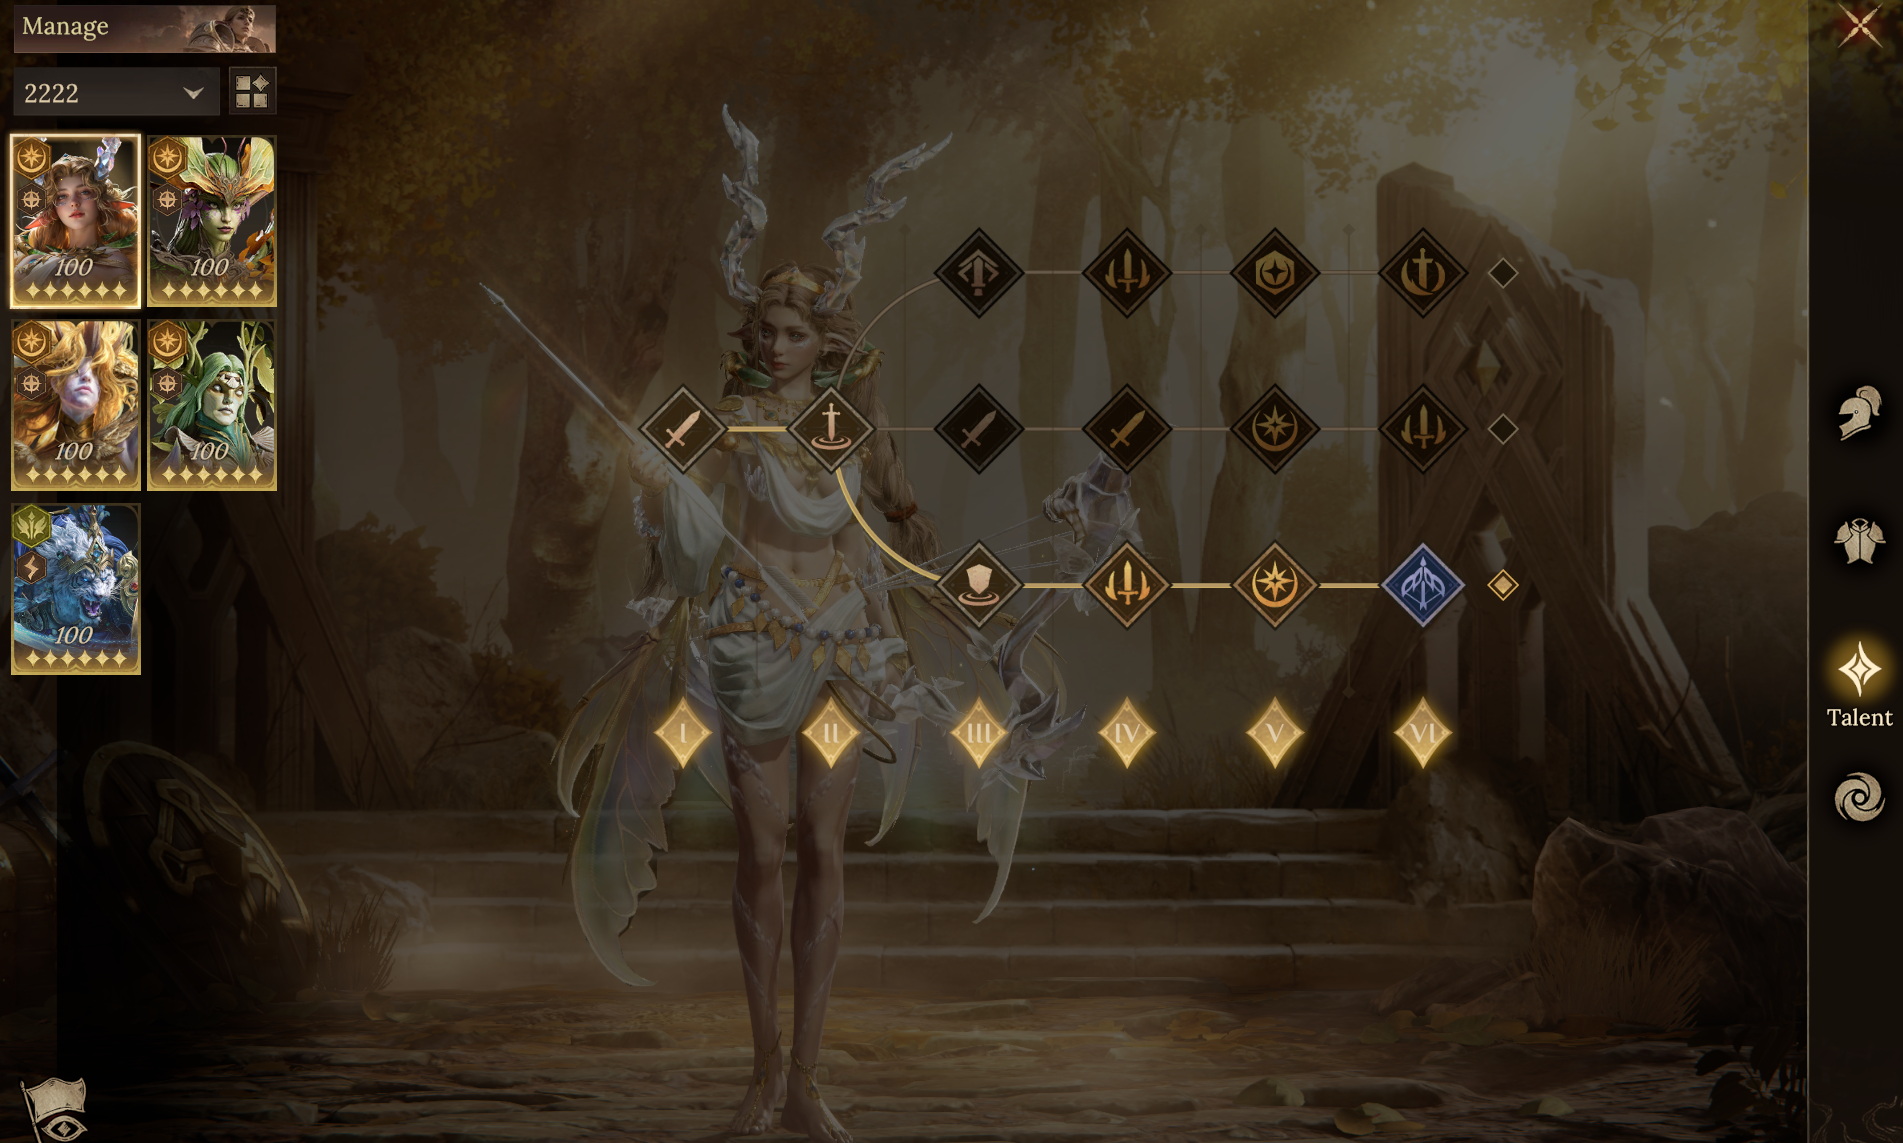
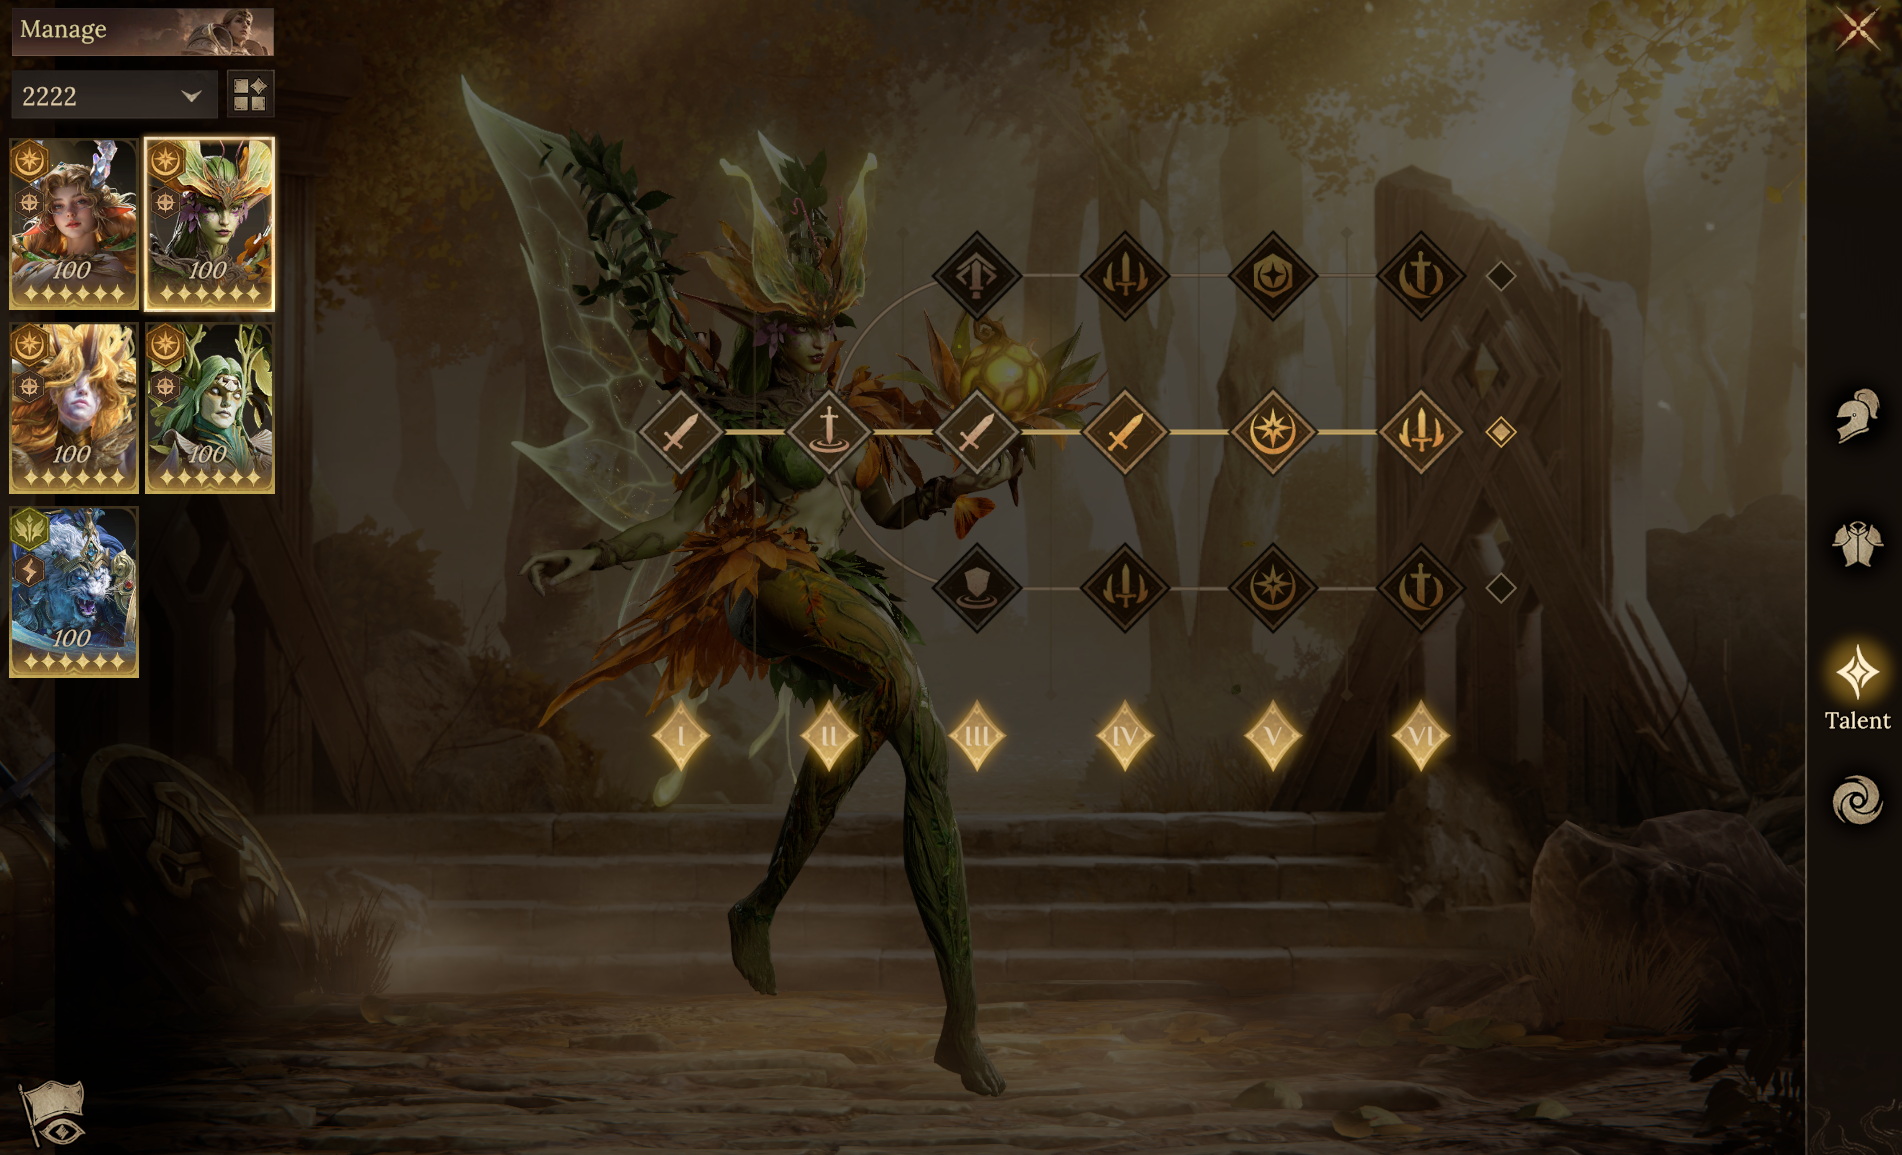
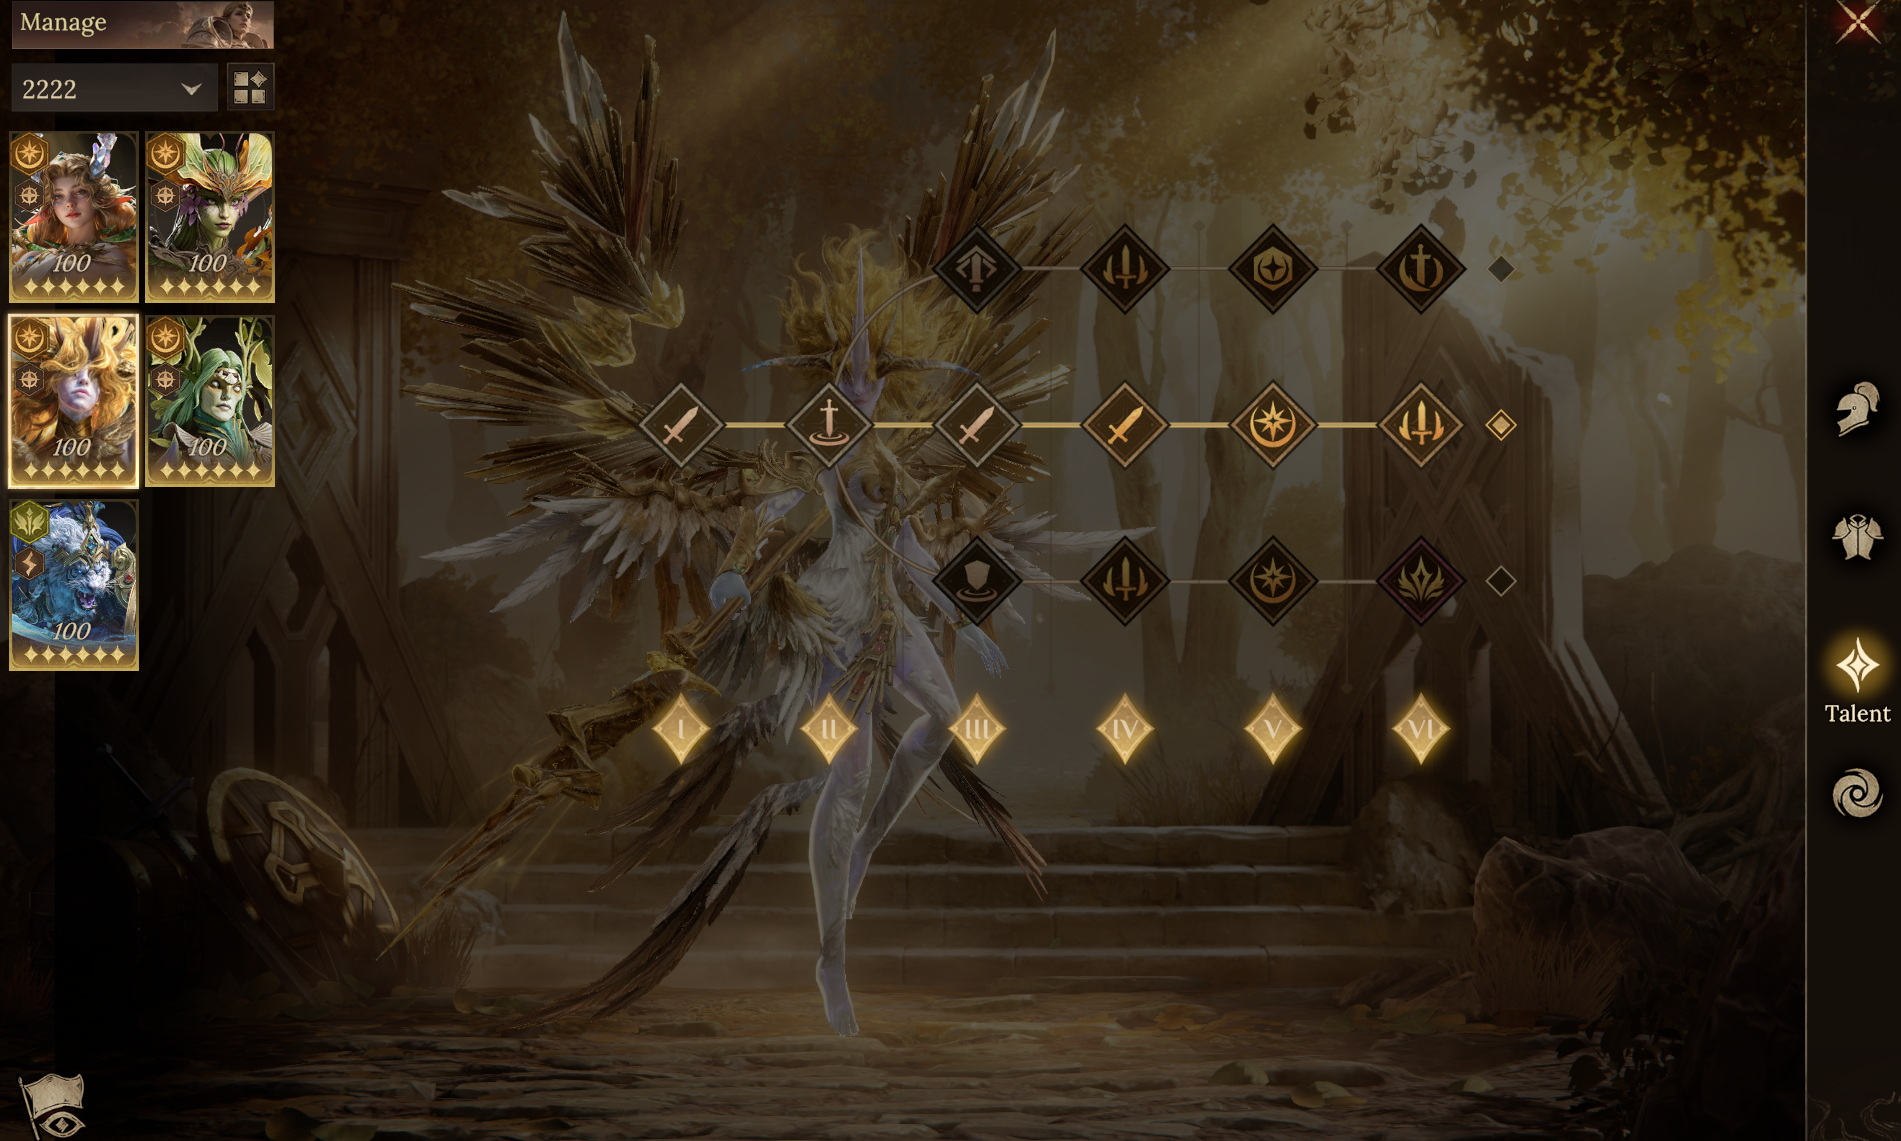
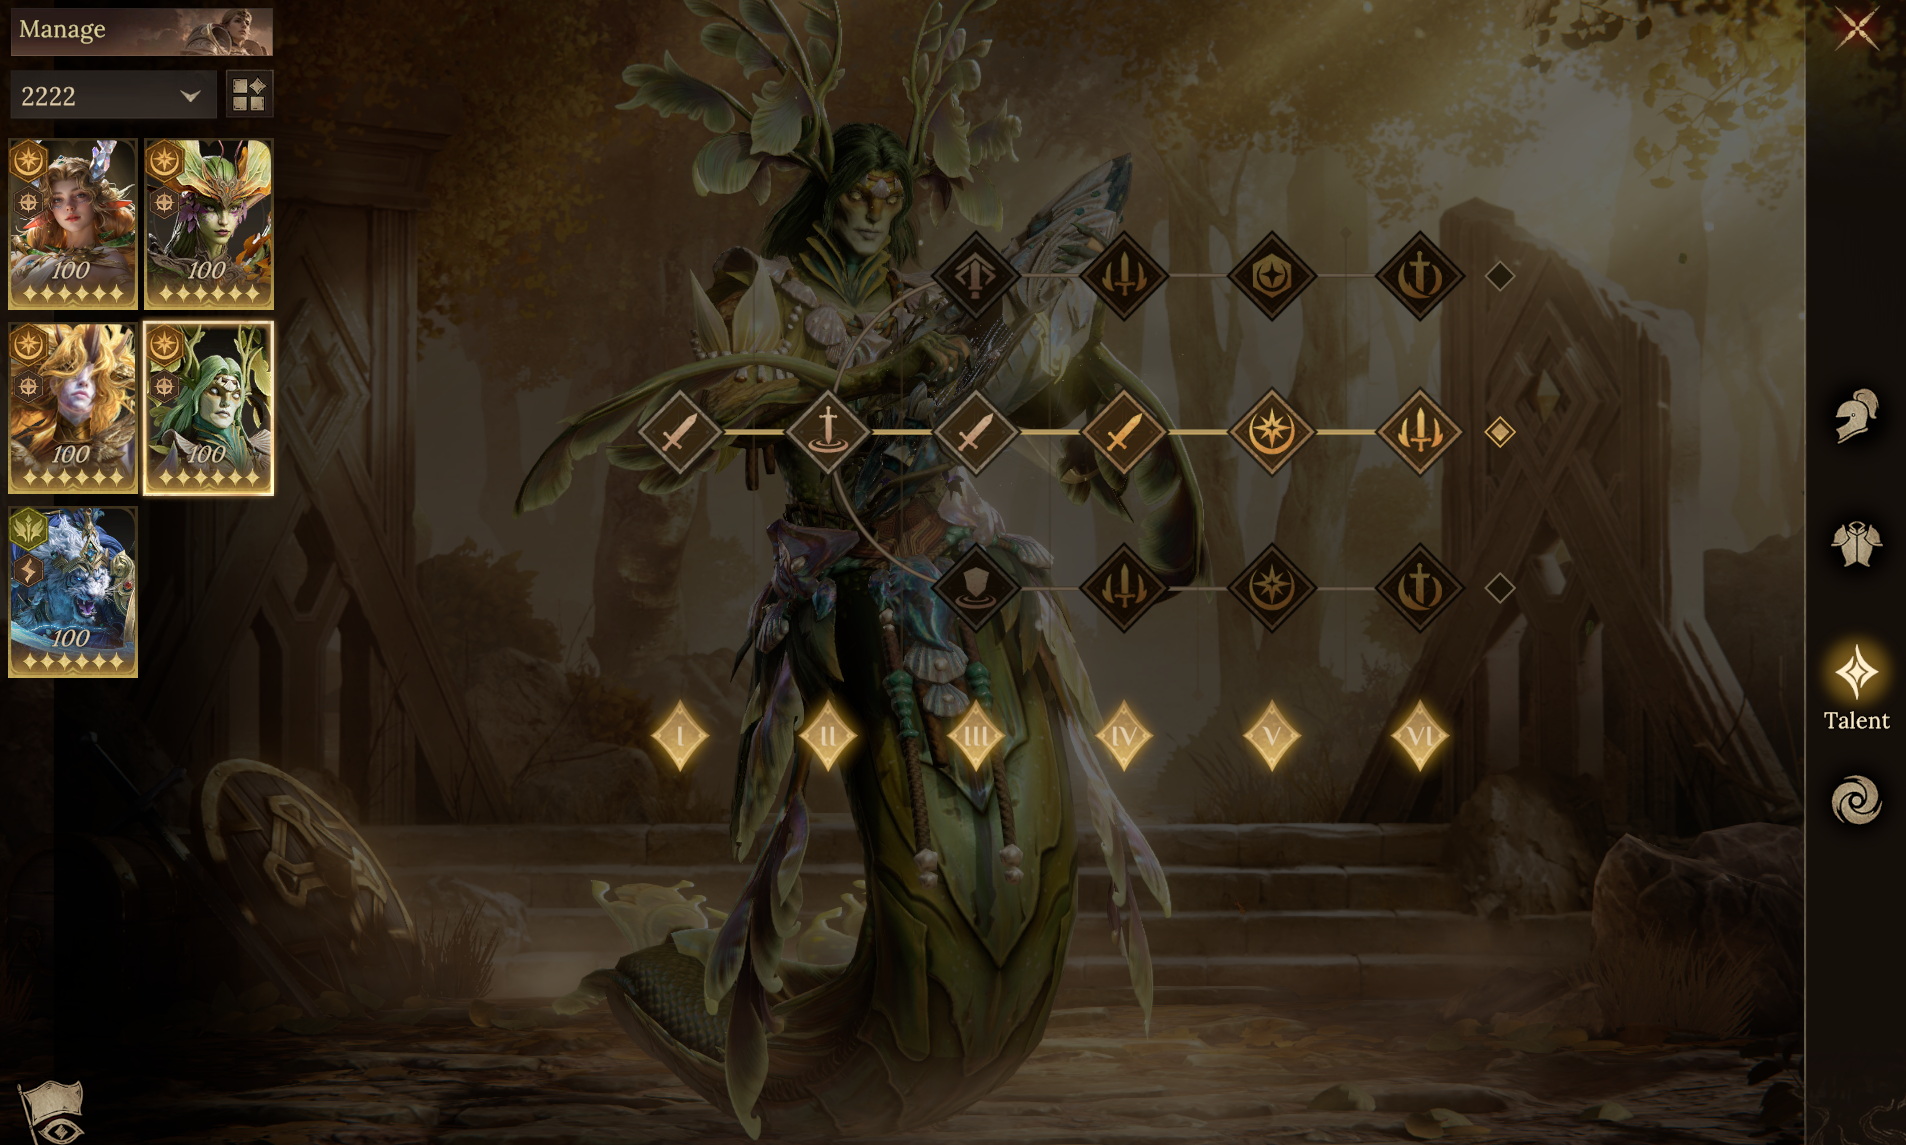
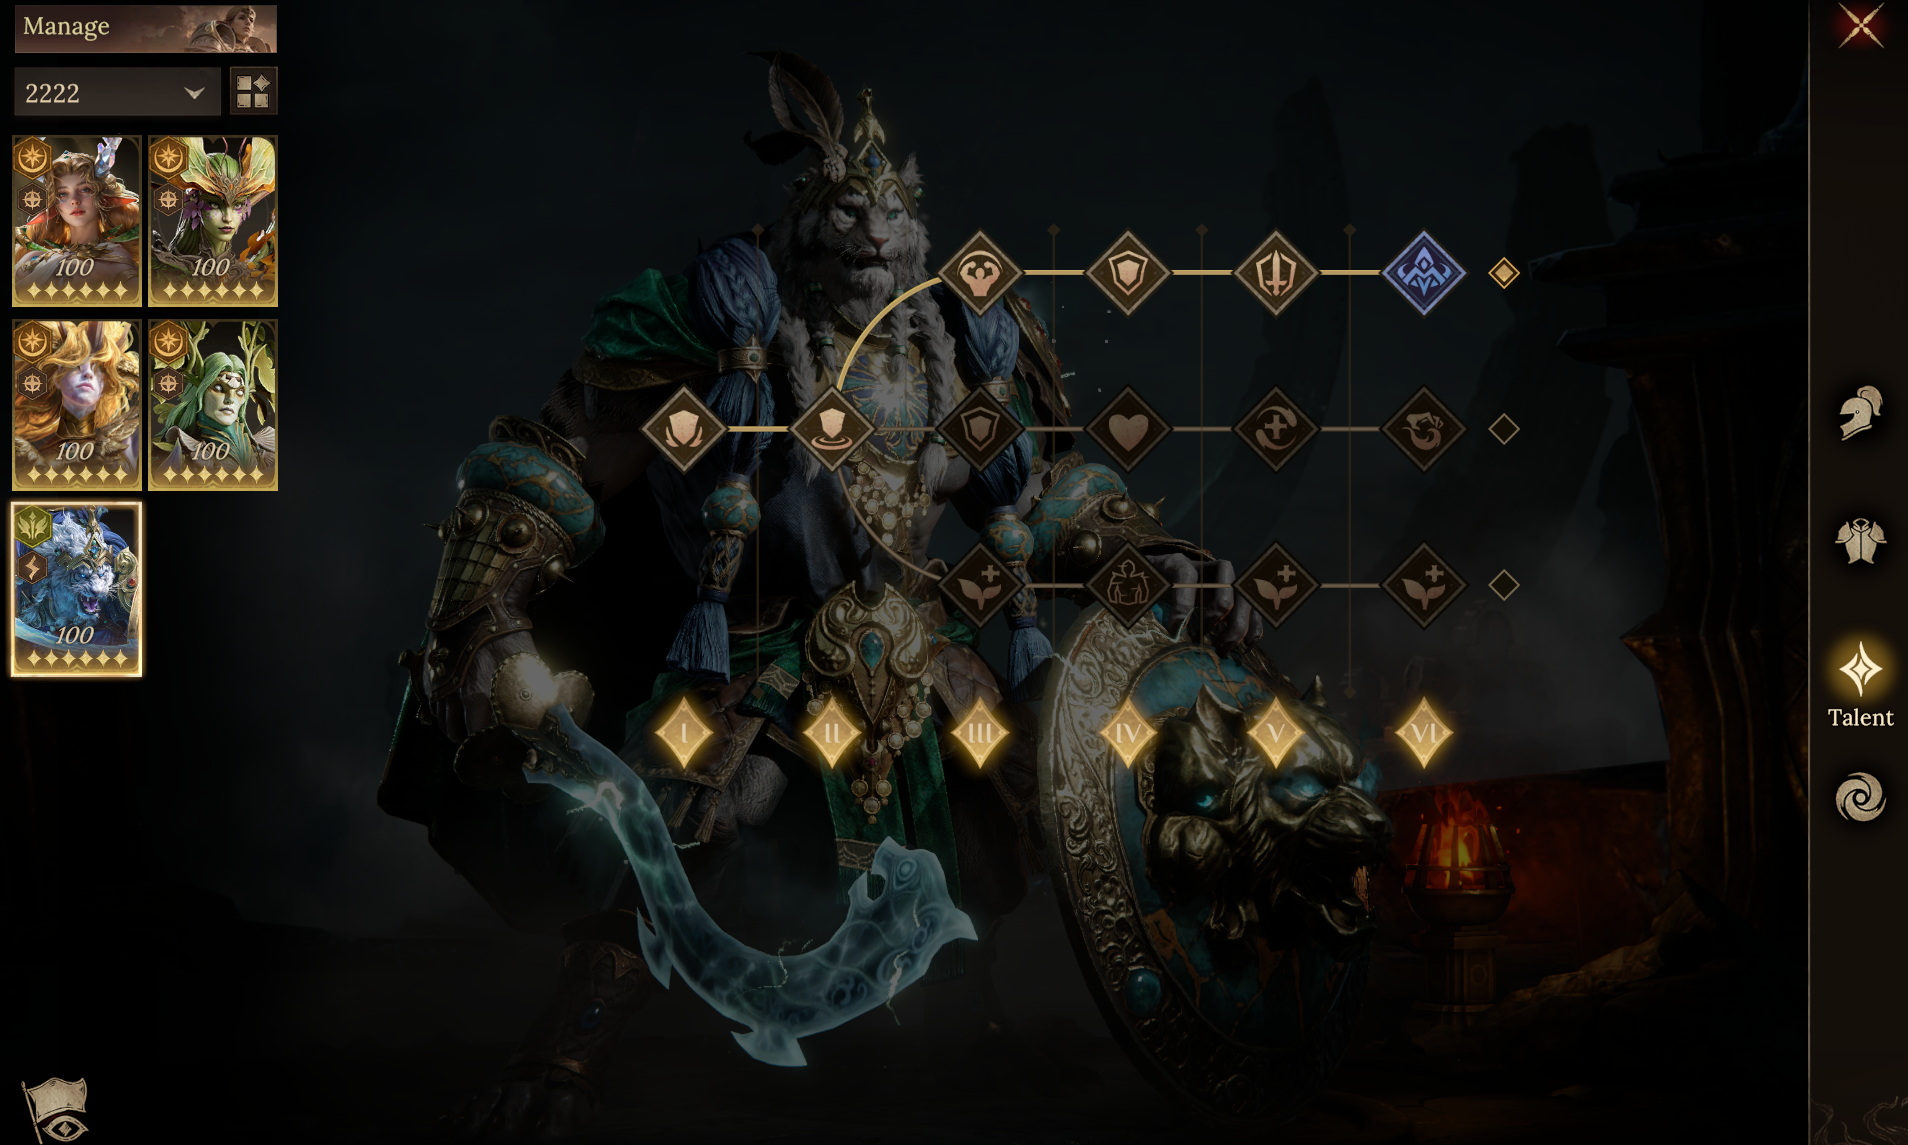
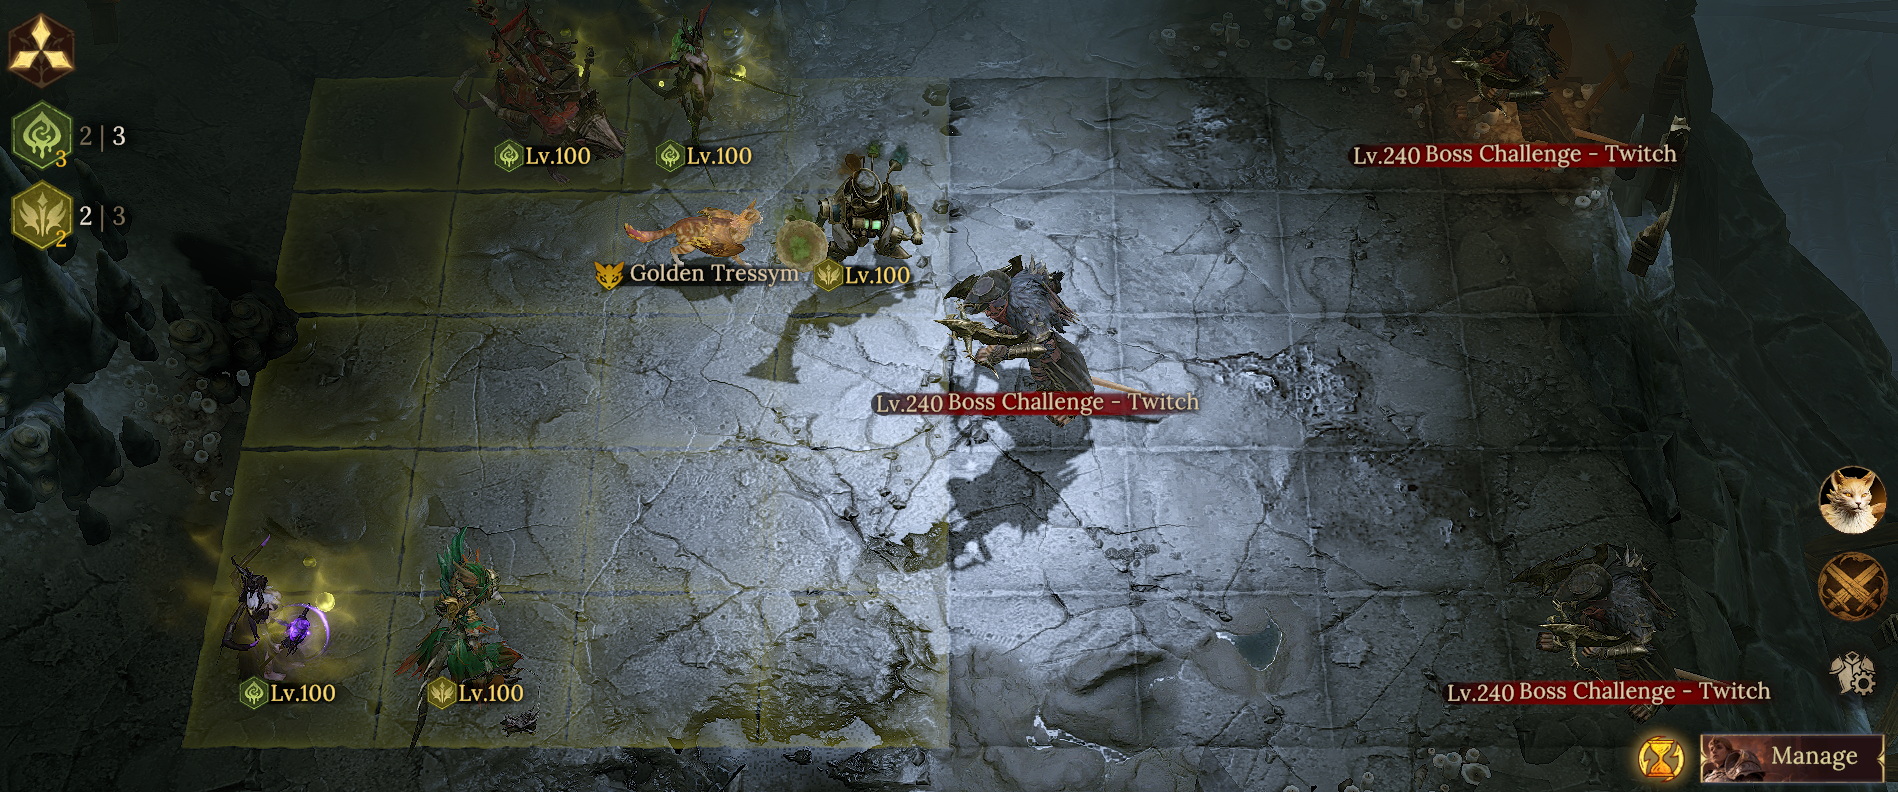 ● Team Aura / Familiar
Pair Rook's Attack Aura with the Tressym Familiar to maximize the team's damage output.
● Skill Timing Guide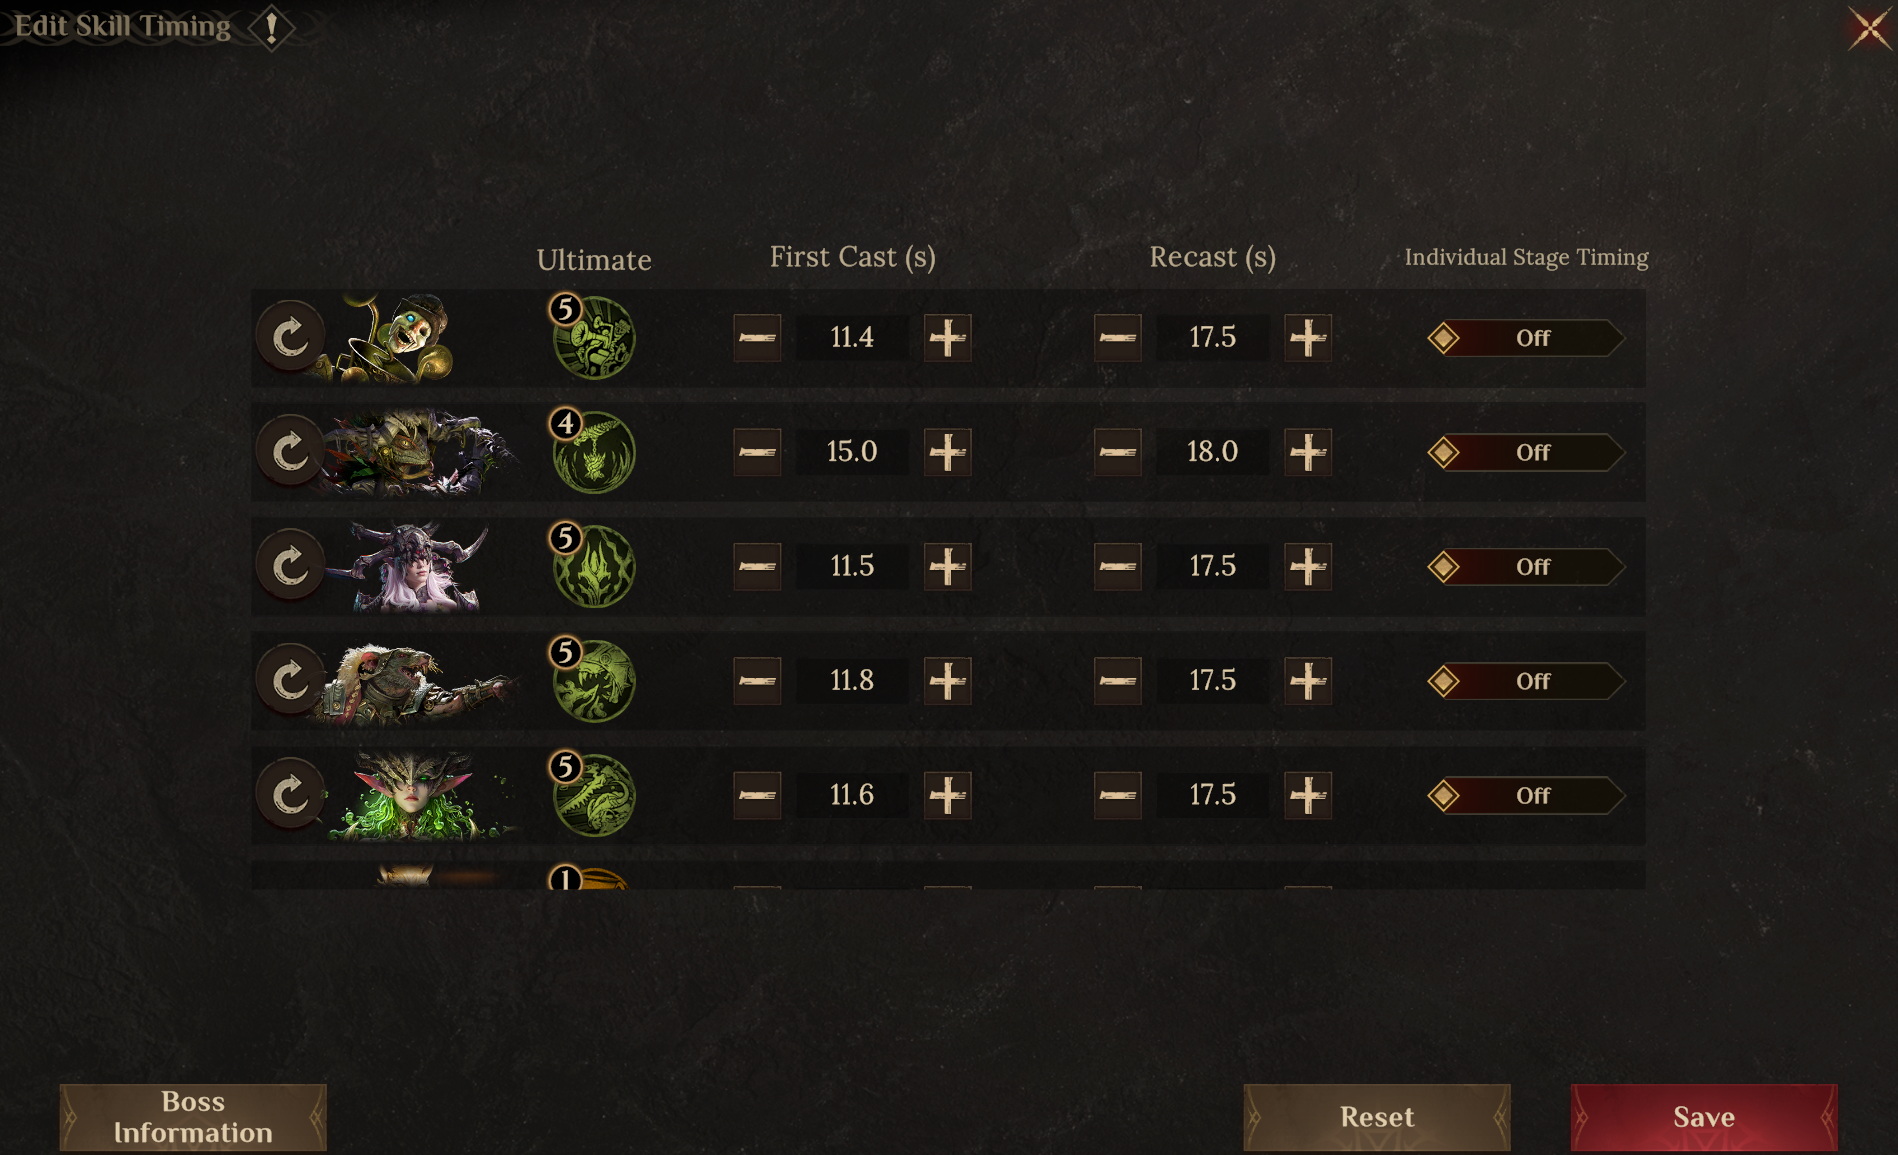 ● Important Notes
1. If you don't have Reytah or Blah Blah, they can be replaced with Calavera, Frurbath, or Oggok. Travelers who don't have Szecedith can use Whisk as a substitute.
2. It is recommended to stack enough Skill Haste on all Corrosion heroes. This allows them to cast an additional ultimate skill within the time limit, increasing their maximum damage output.
● Hero Substitutions
Sacredeia, Blah Blah, and Reytah: Accuracy > 260;
For Blah Blah, stack HP as high as possible;
It is also recommended to stack some HP and Defense on Szecedith and Rook;
● Gear Reference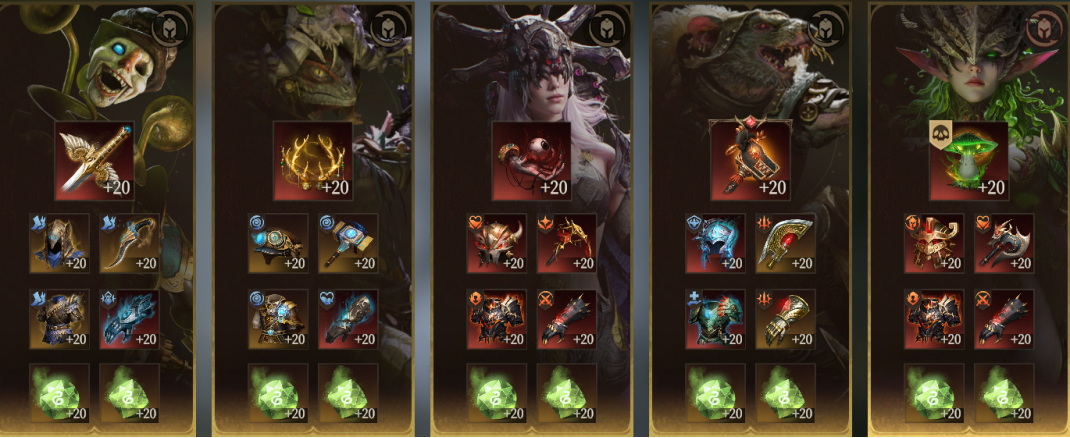 ● Talent Reference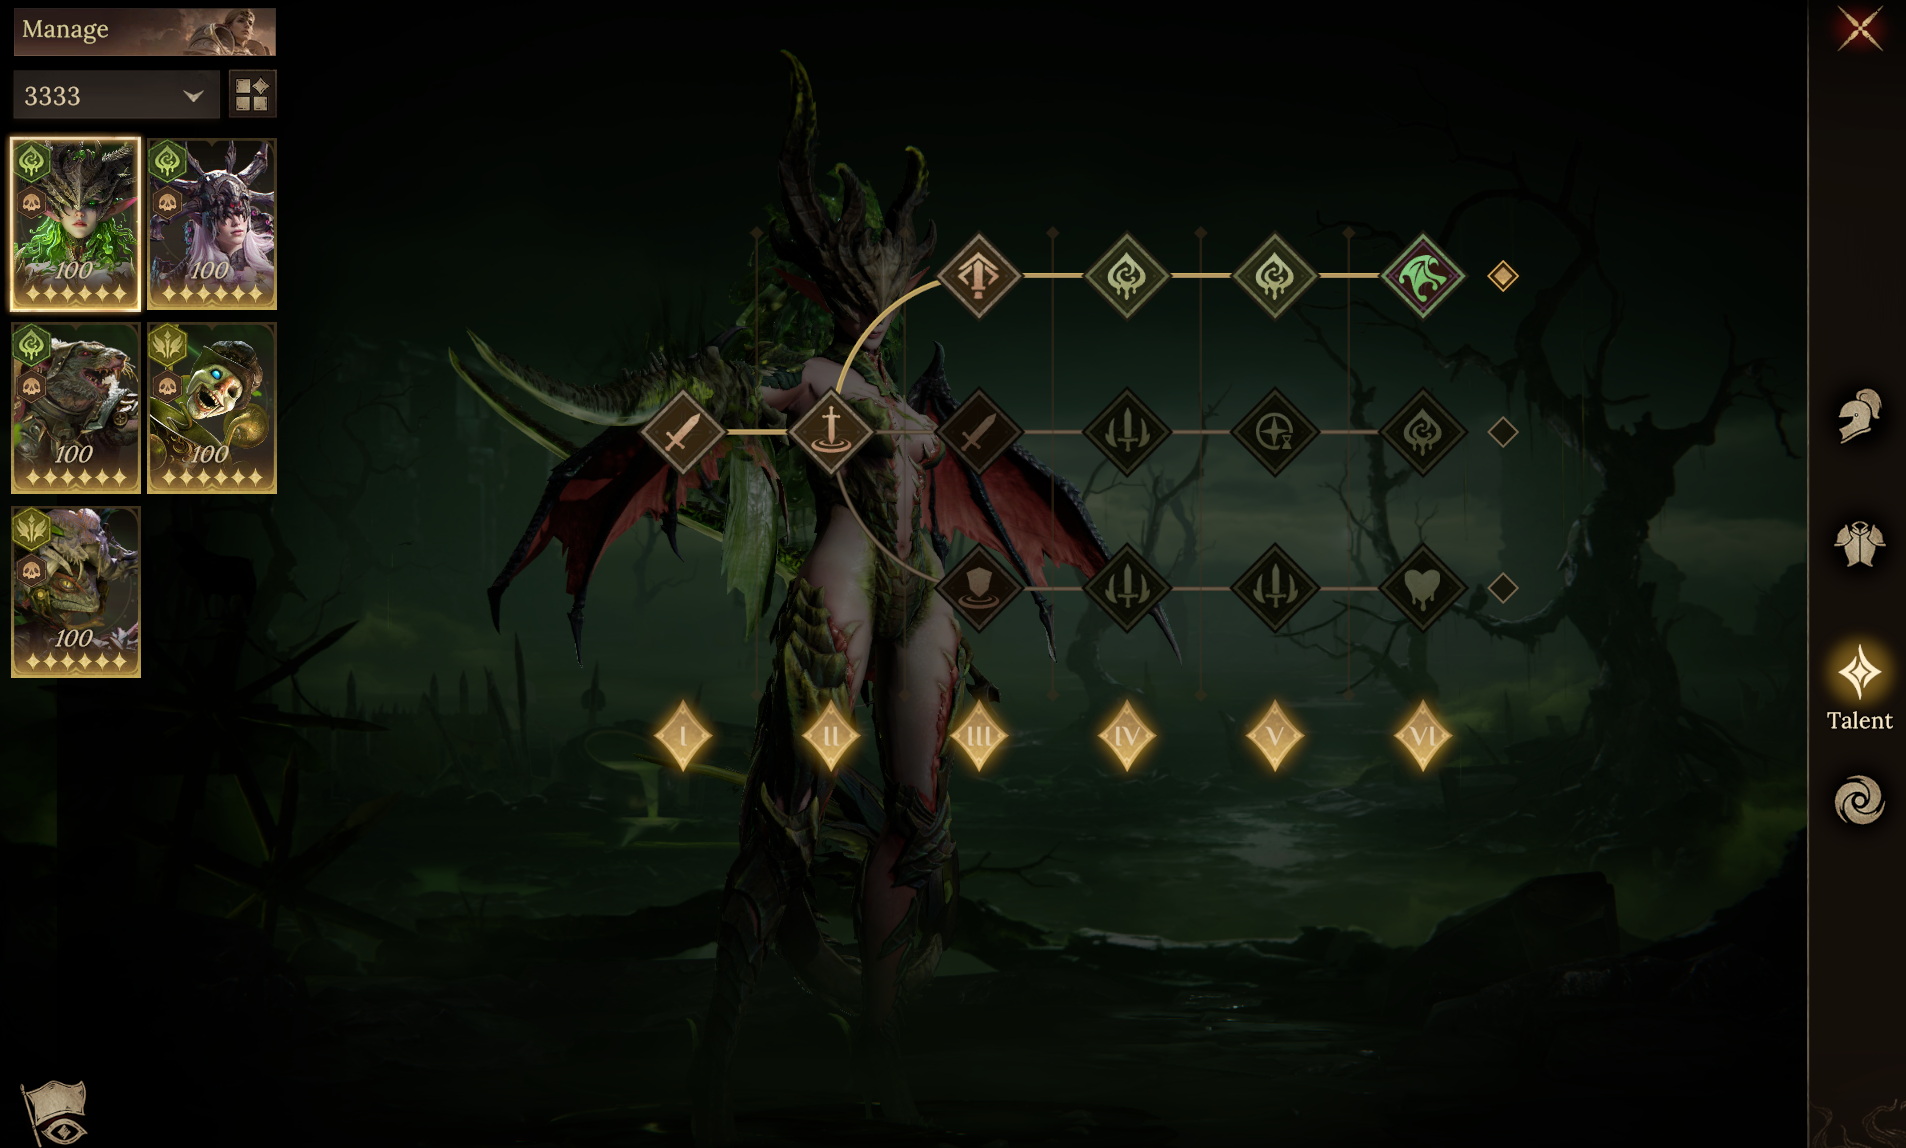
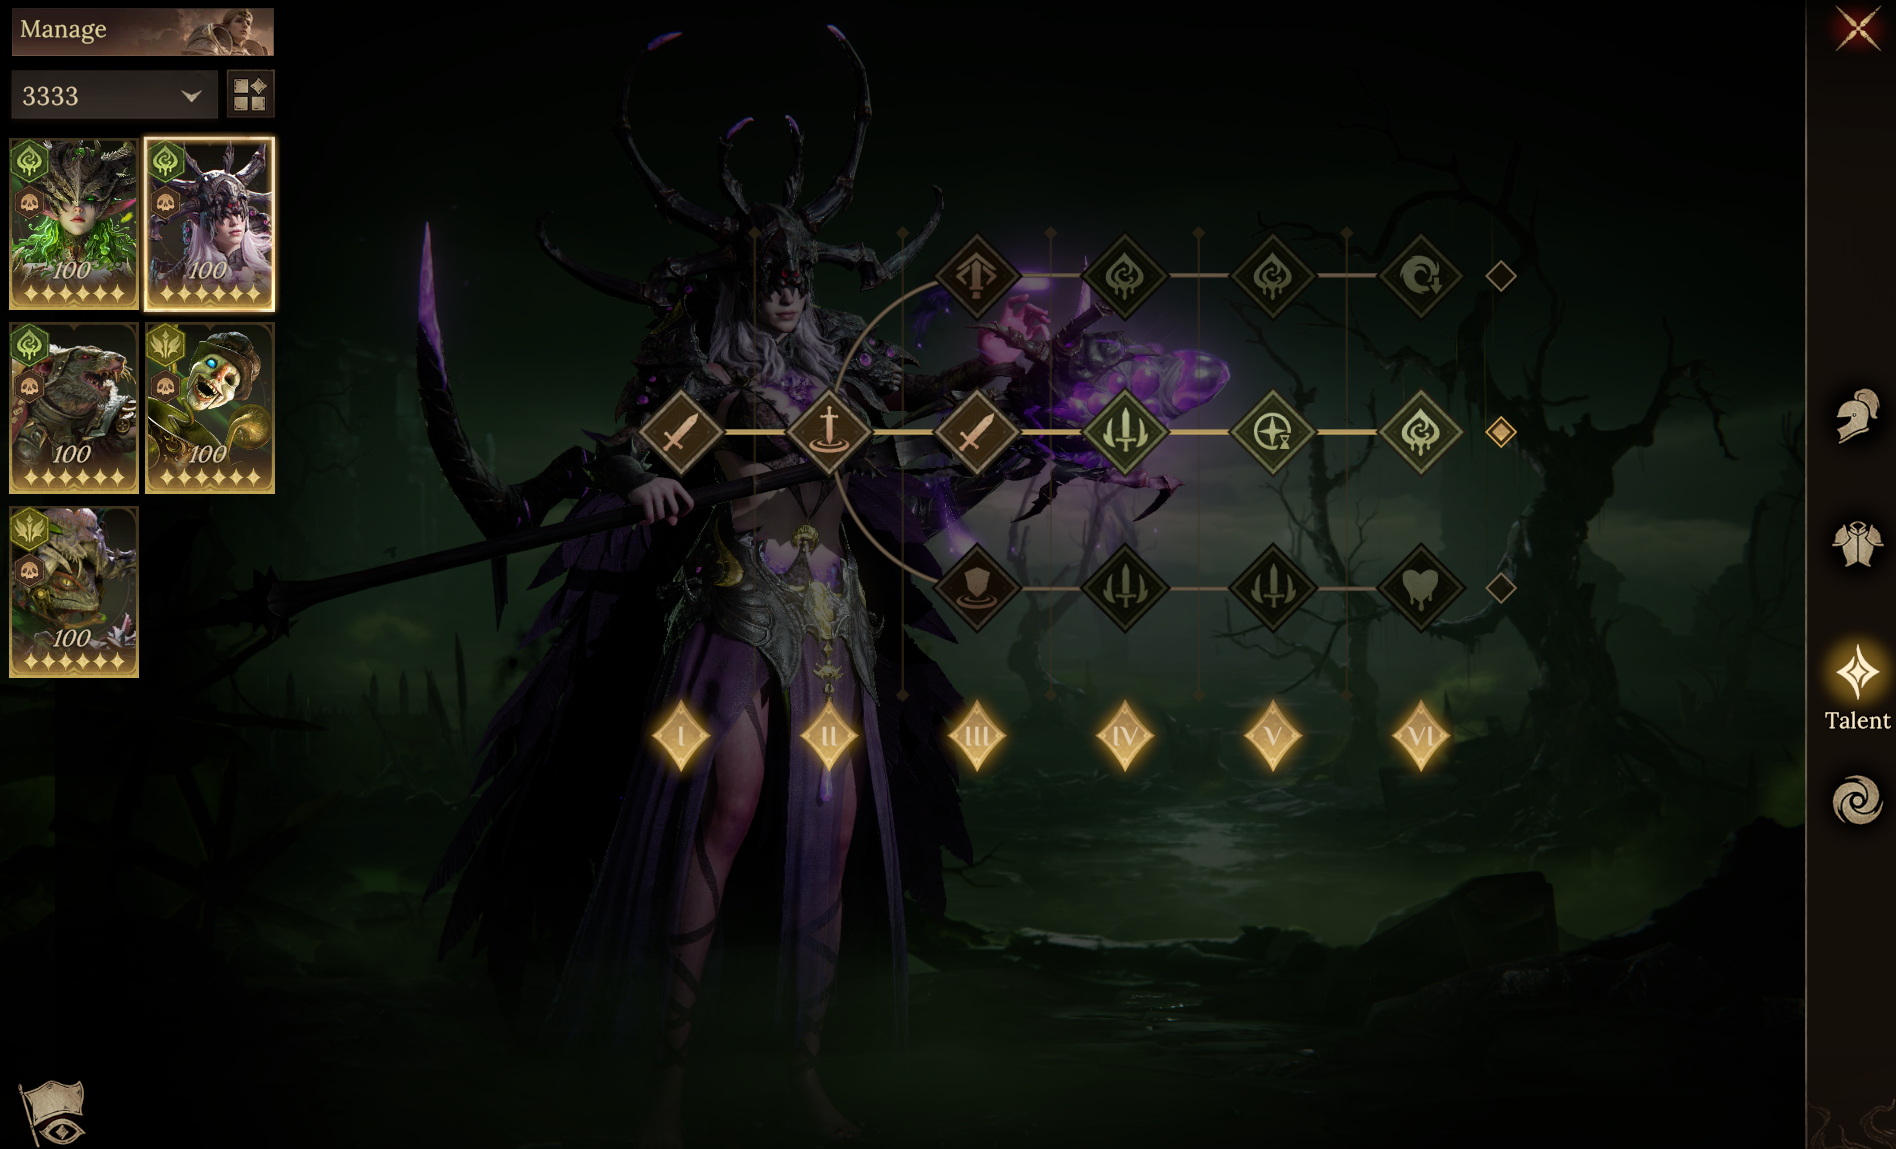
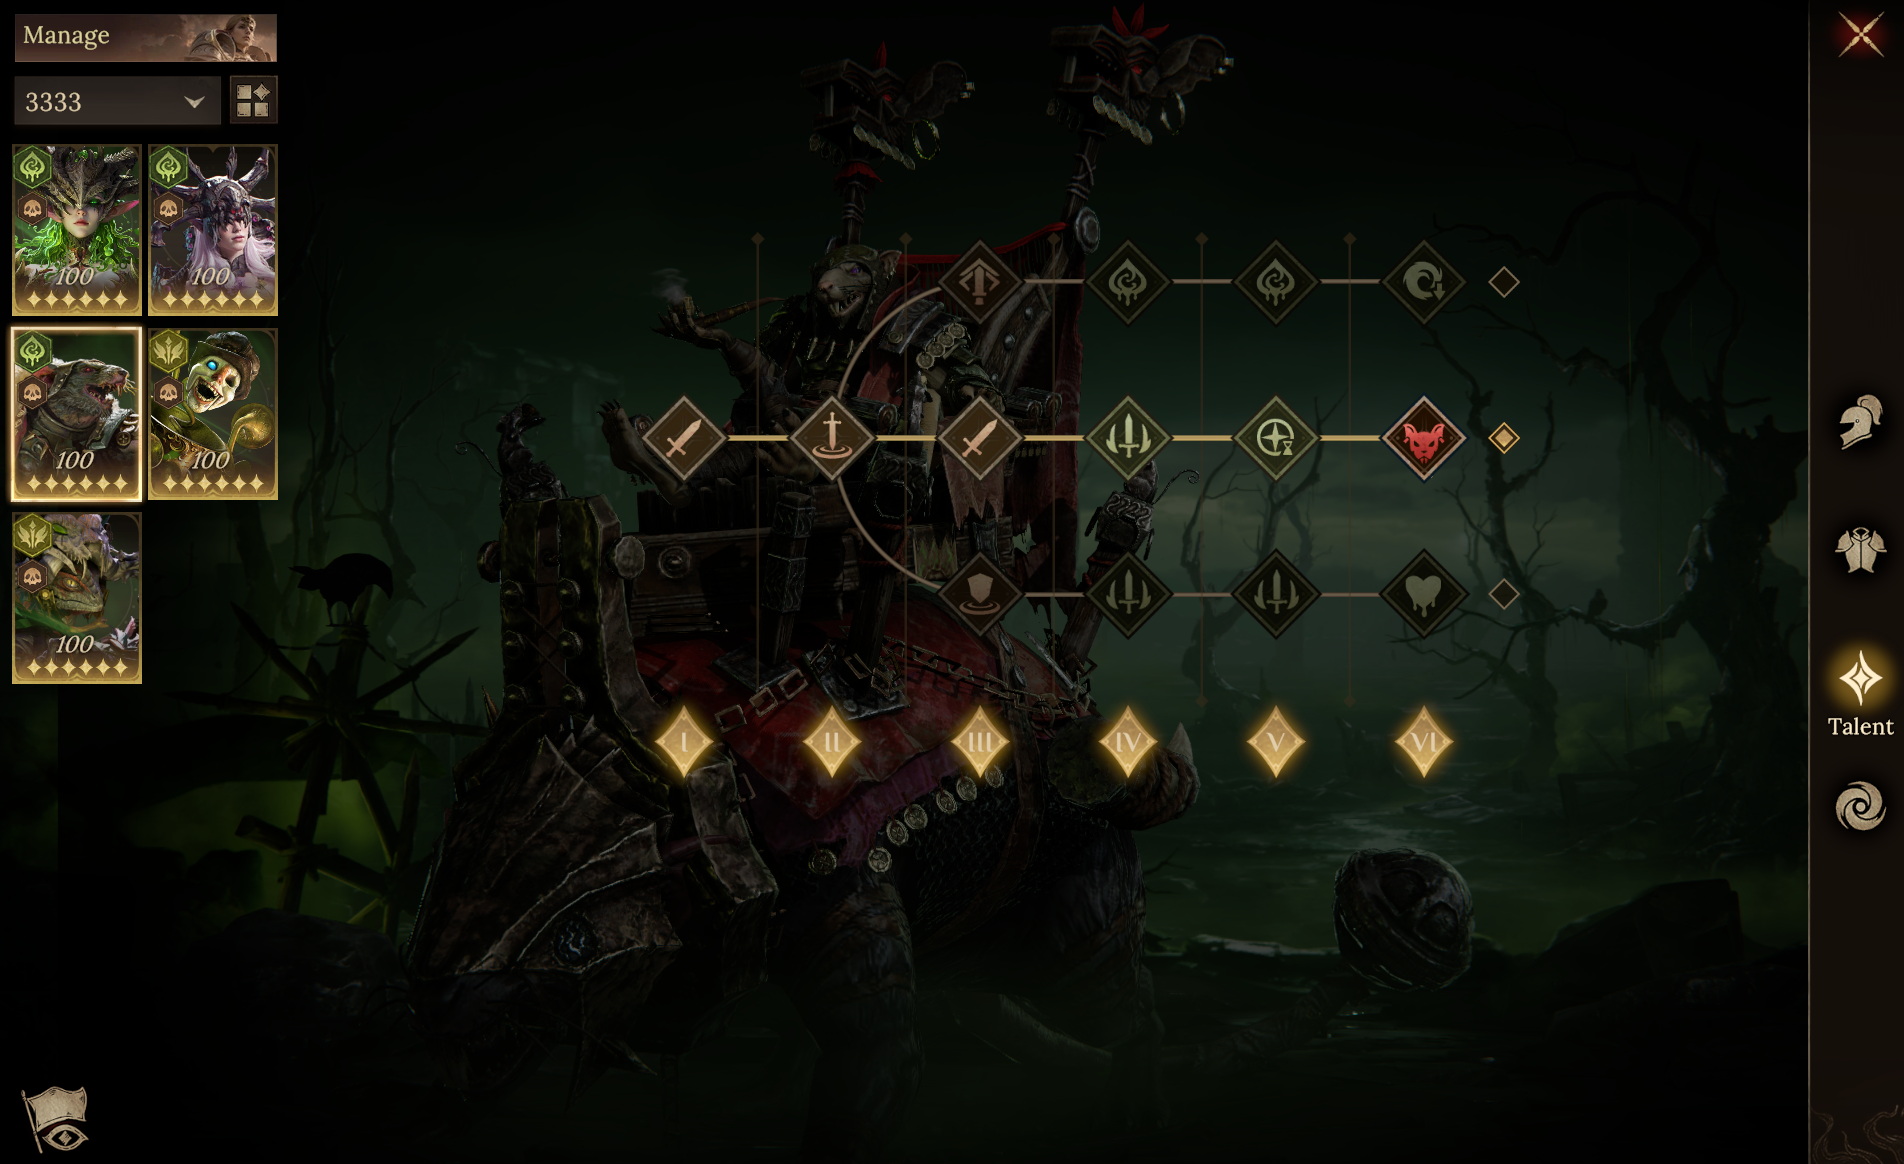
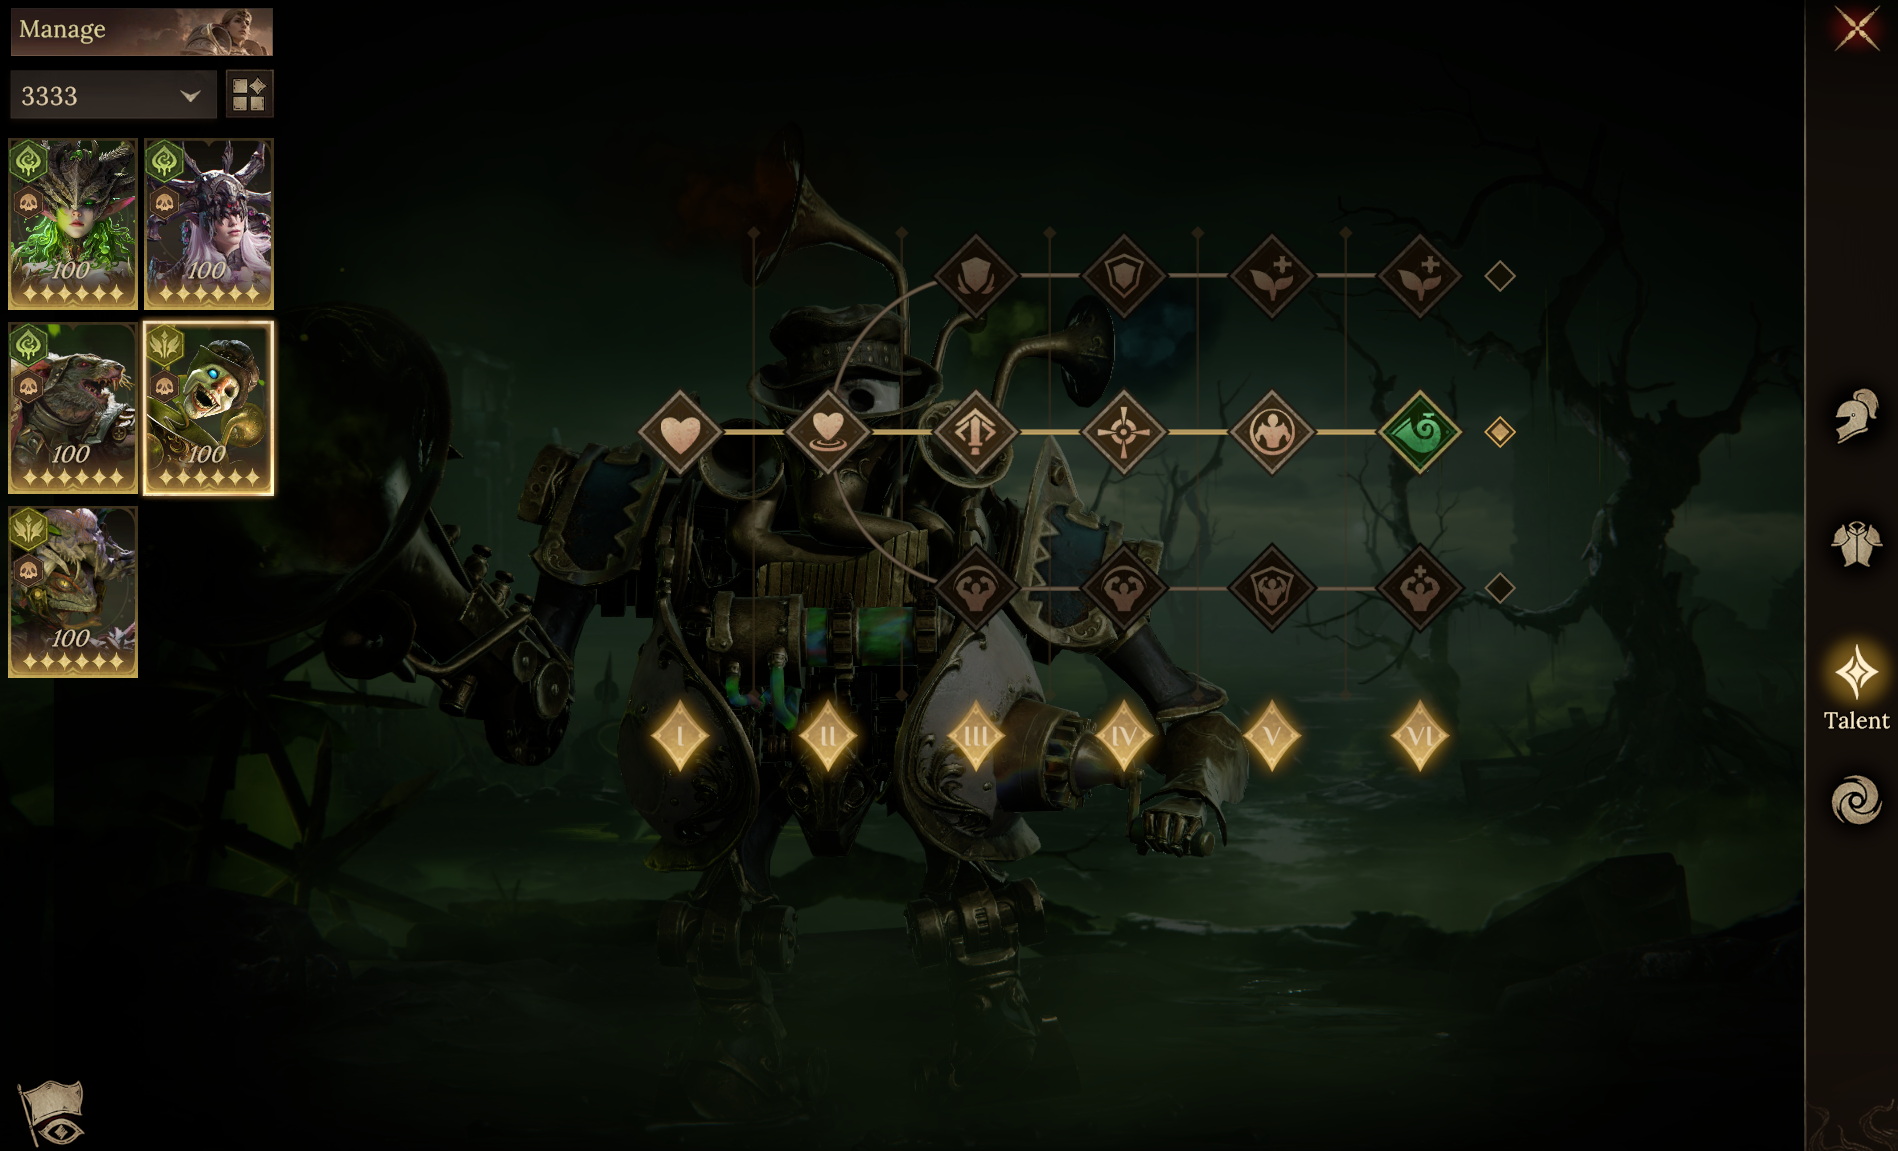
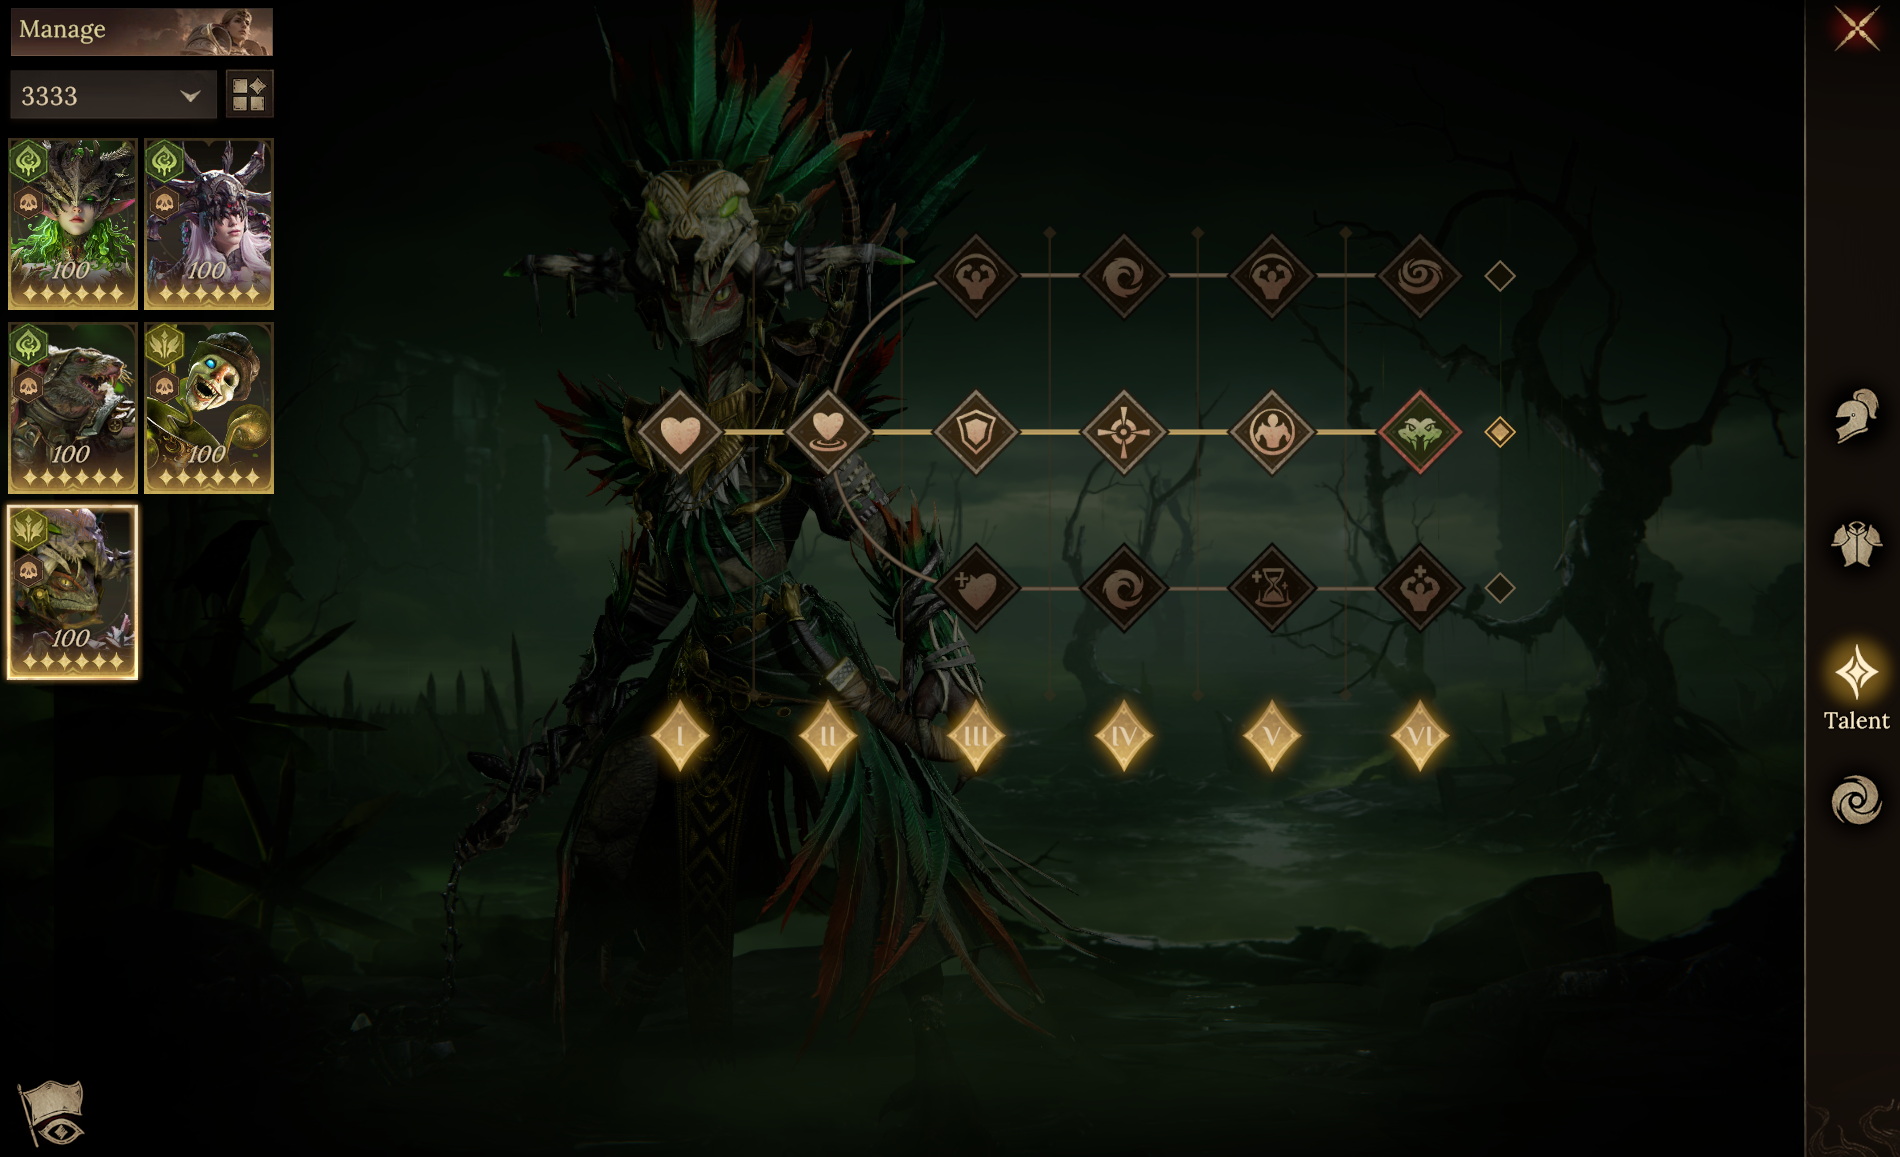
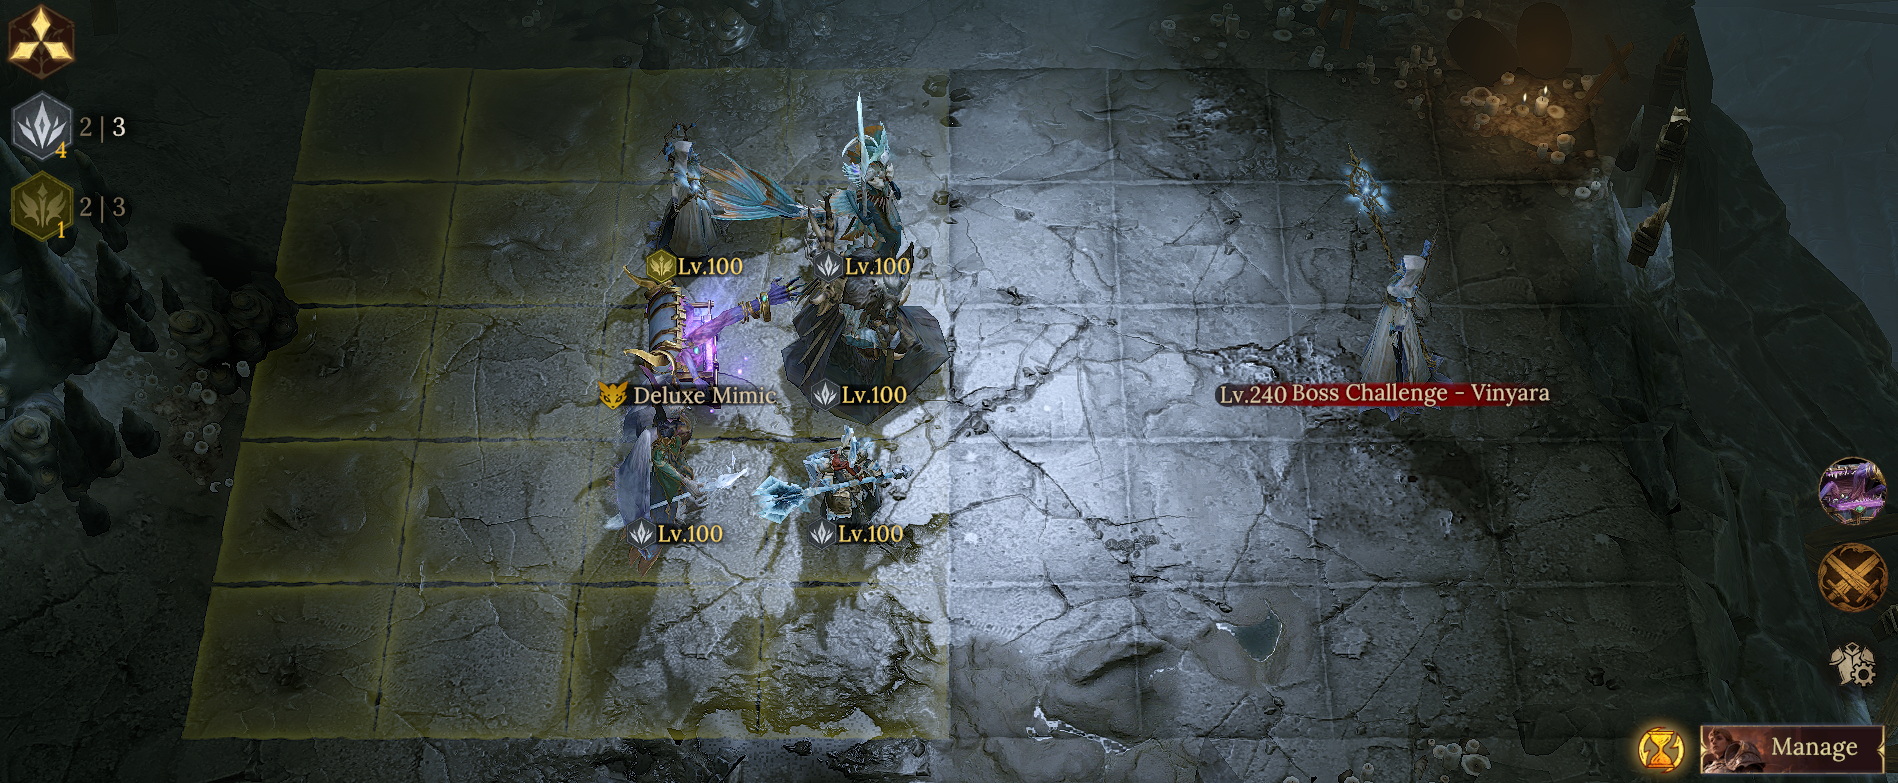 ● Team Aura / Familiar
Use Beldelle's Attack Aura to maximize the team's damage output, and pair the Mimic Familiar with Vinyara to prevent the boss from using its skills.
● Skill Timing Guide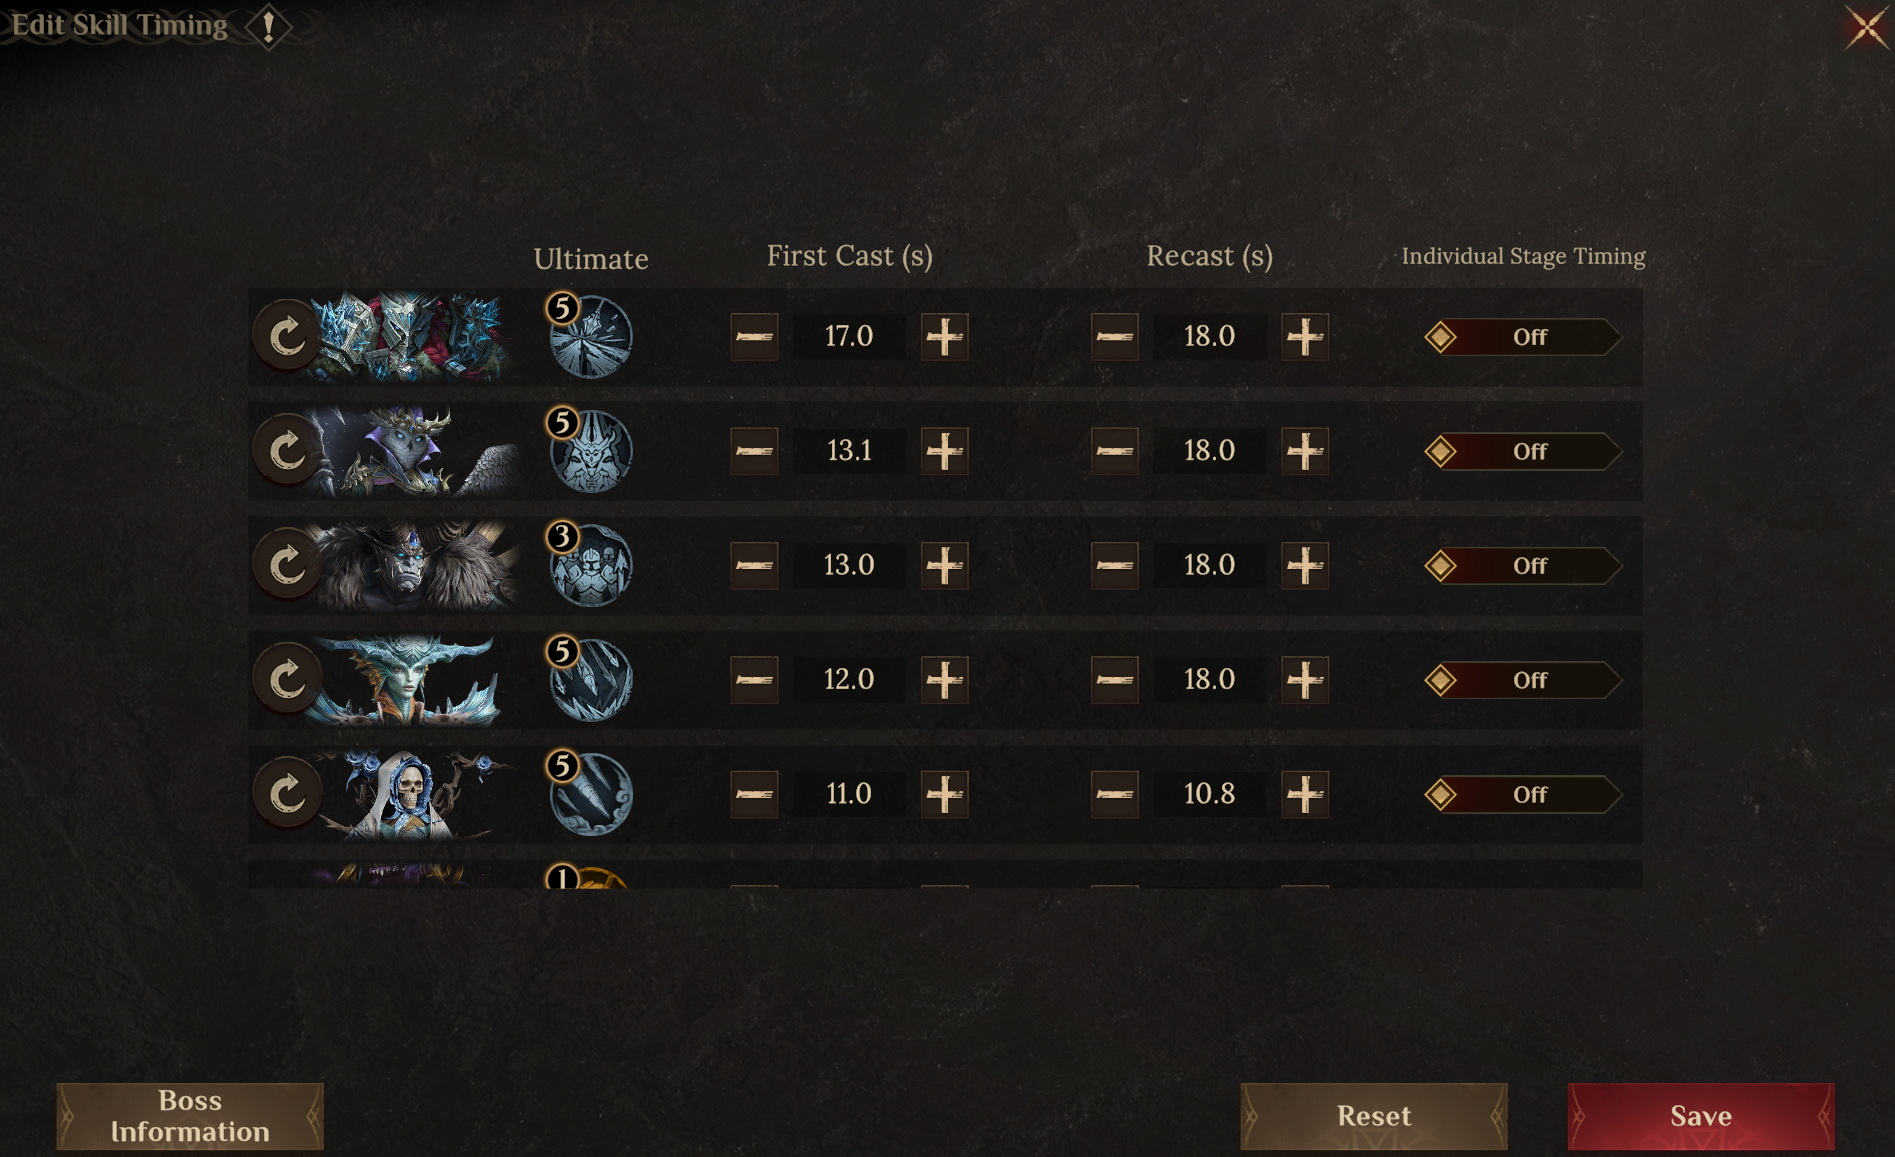 ● Important Notes
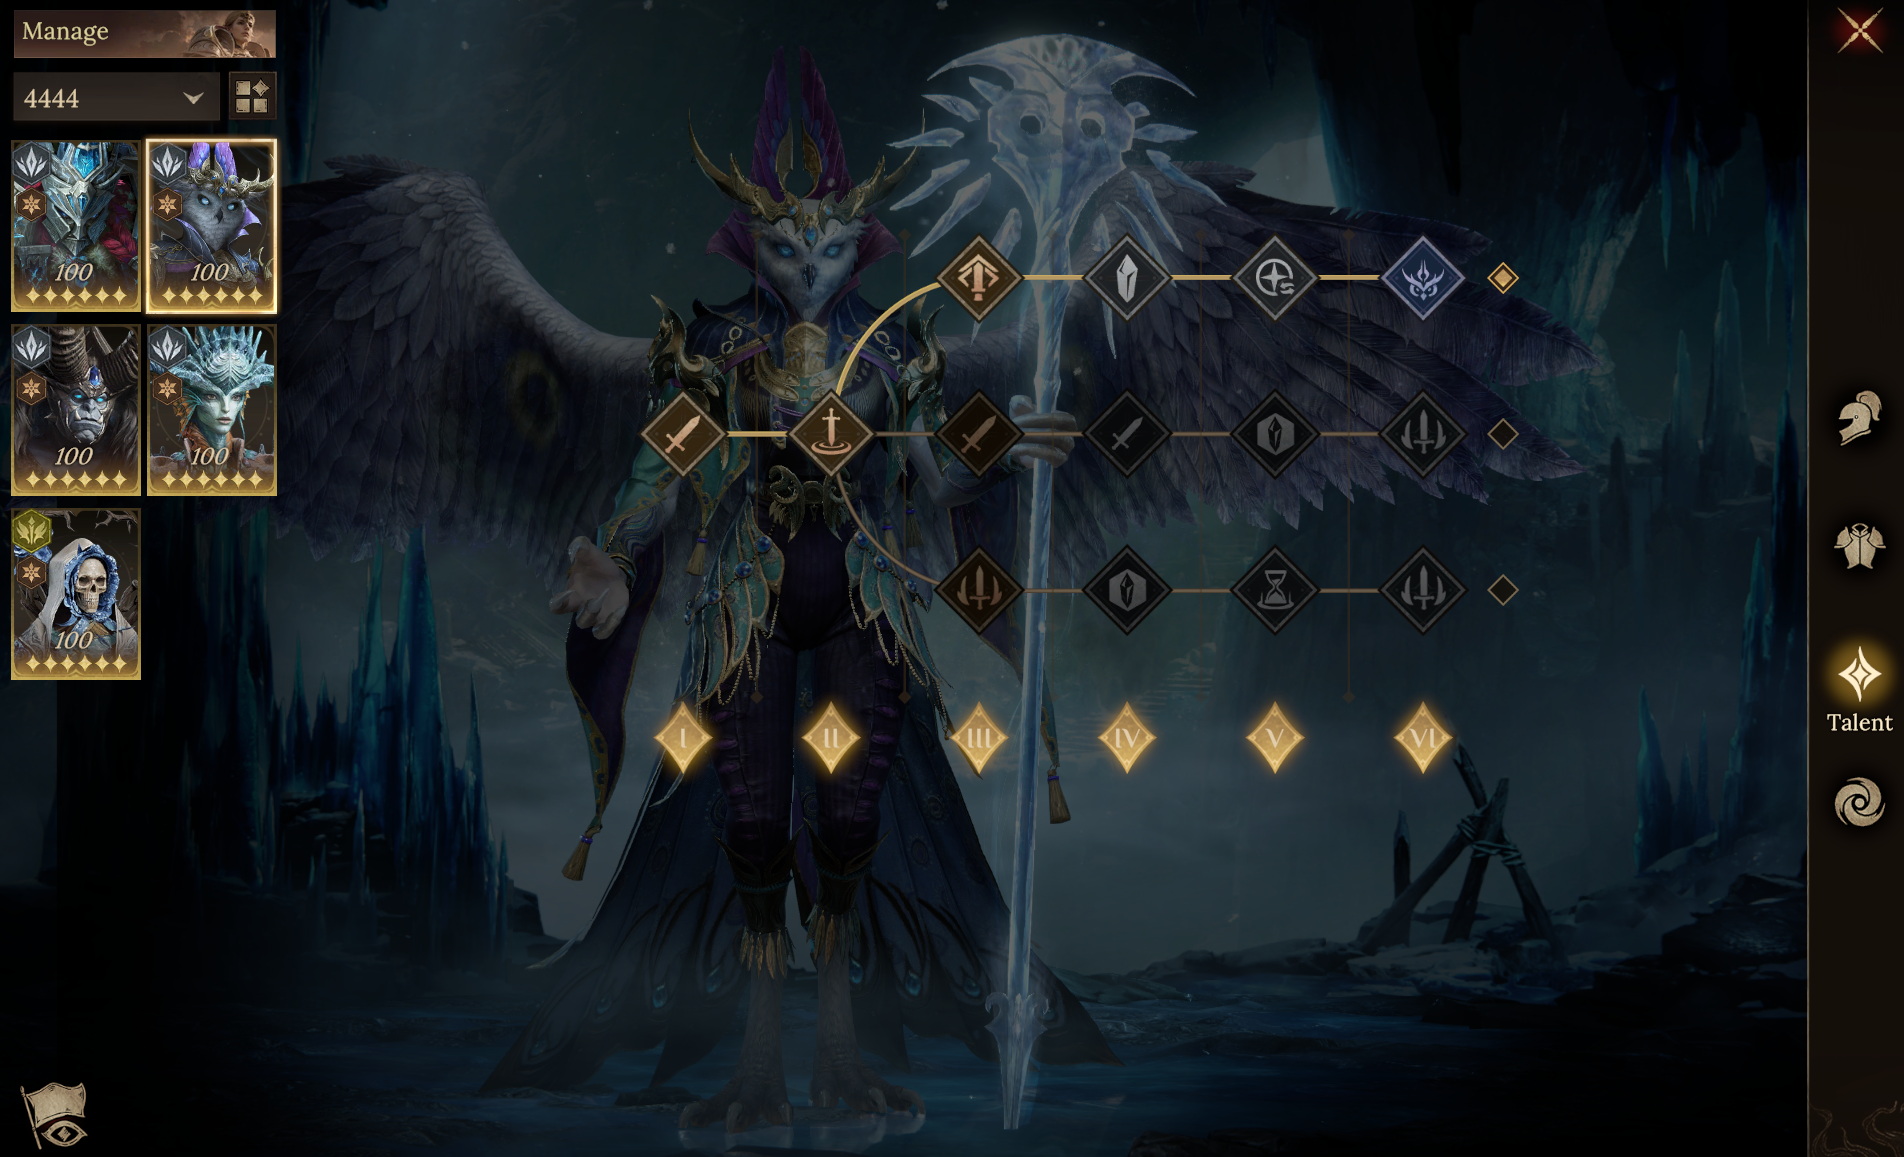
1. This strategy is centered on using Vinyara to deplete the boss's Ultimate Energy, while the Mimic Familiar inflicts a High-quality Recharging Speed Penalty. This makes it difficult for the boss to use skills, thereby resolving most of the survivability pressure. Therefore, in addition to stacking high Skill Haste on Vinyara, it is also best for the Mimic to have the Flapping Wings Talent, as it also increases Skill Haste.
● Hero Substitutions
Shinnah and Vinyara: Accuracy > 260;
Vinyara: Skill Haste > 160
● Gear Reference
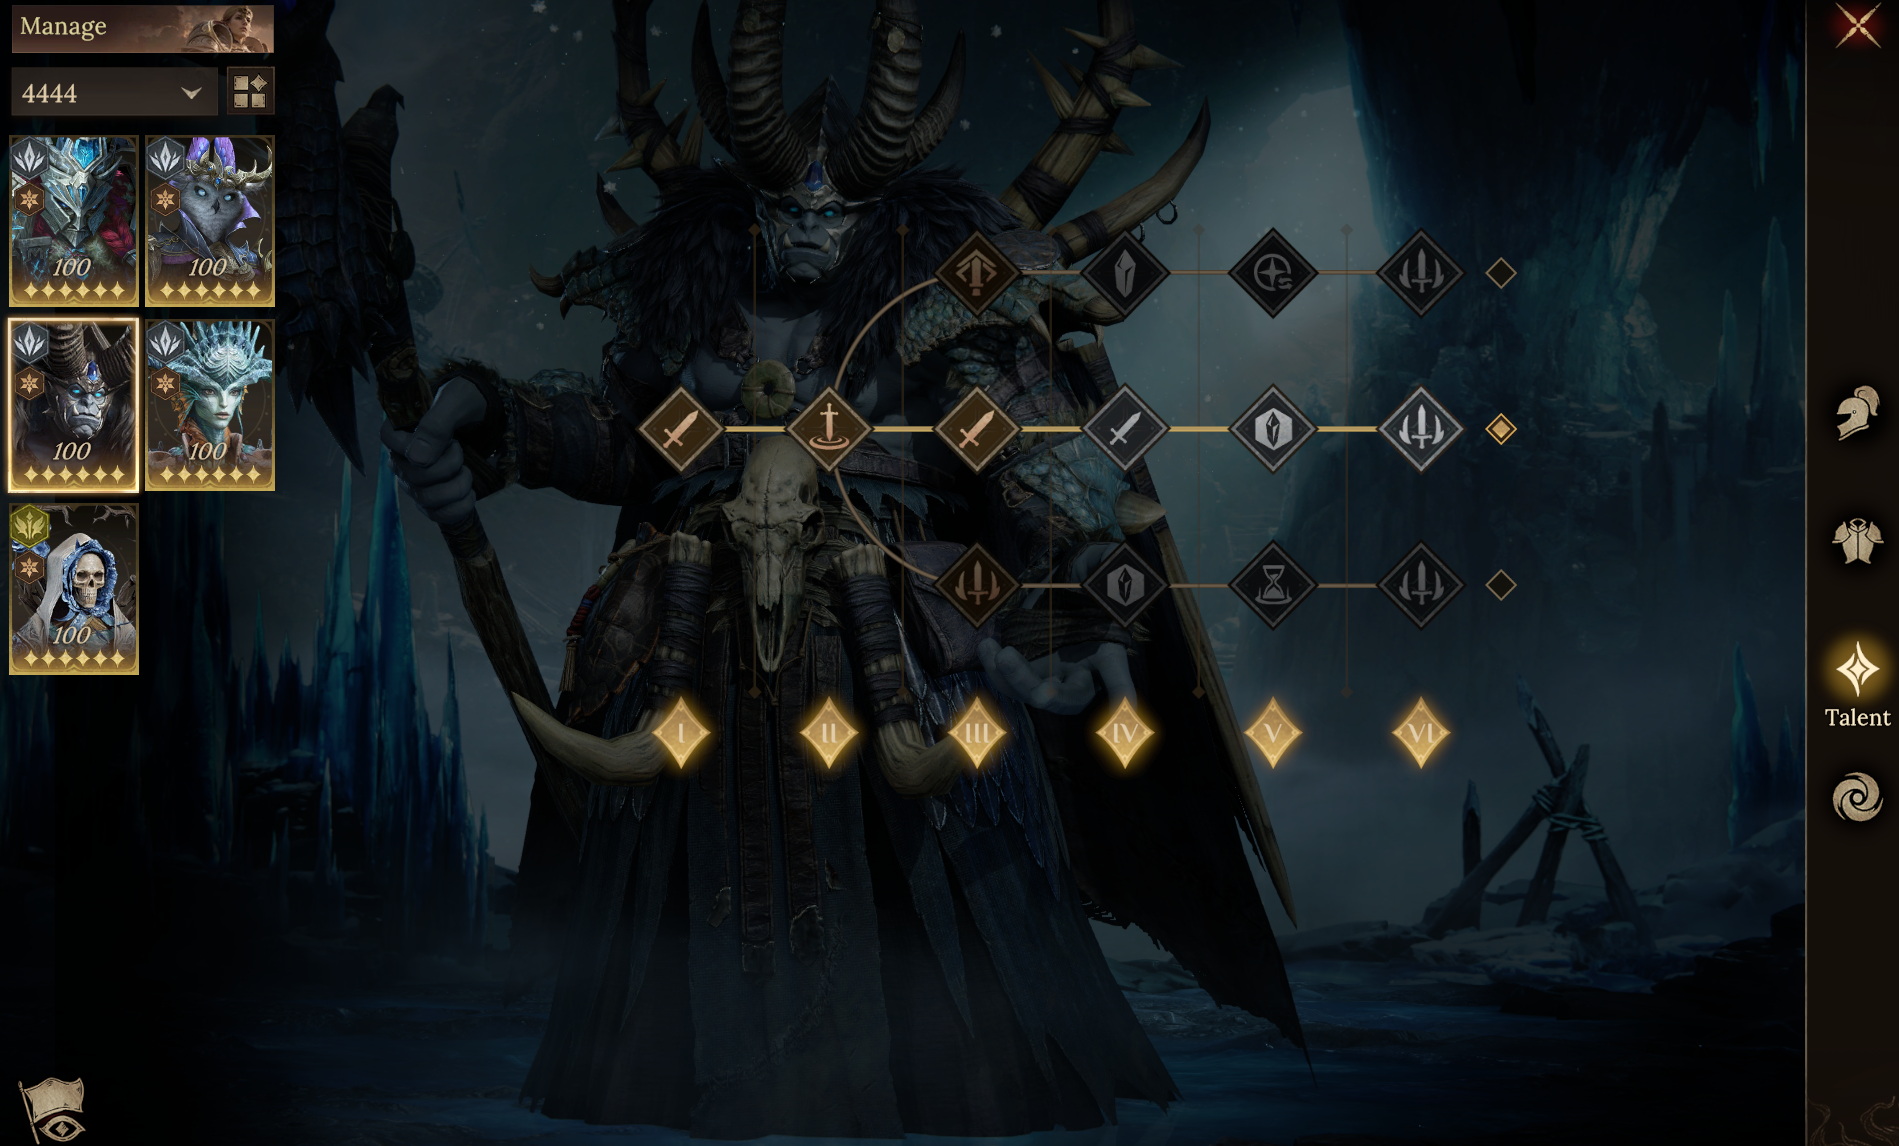
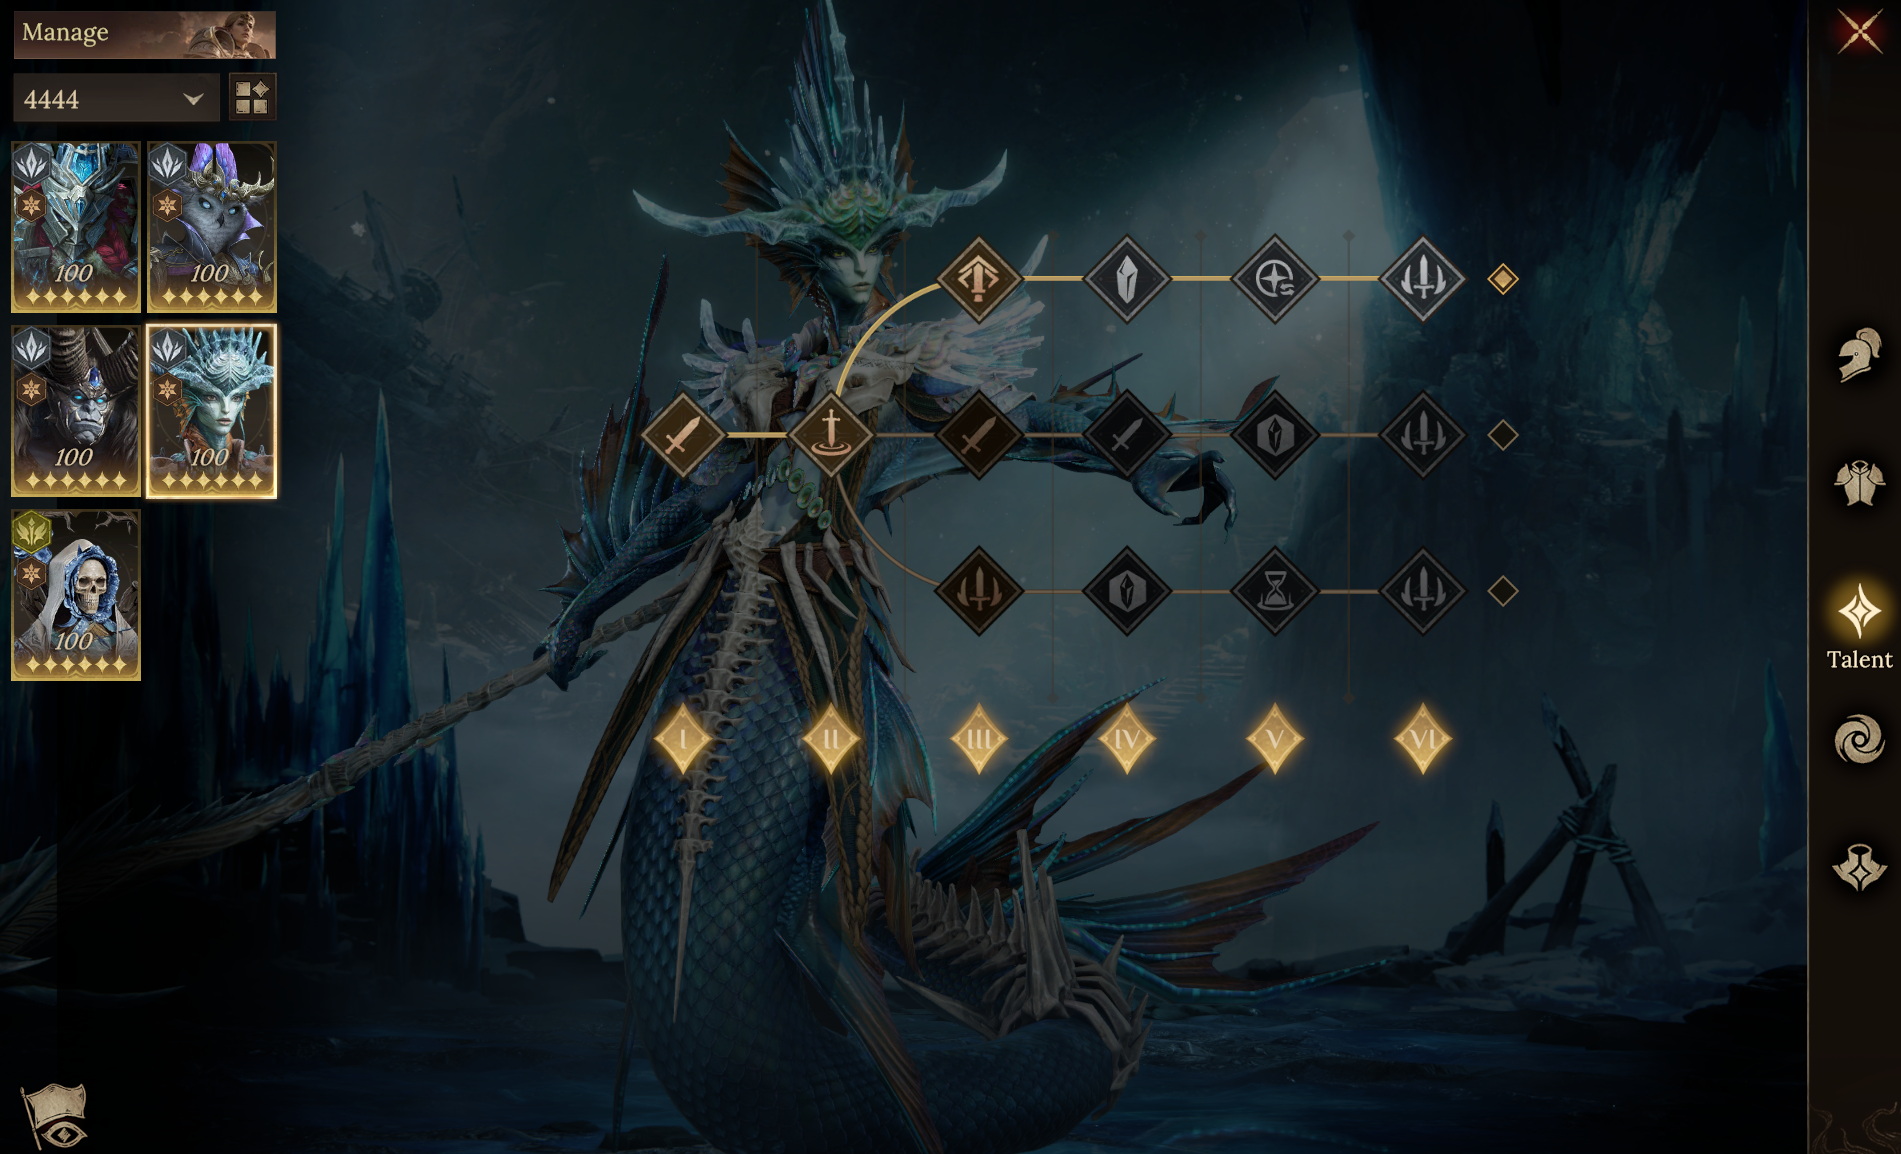
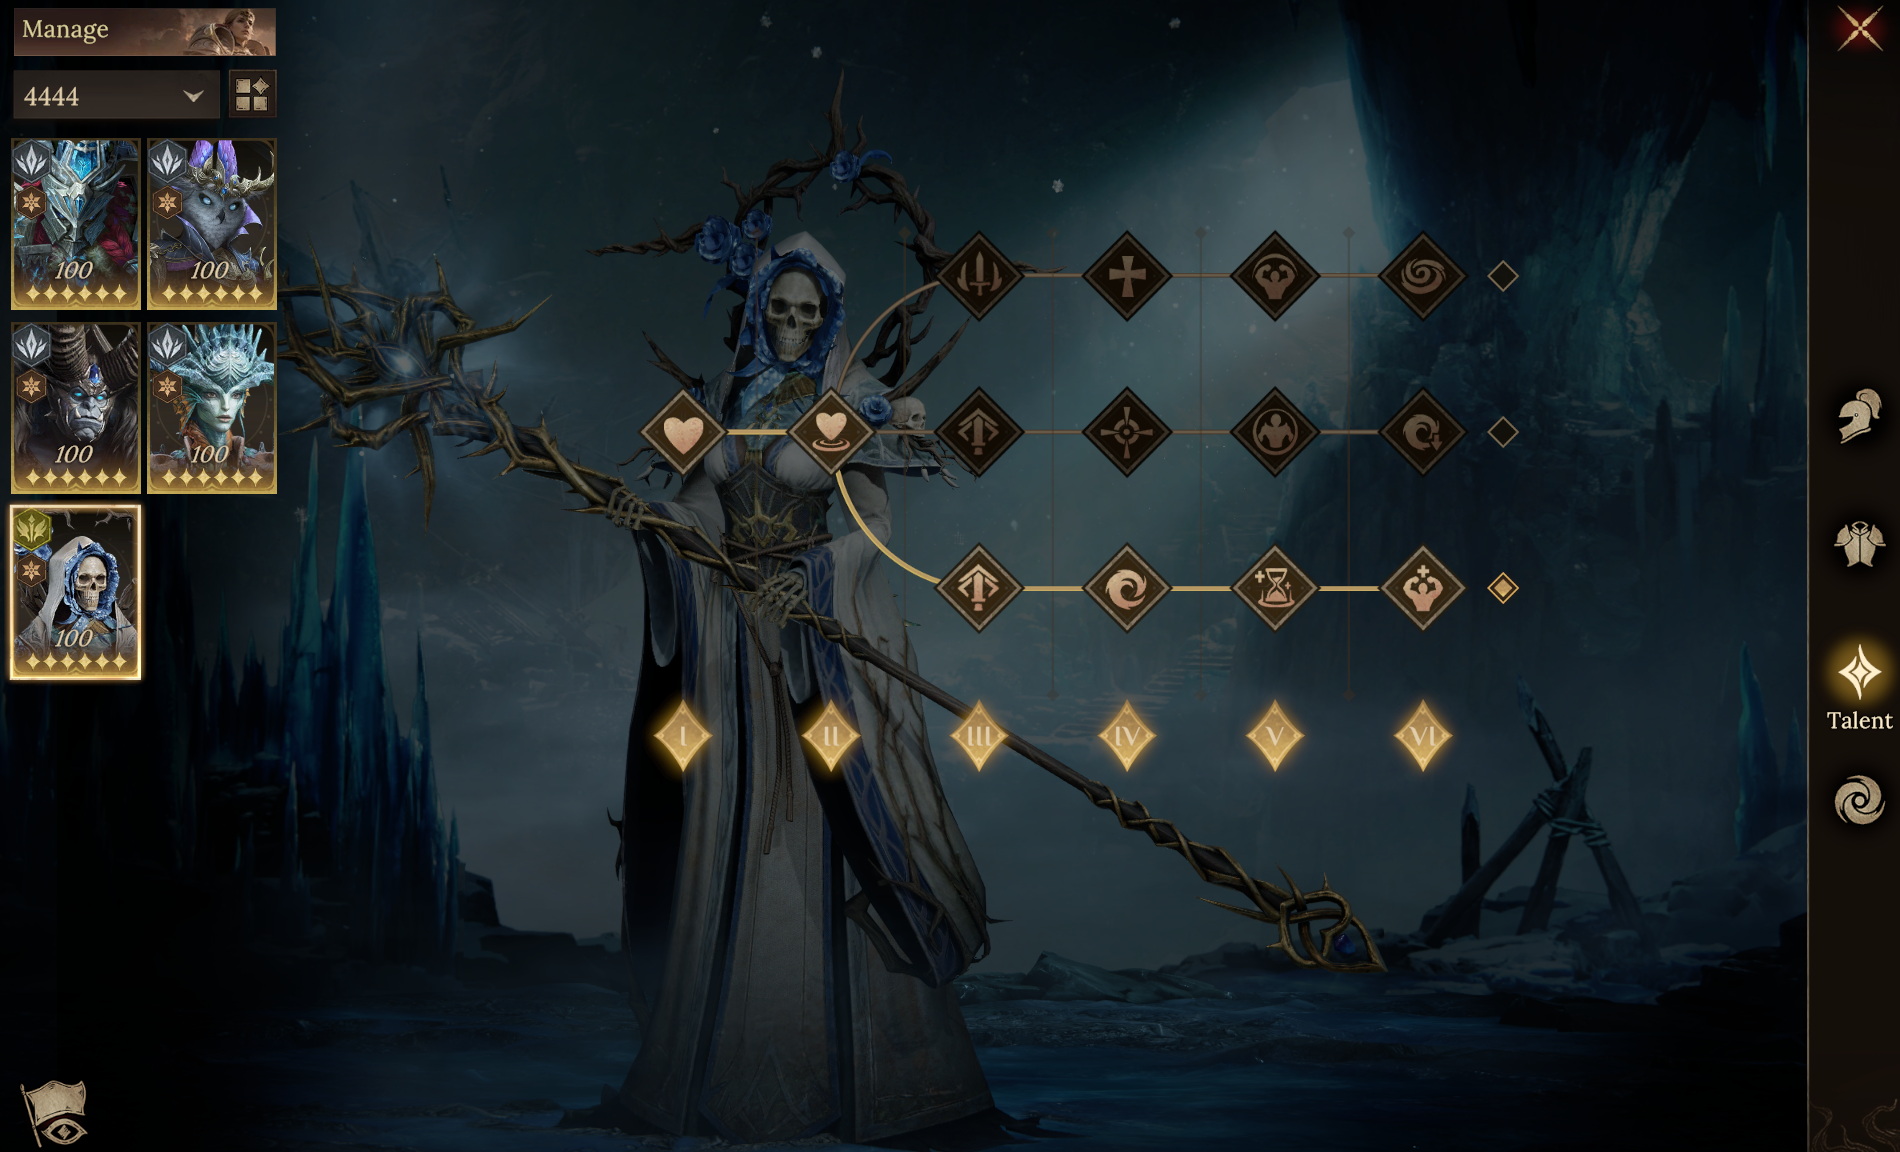
If Vinyara can meet the Skill Haste threshold without a Legendary set, equip her with Brotherhood Spirit. Shinnah can then switch to damage output gear.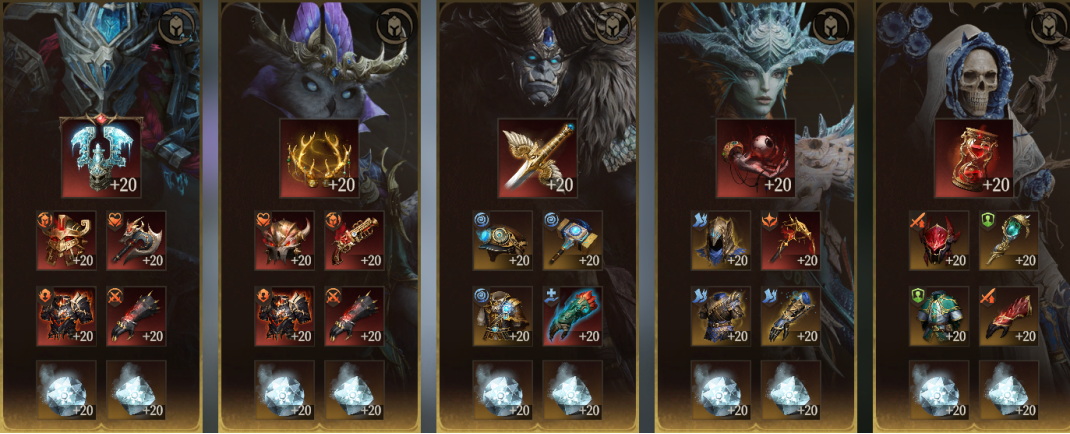 ● Talent Reference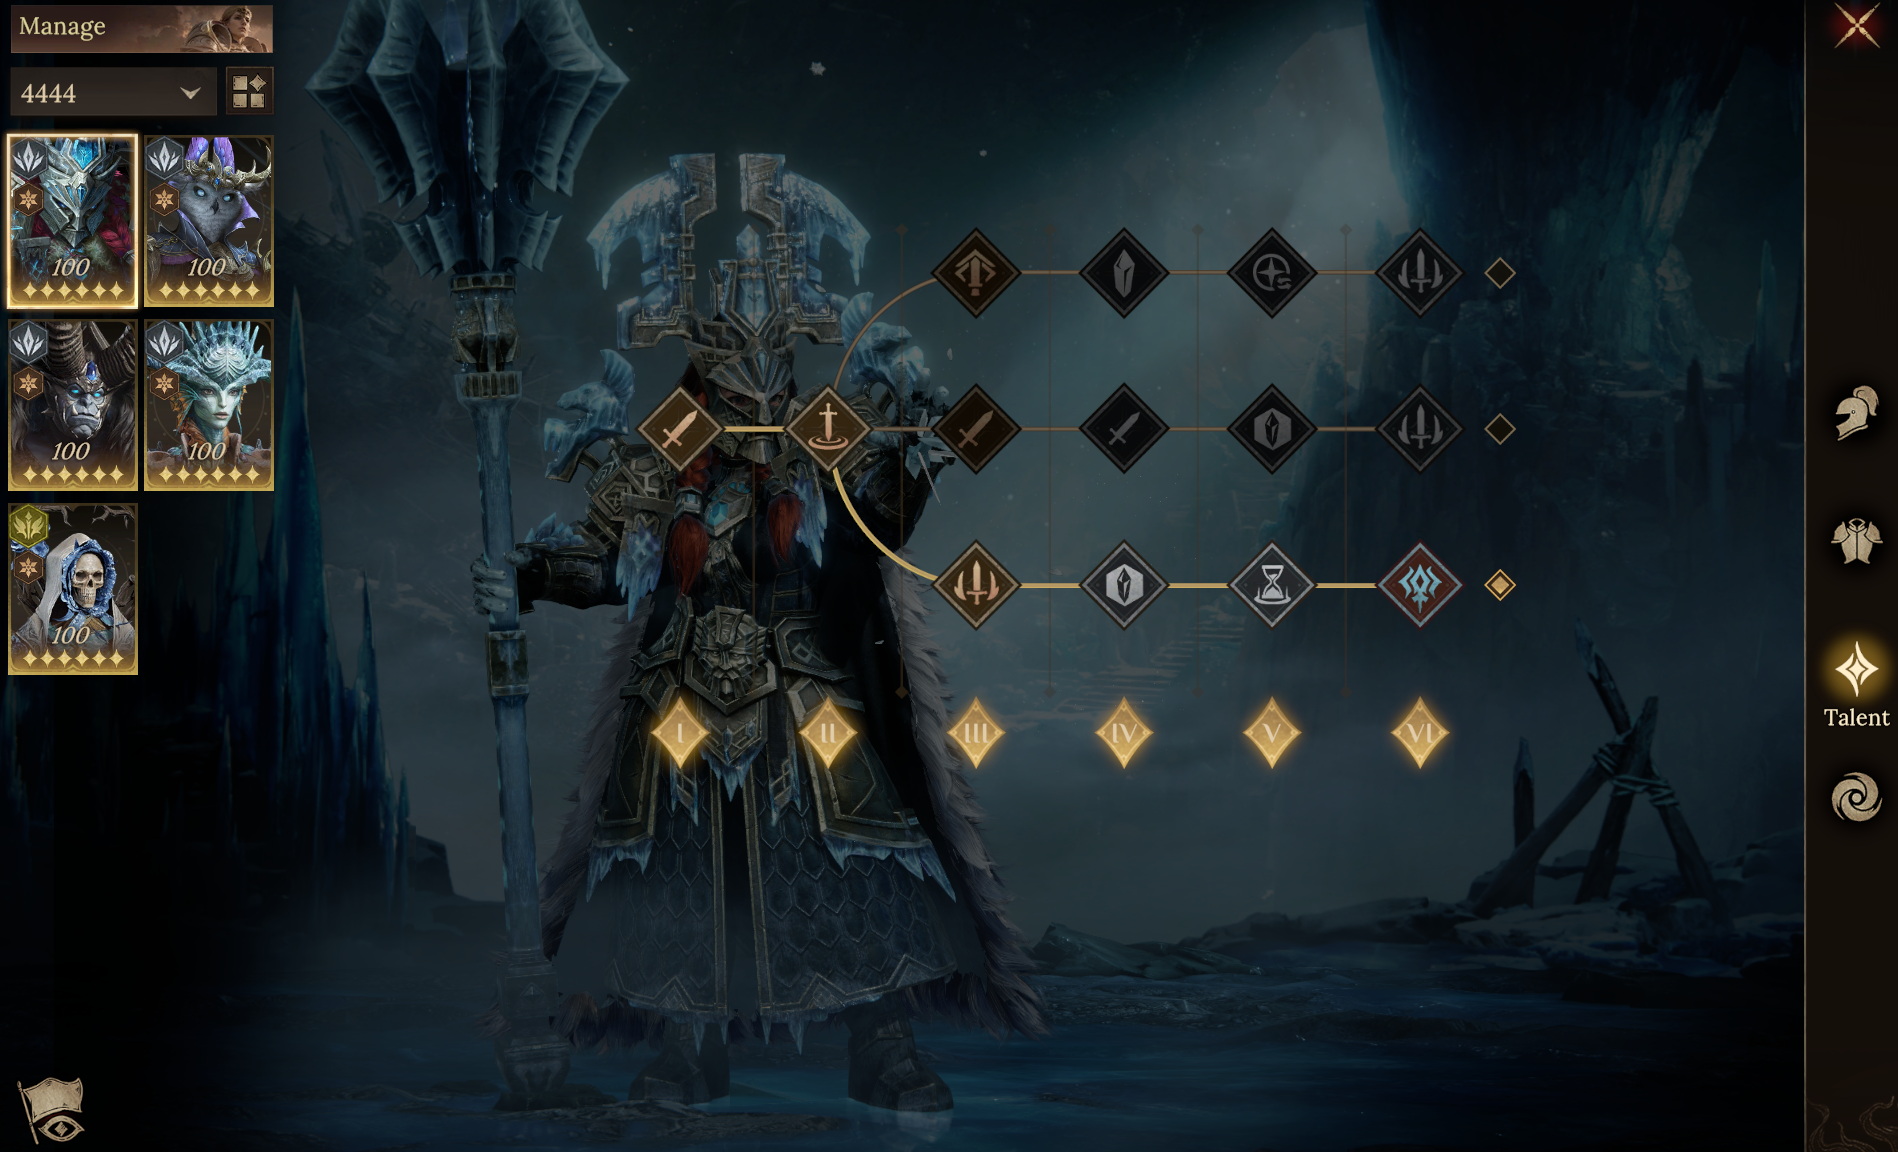
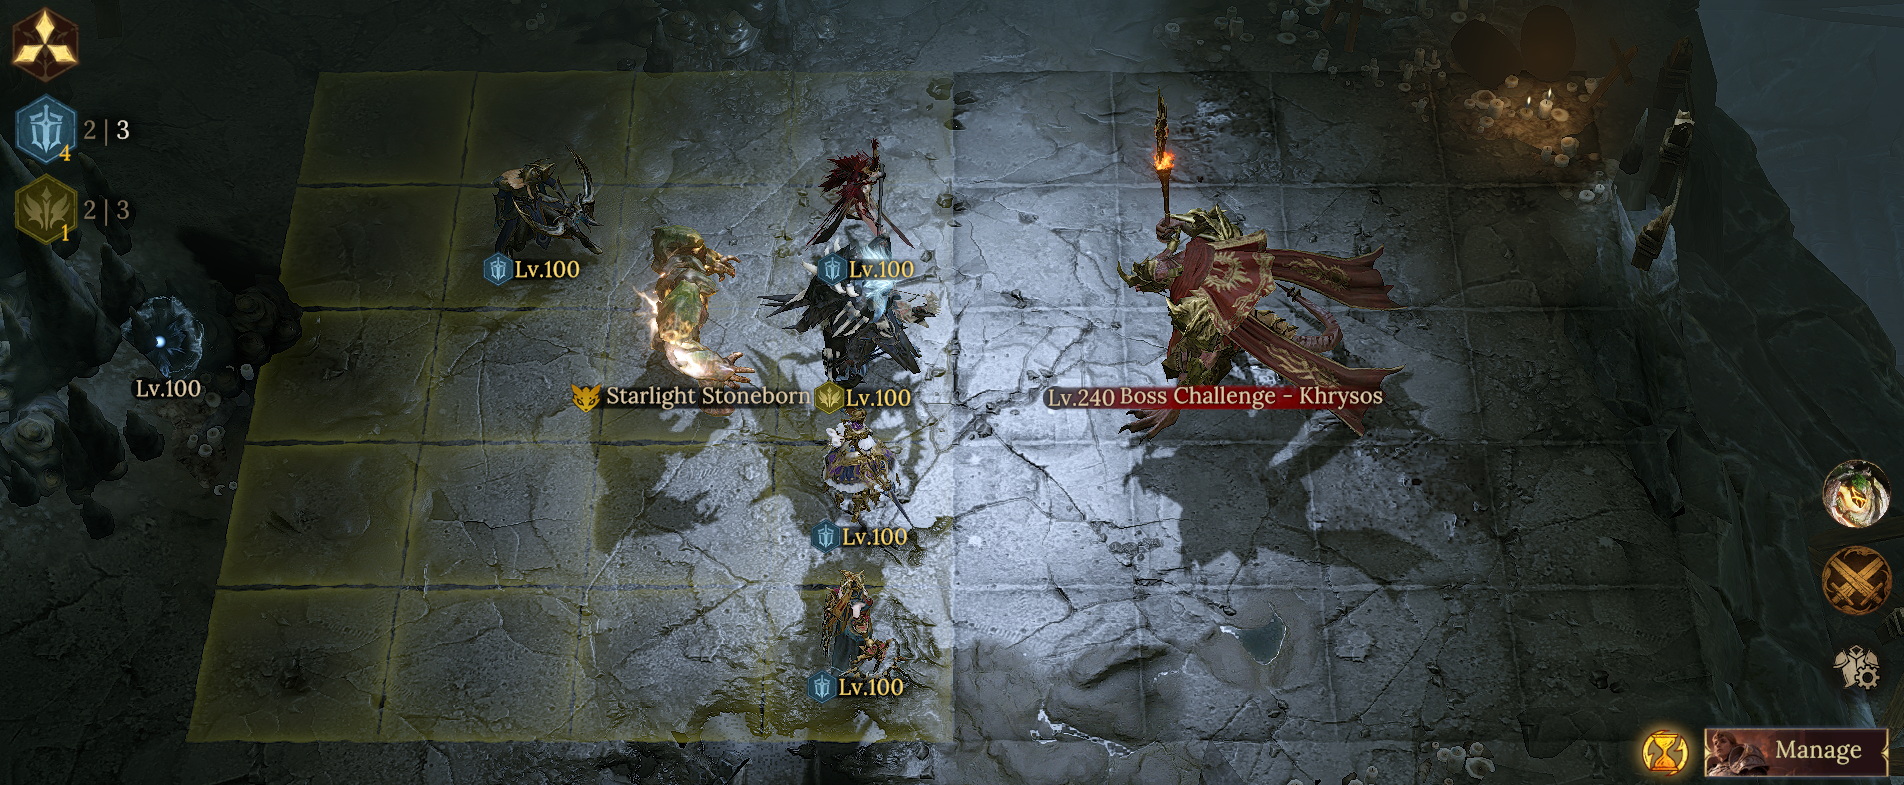 ● Team Aura / Familiar
Pair Nastjenka's Attack Aura with the Stoneborn Familiar to maximize the team's damage output.
● Skill Timing Guide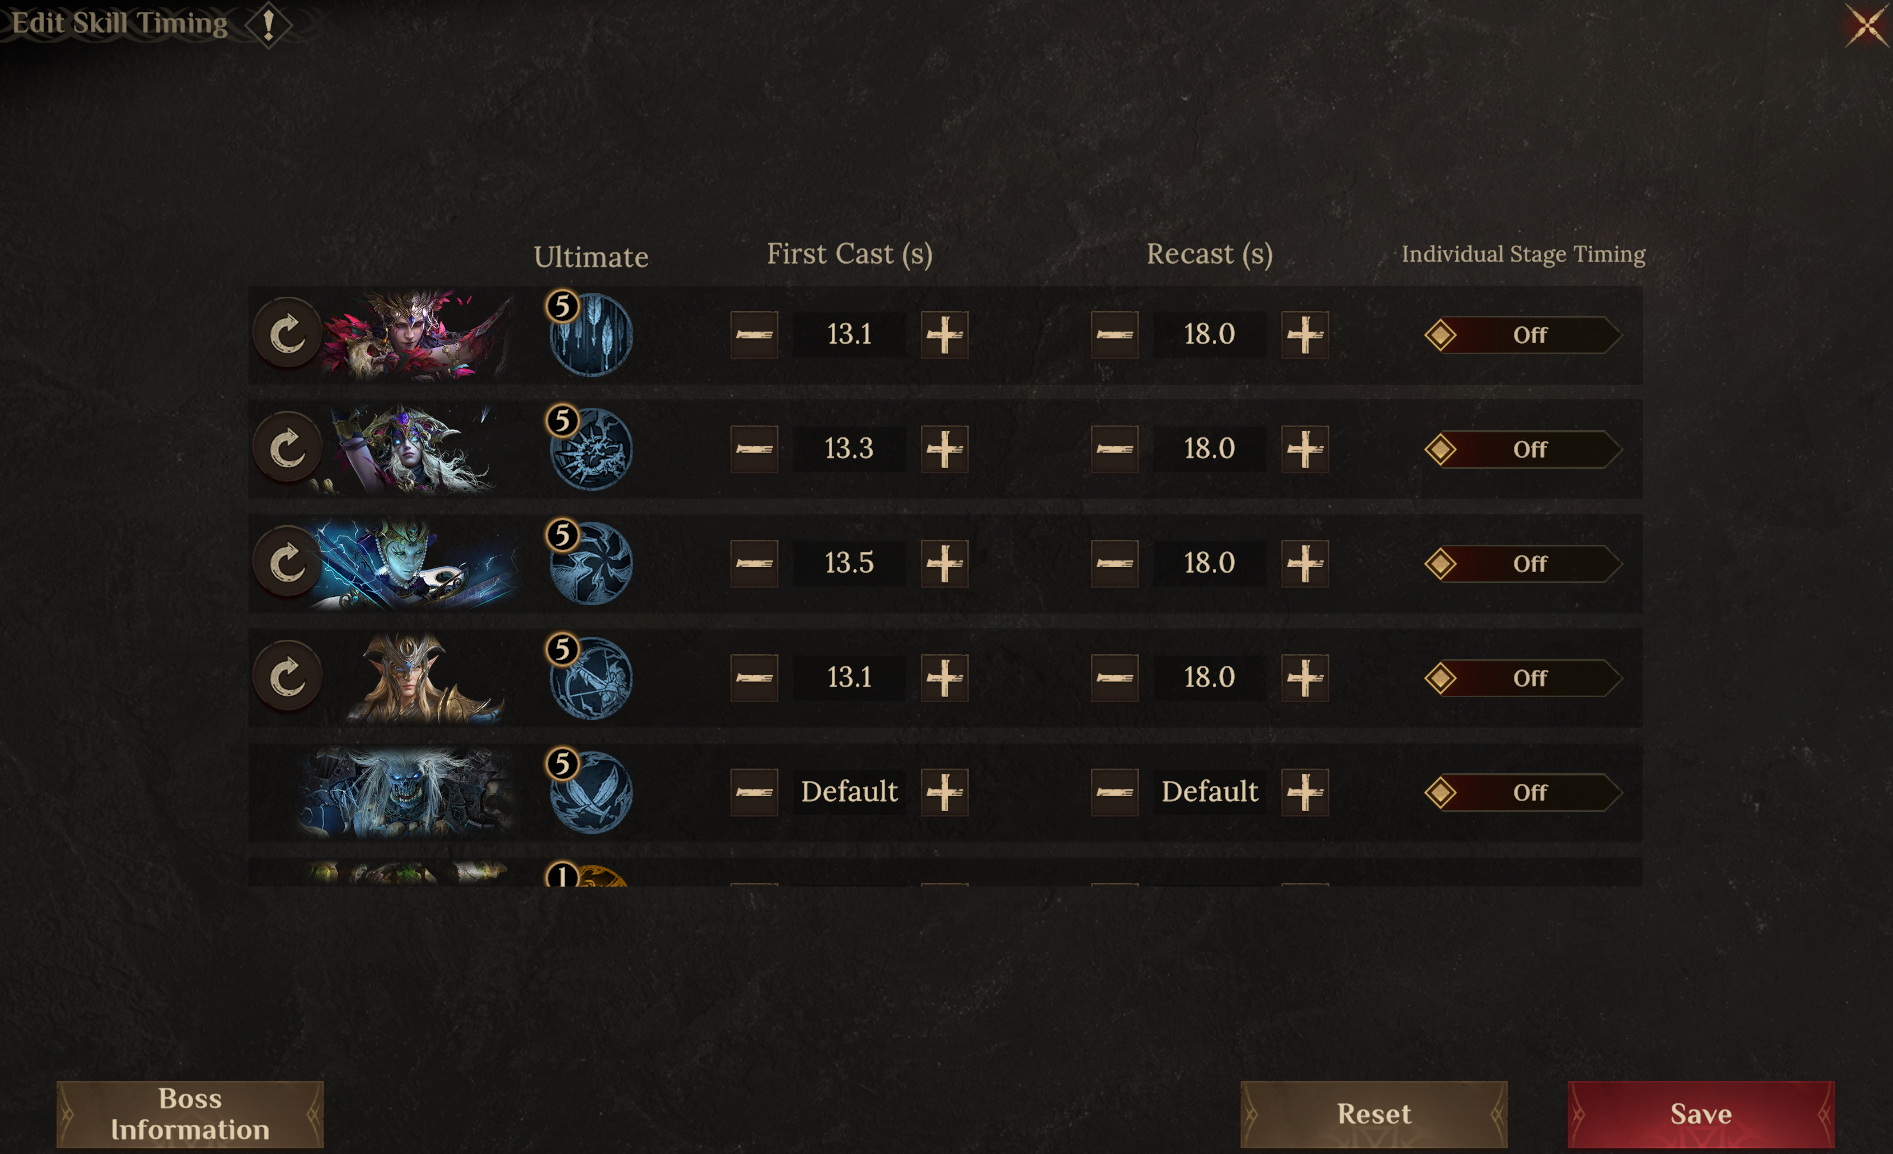 ● Important Notes
1. If you don't have Irmoush, you can use Acilia as a replacement, but ensure she has >60 Skill Haste.
2. Dauntless heroes are quite flexible for substitutions. However, if using Ivellios, it's recommended to stack some HP and Defense on him.
● Hero Substitutions
Irmoush and Kurvida require >260 Accuracy. For Irmoush's other stats, prioritize stacking Defense and HP.
Tharivol requires ≥100% Crit Rate and >260 Accuracy.
Since Dauntless heroes rely on basic attacks for most of their damage, it's recommended to maximize their Attack Speed through Rune sub-stats.
● Gear Reference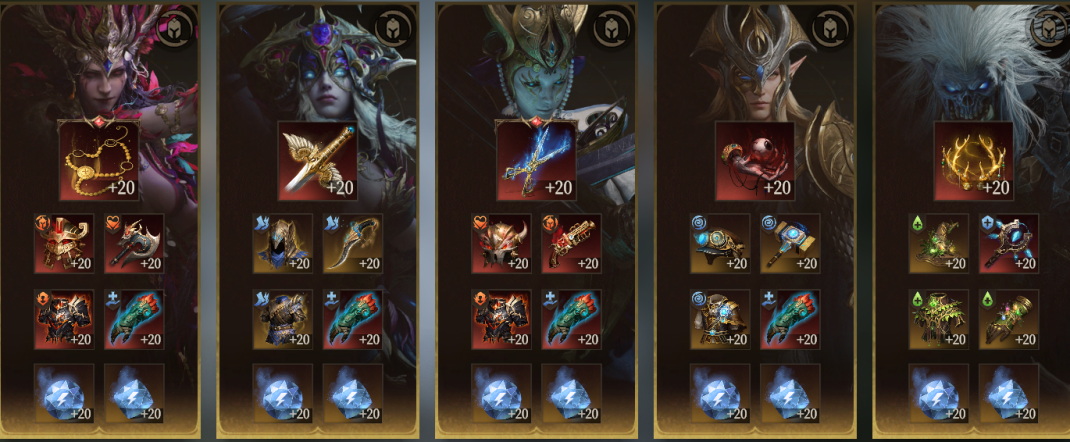 ● Talent Reference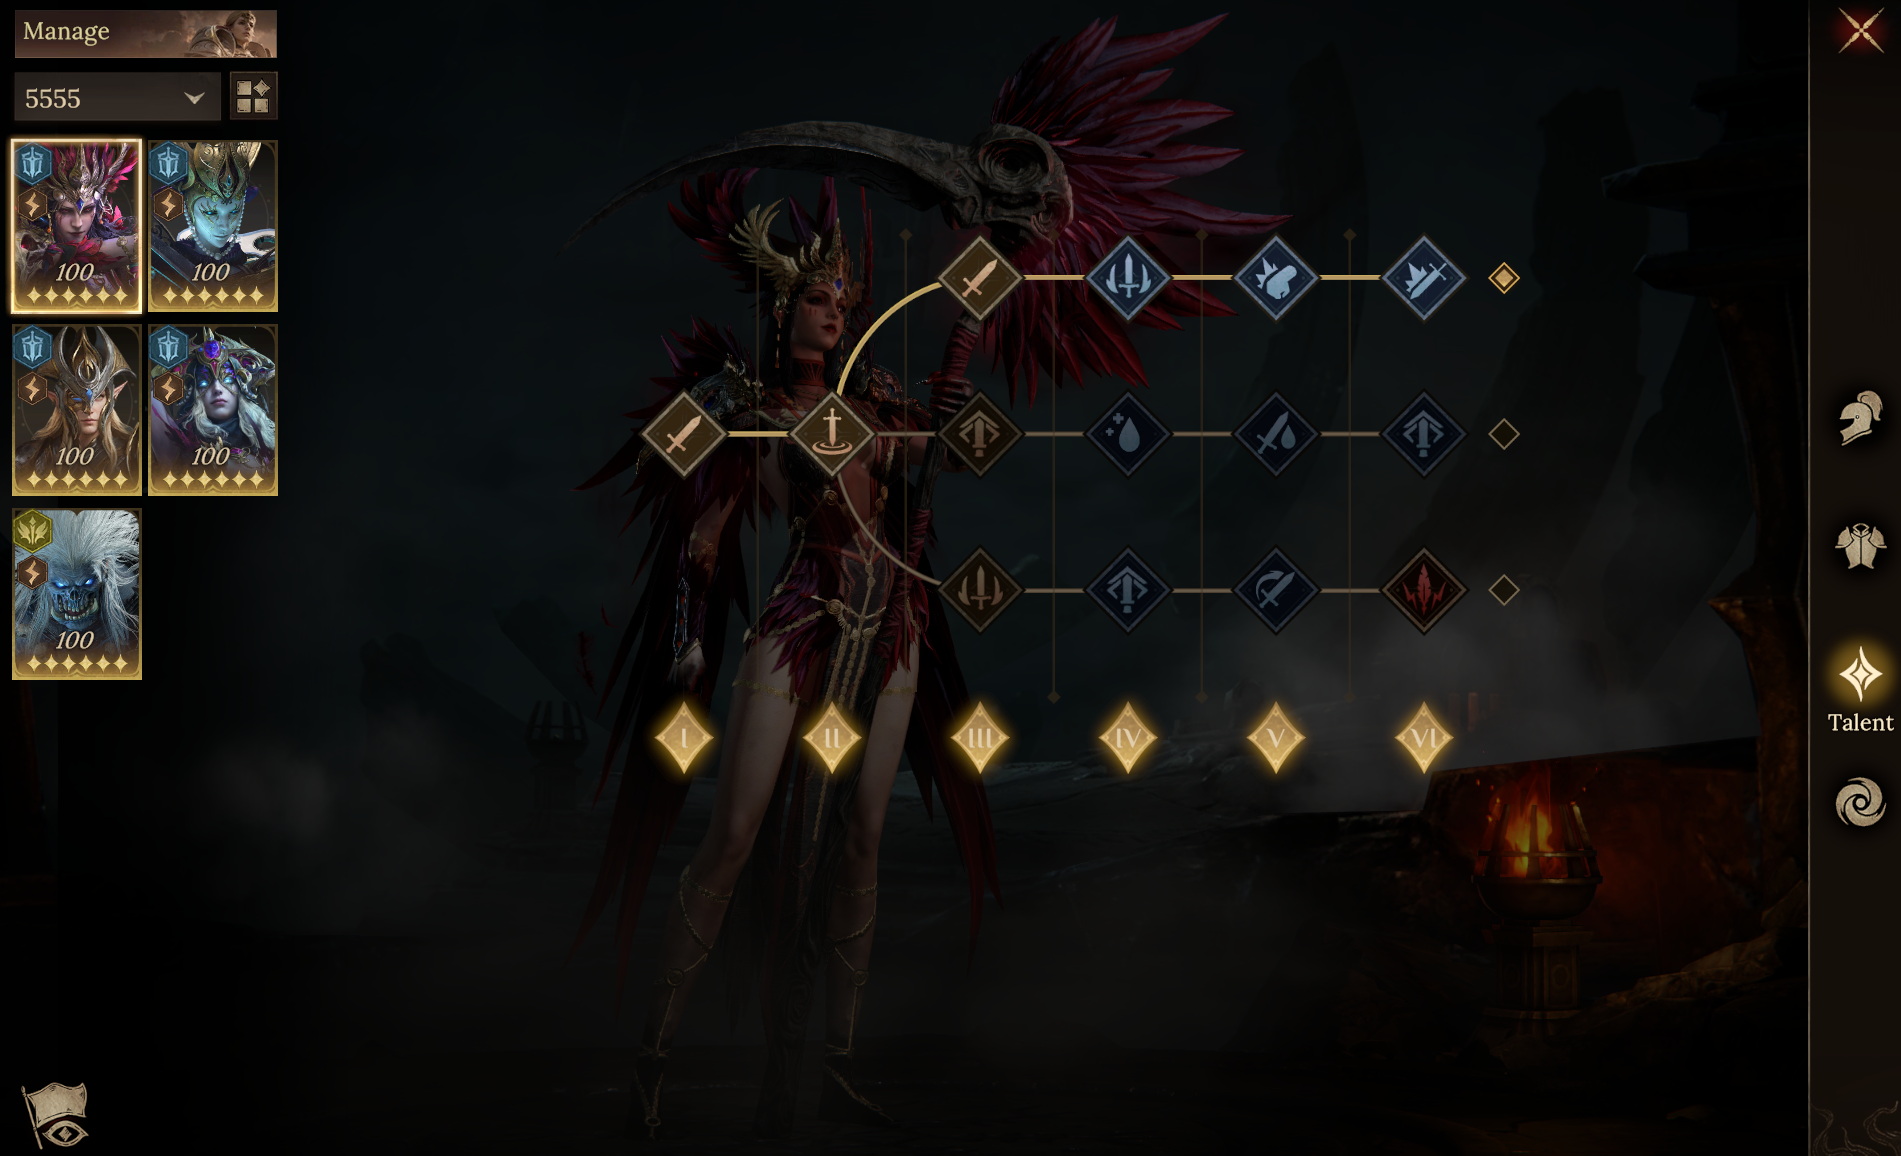
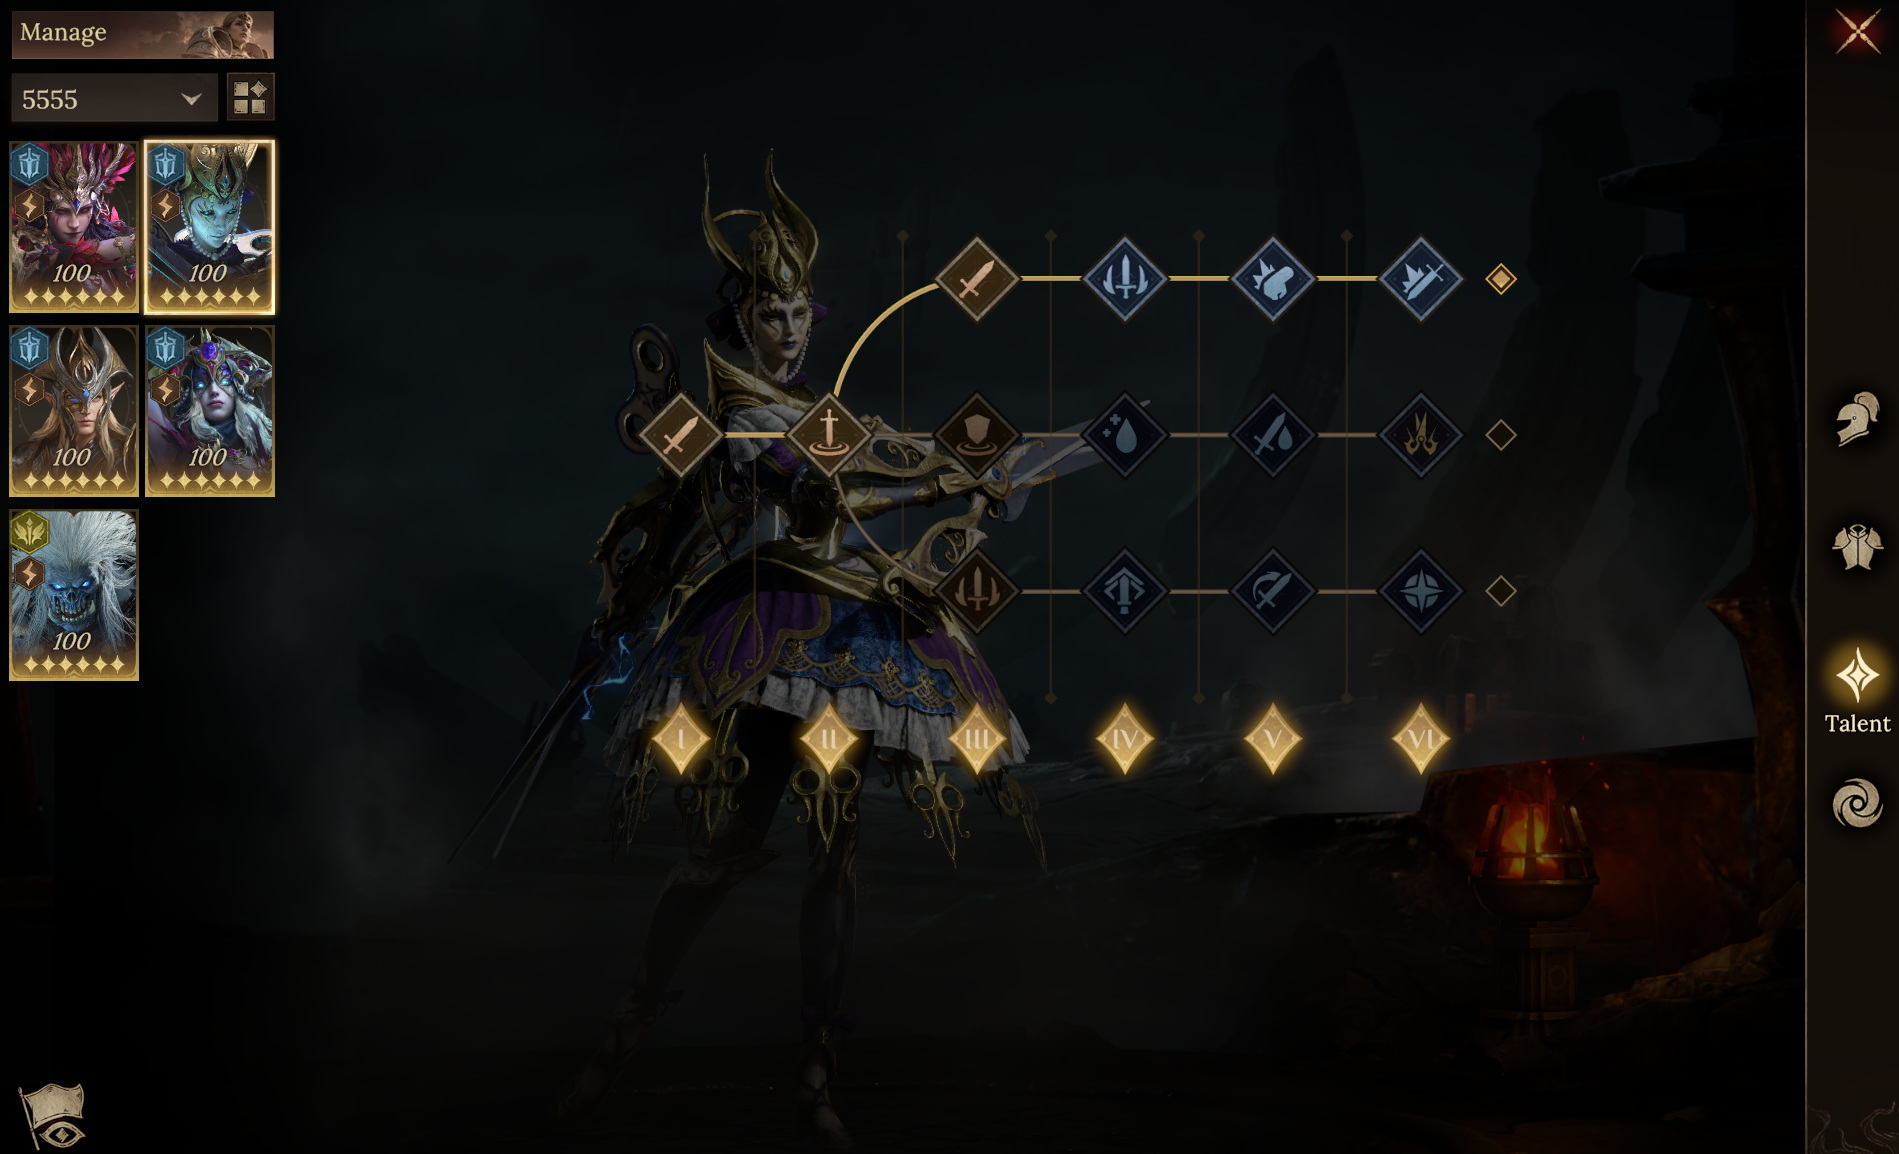
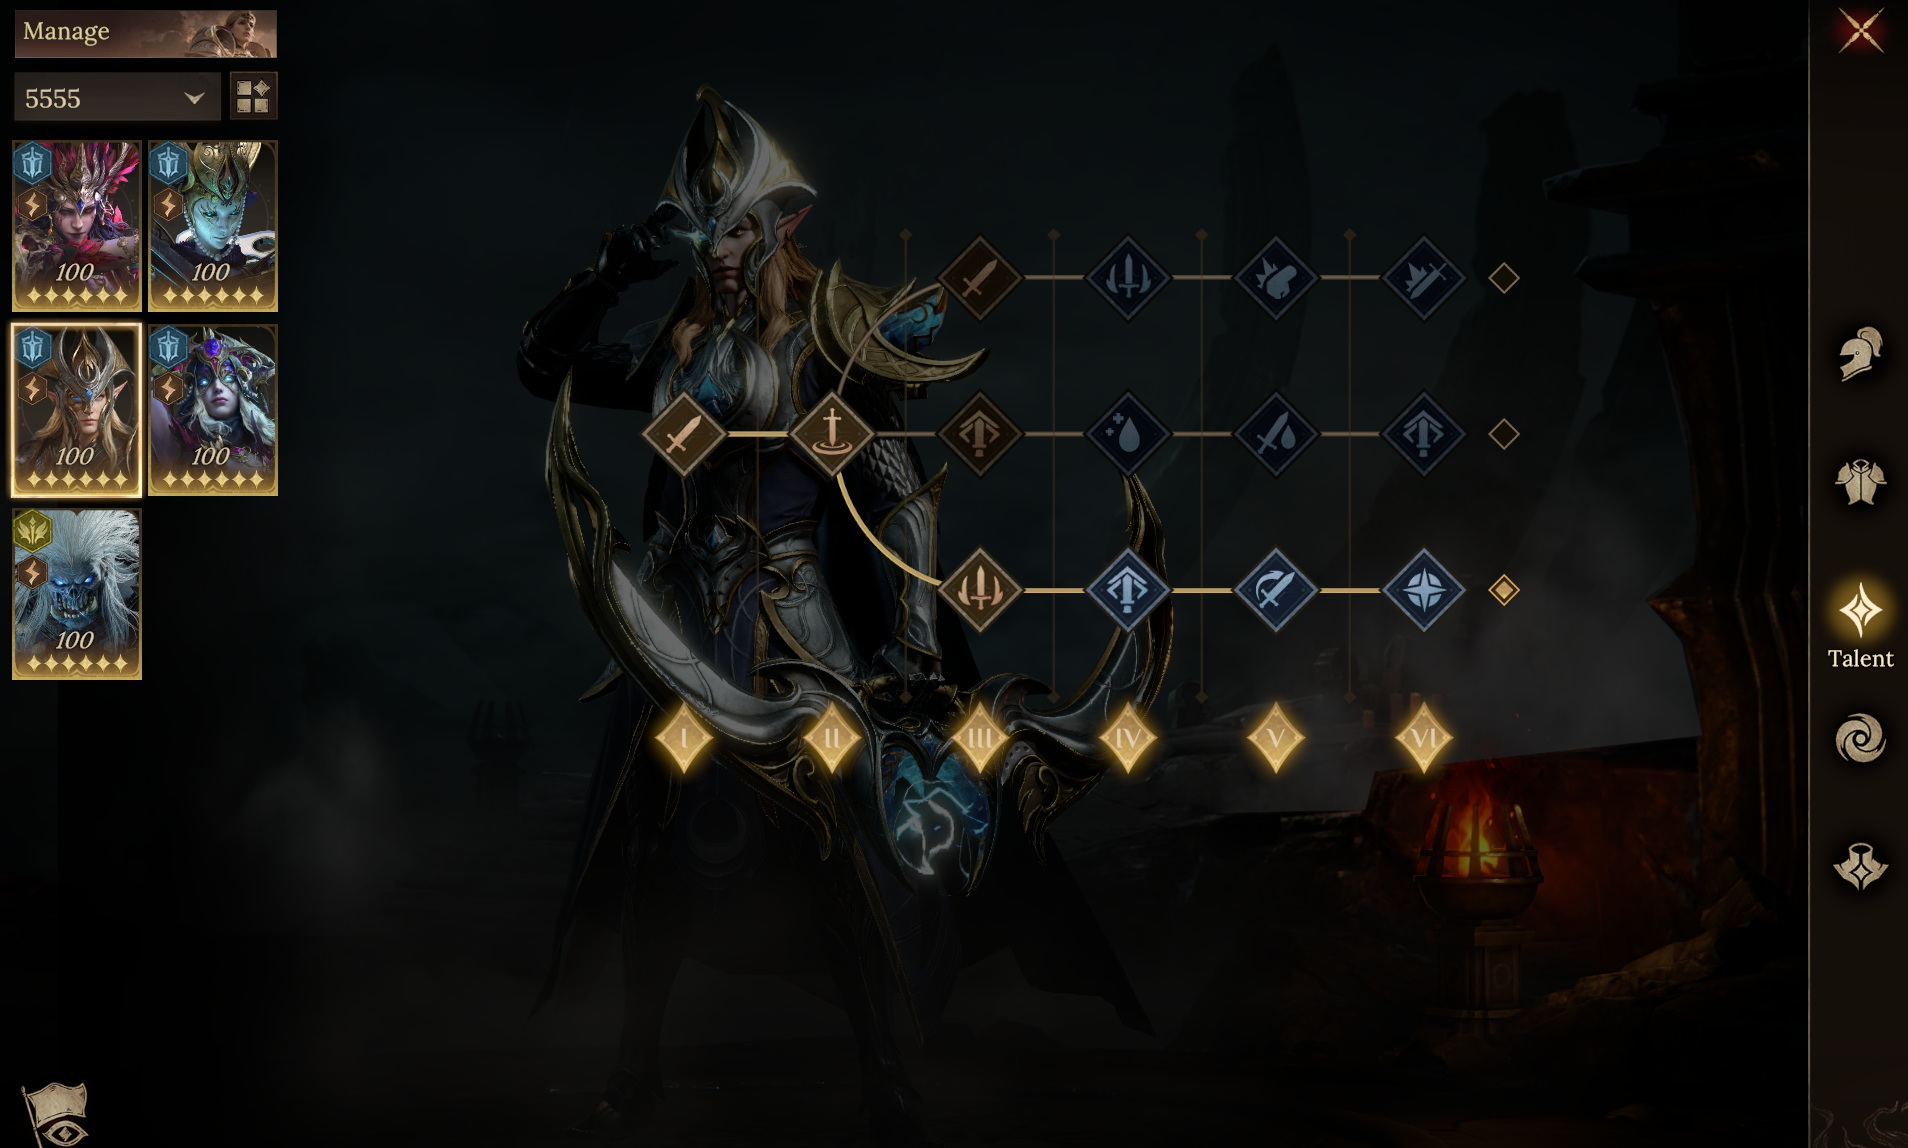
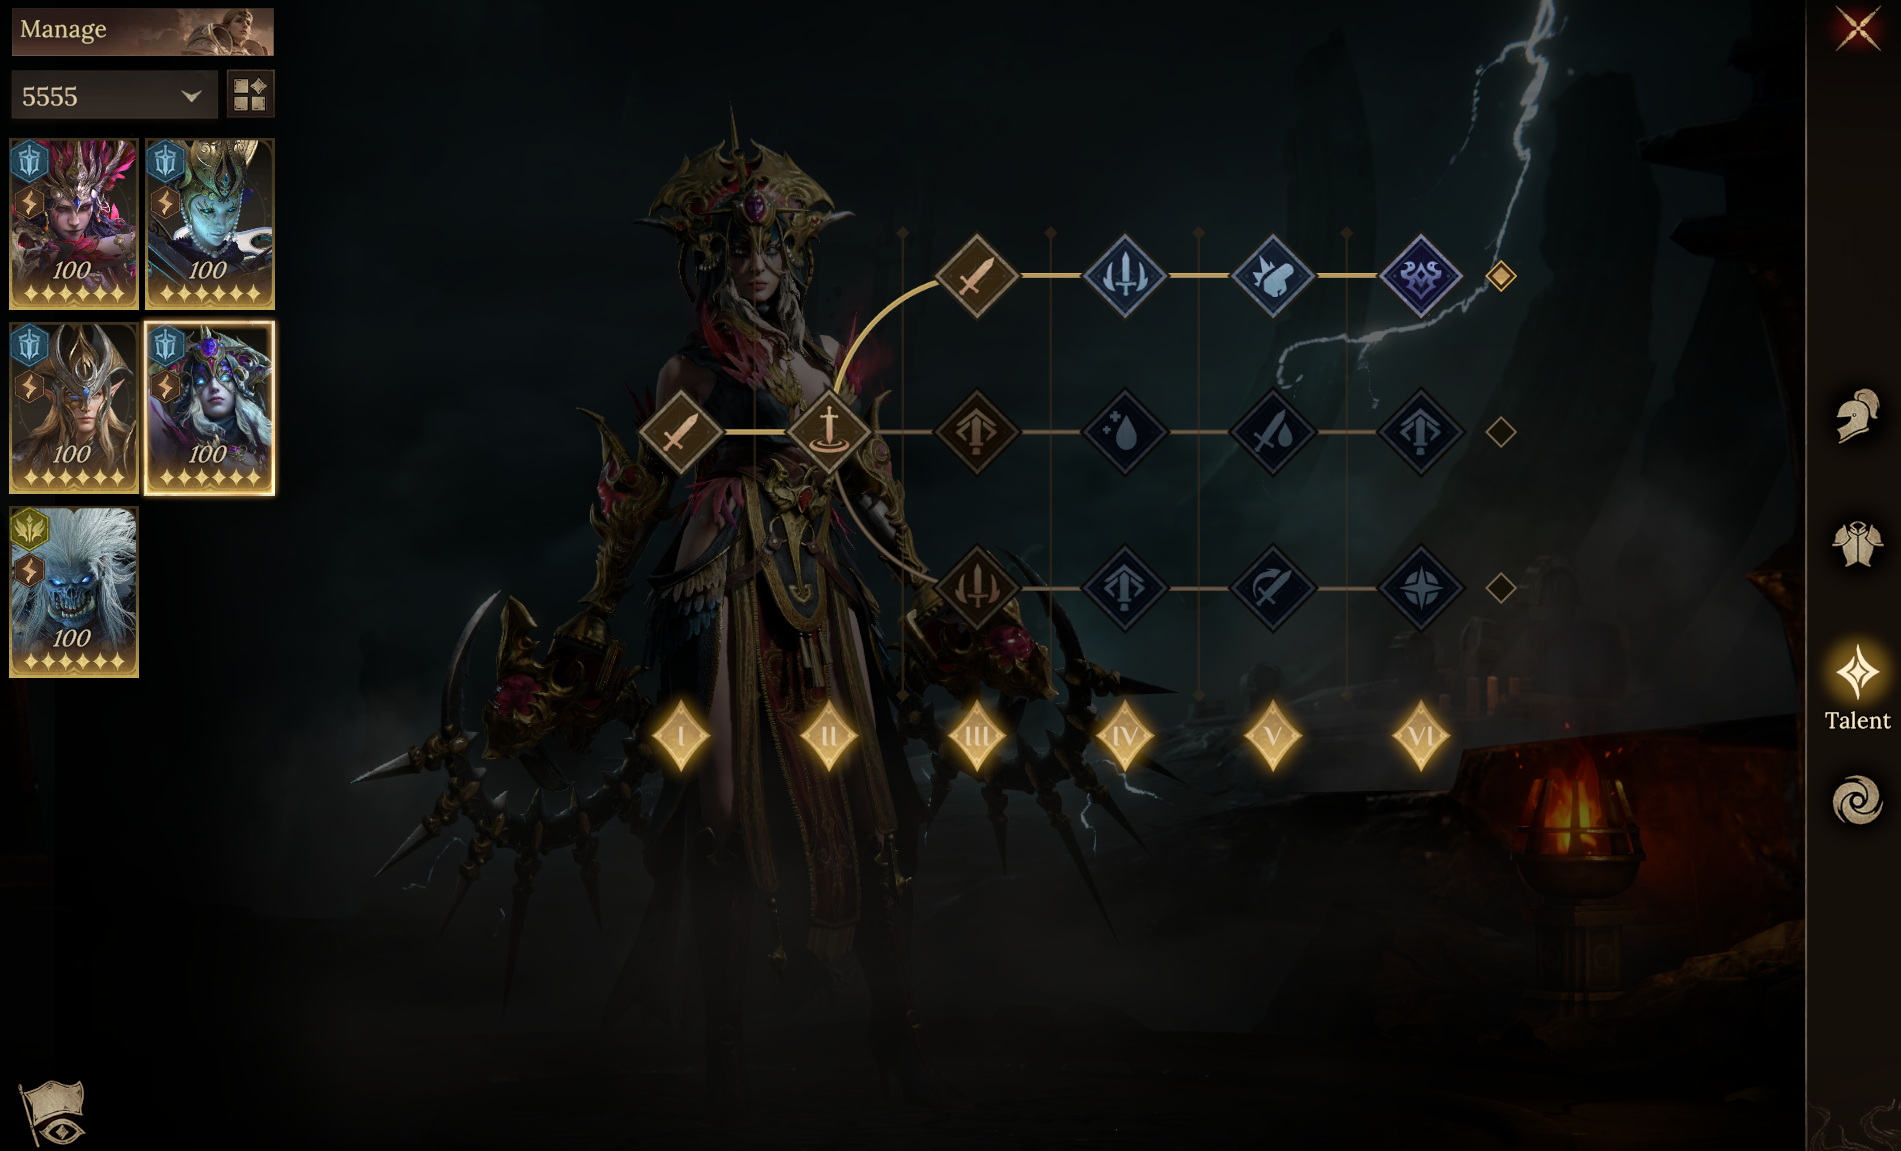
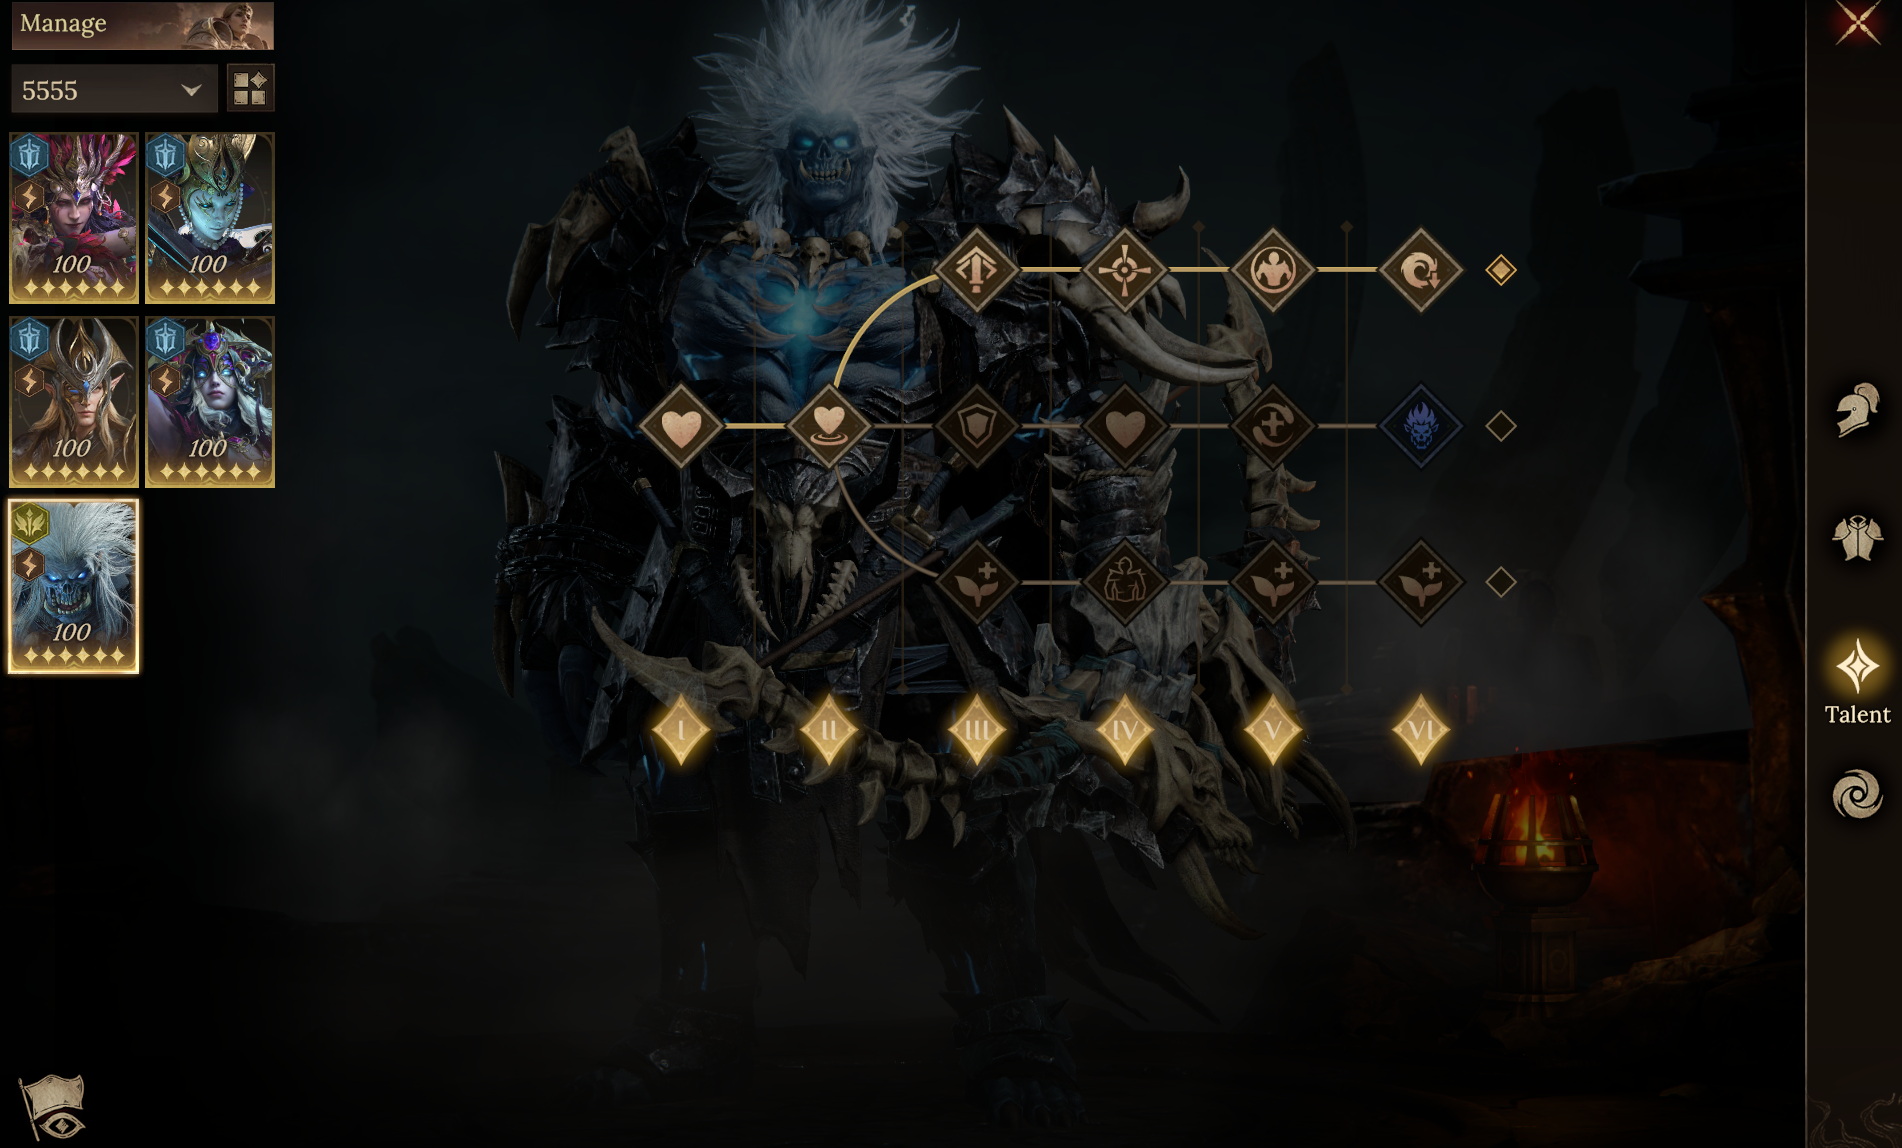
 ● Team Aura / Familiar
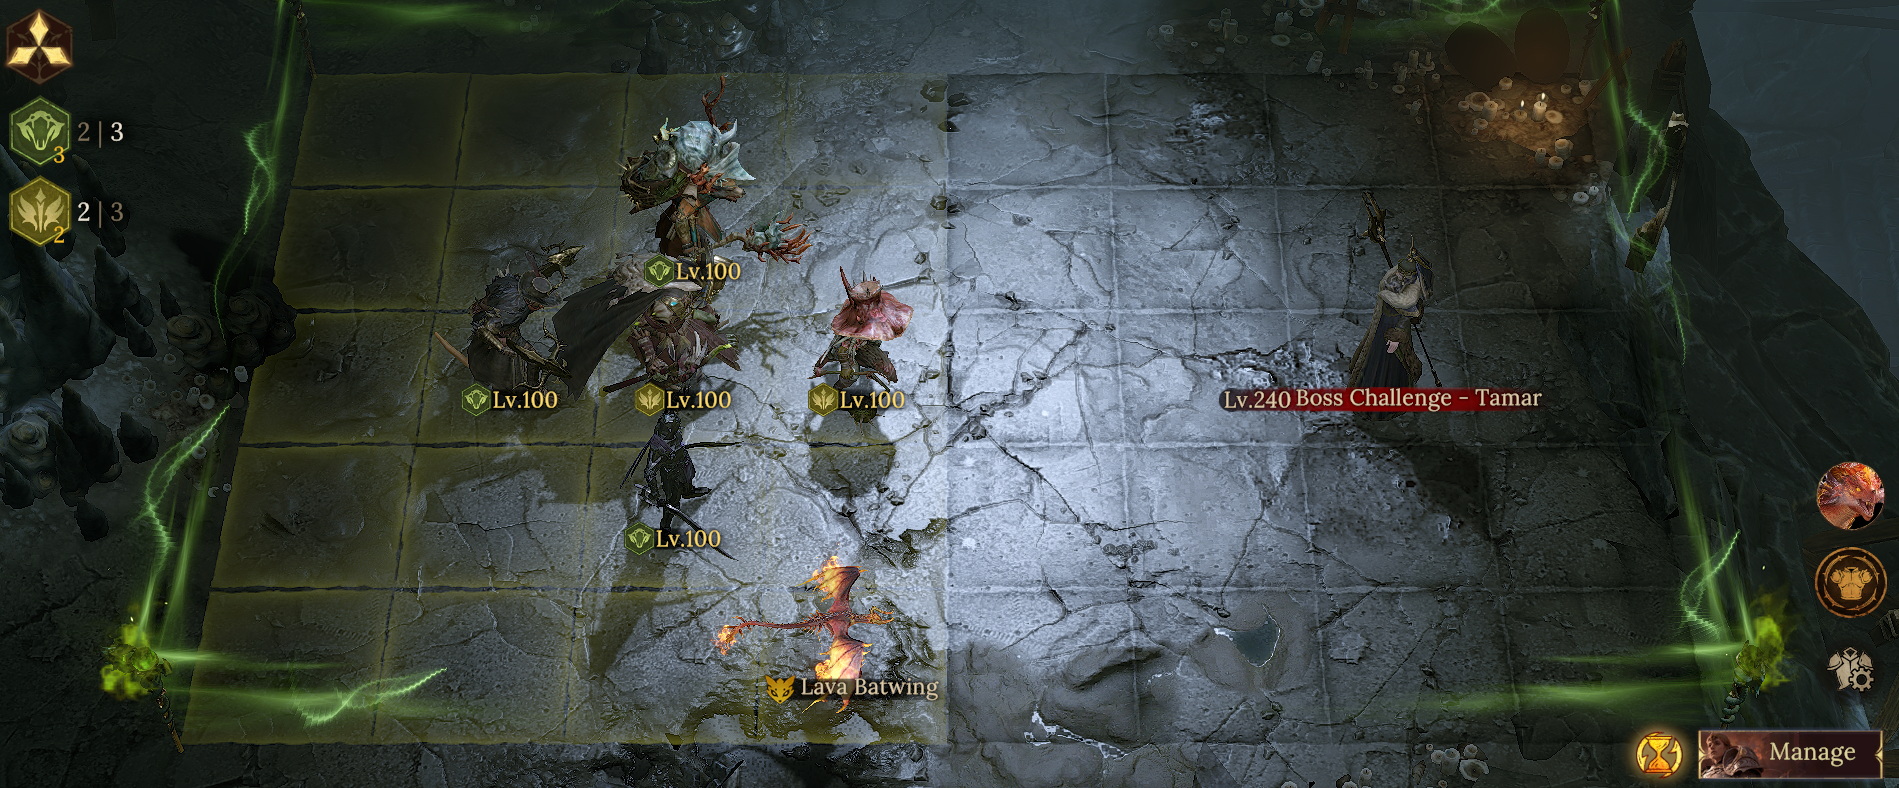
Use Oggok's Resistance Aura to lower your team's stat requirements. For the Familiar, select the Batwing to boost Lothair's damage.
● Skill Timing Guide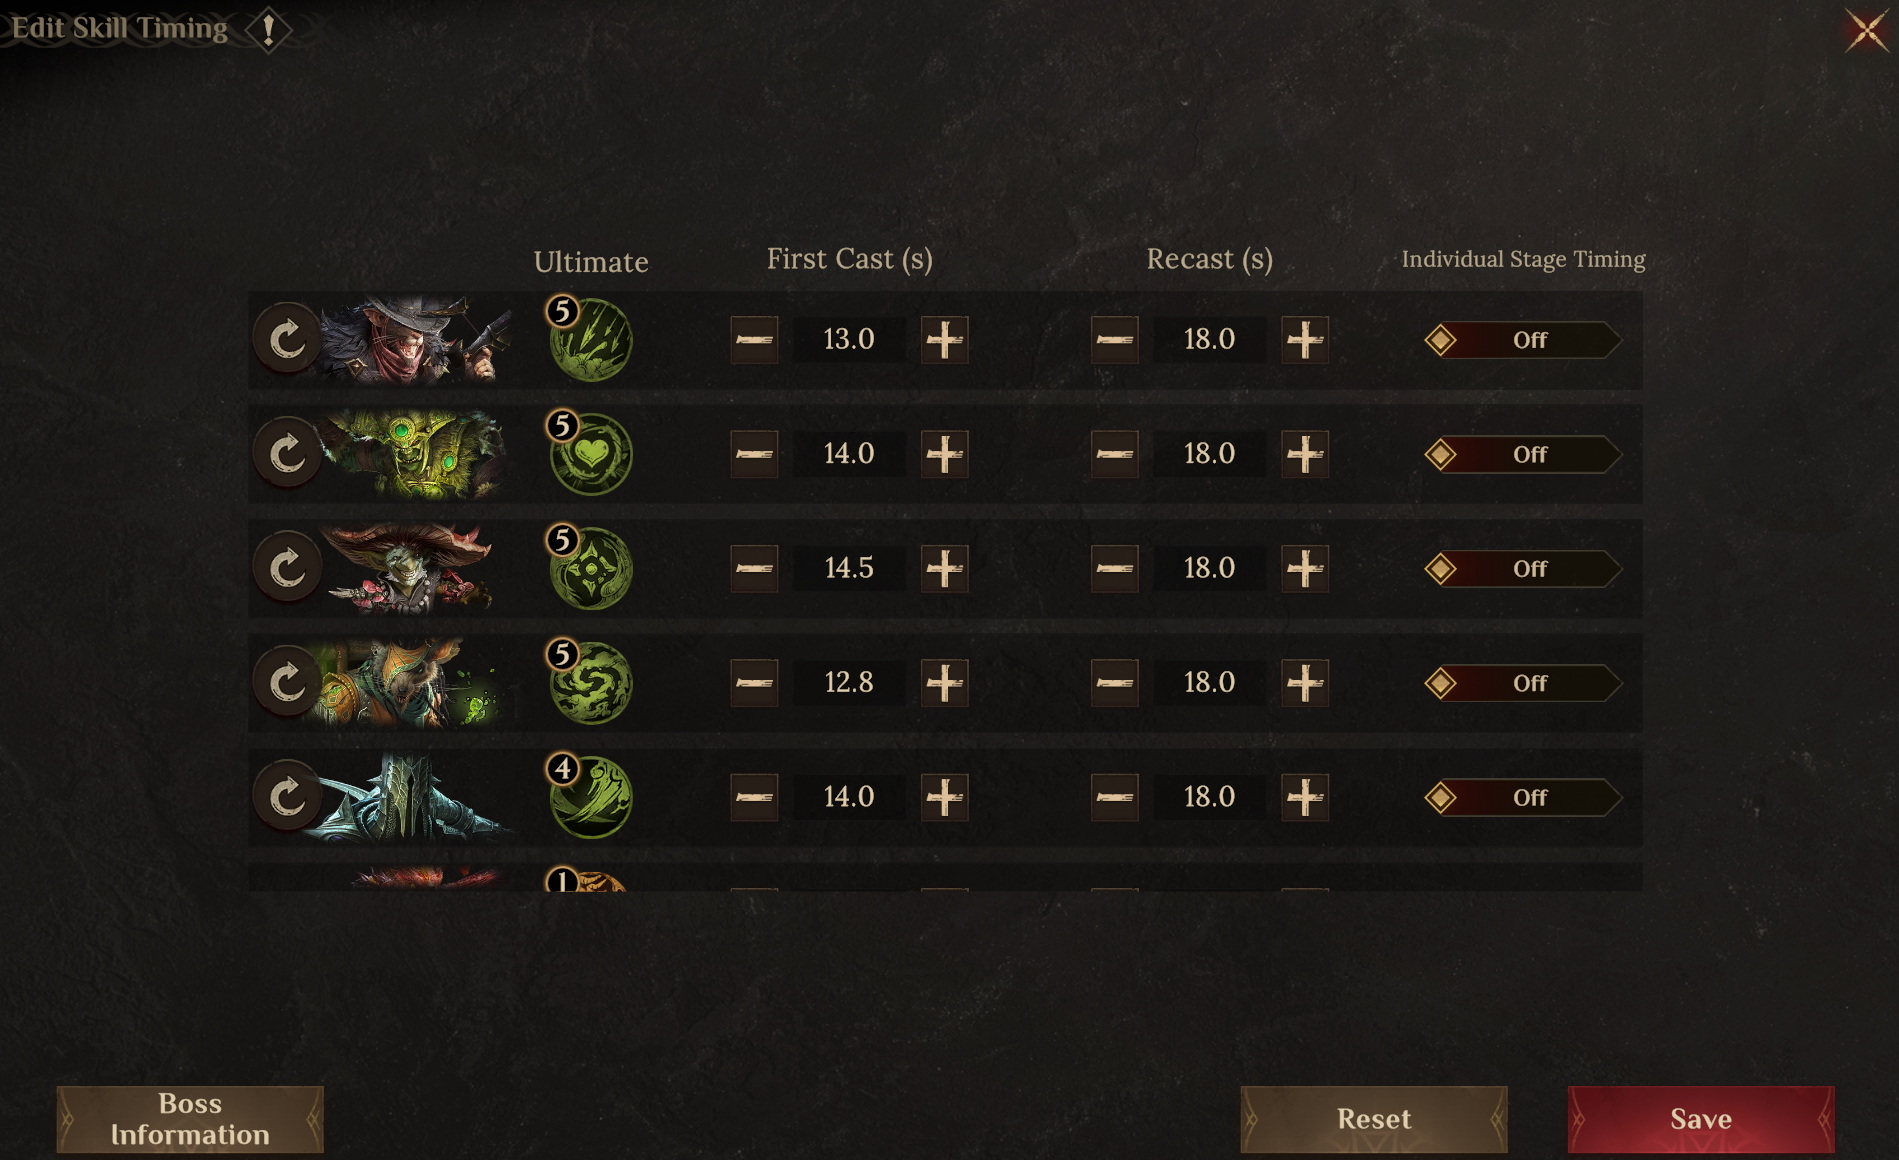 ● Important Notes
1. Ensure Lothair has the highest Enlightenment on your team at the start of the battle to consistently receive the Damage Bonus from the Batwing's mark.
2. If you don't have Oggok, you can replace him with Synarell or another defensive Support hero who can activate the Stand United Talent.
● Hero Substitutions
Talwer, Twitch, Sleight: Accuracy > 260;
Oggok: Resistance > 400; for other stats, prioritize stacking Attack and Enlightenment.
It's also recommended for other heroes to stack 180+ Resistance to reduce the frequency of being influenced by negative effects.
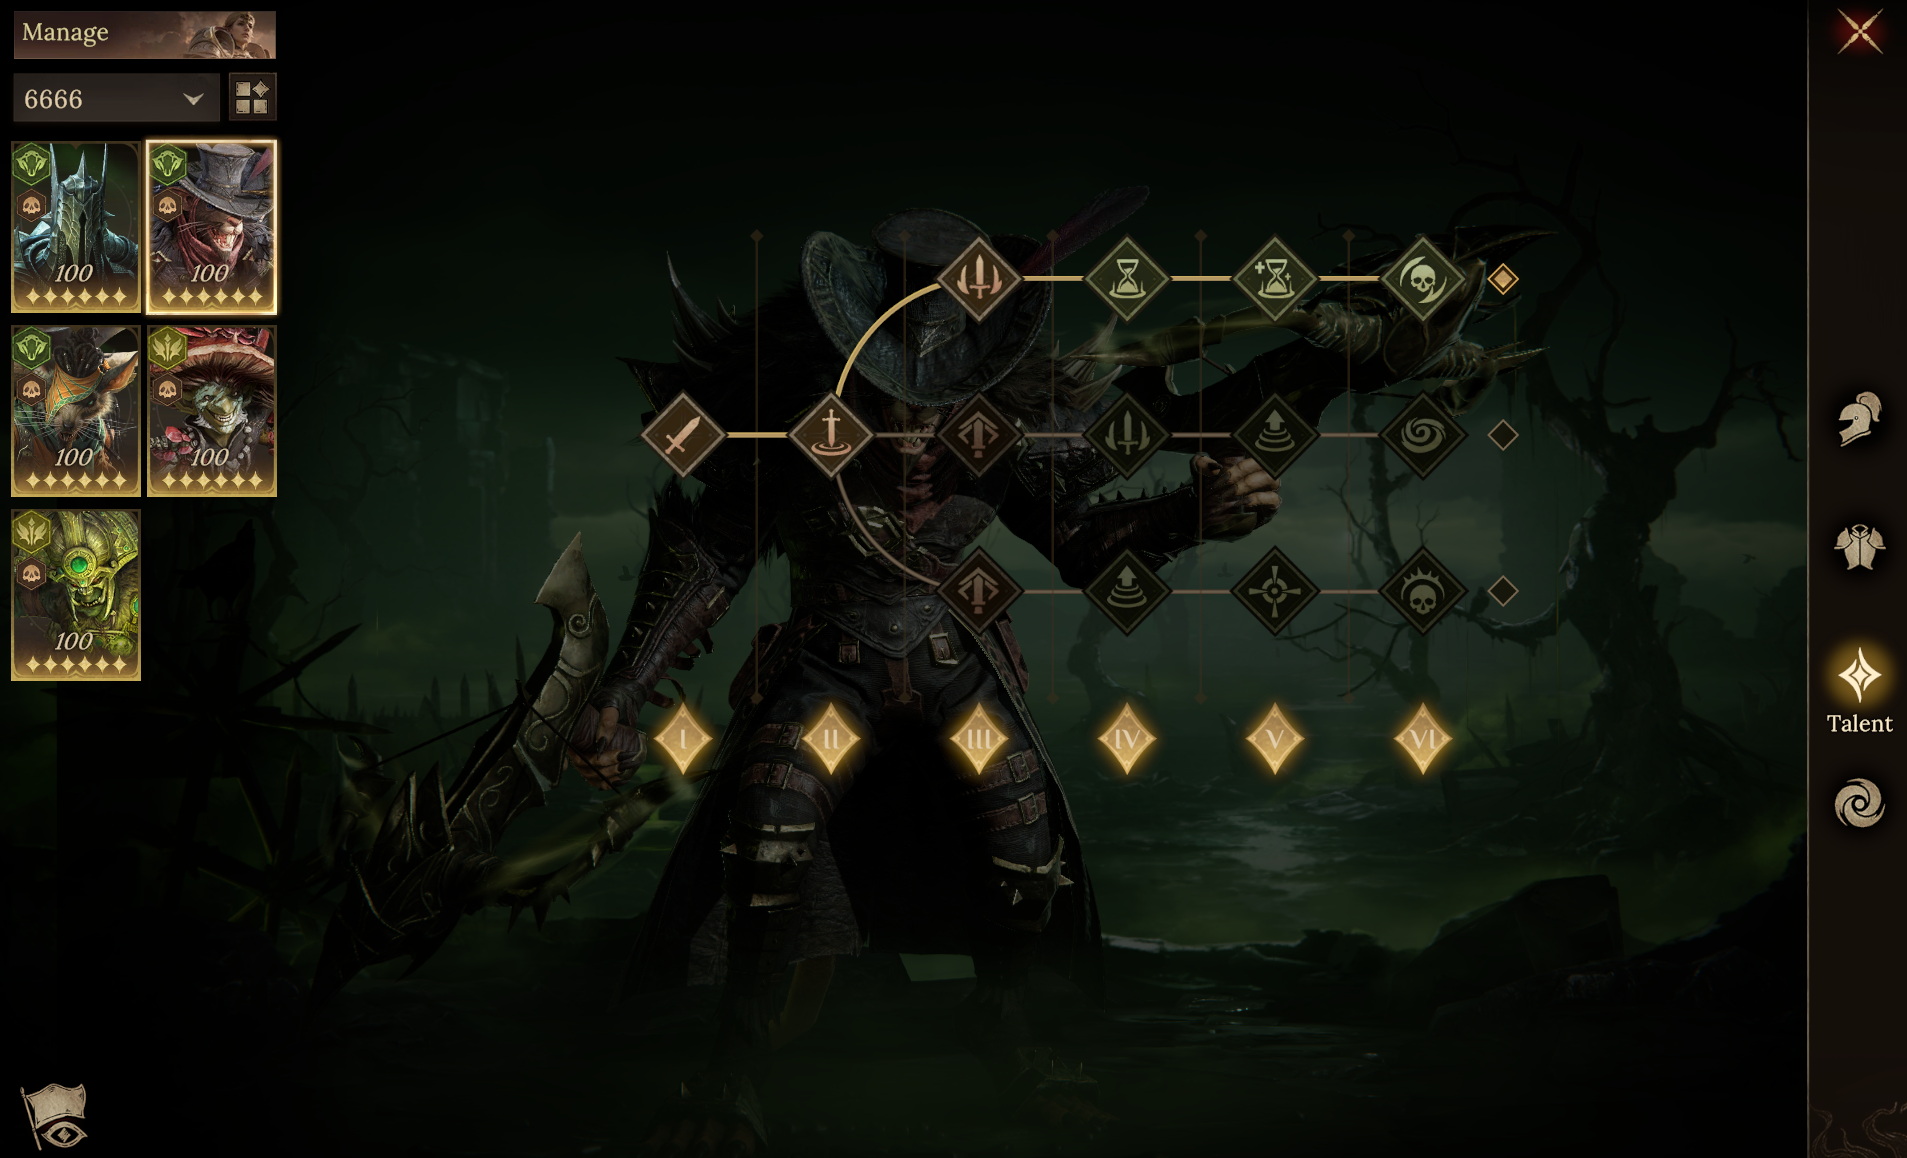
● Gear Reference ● Talent Reference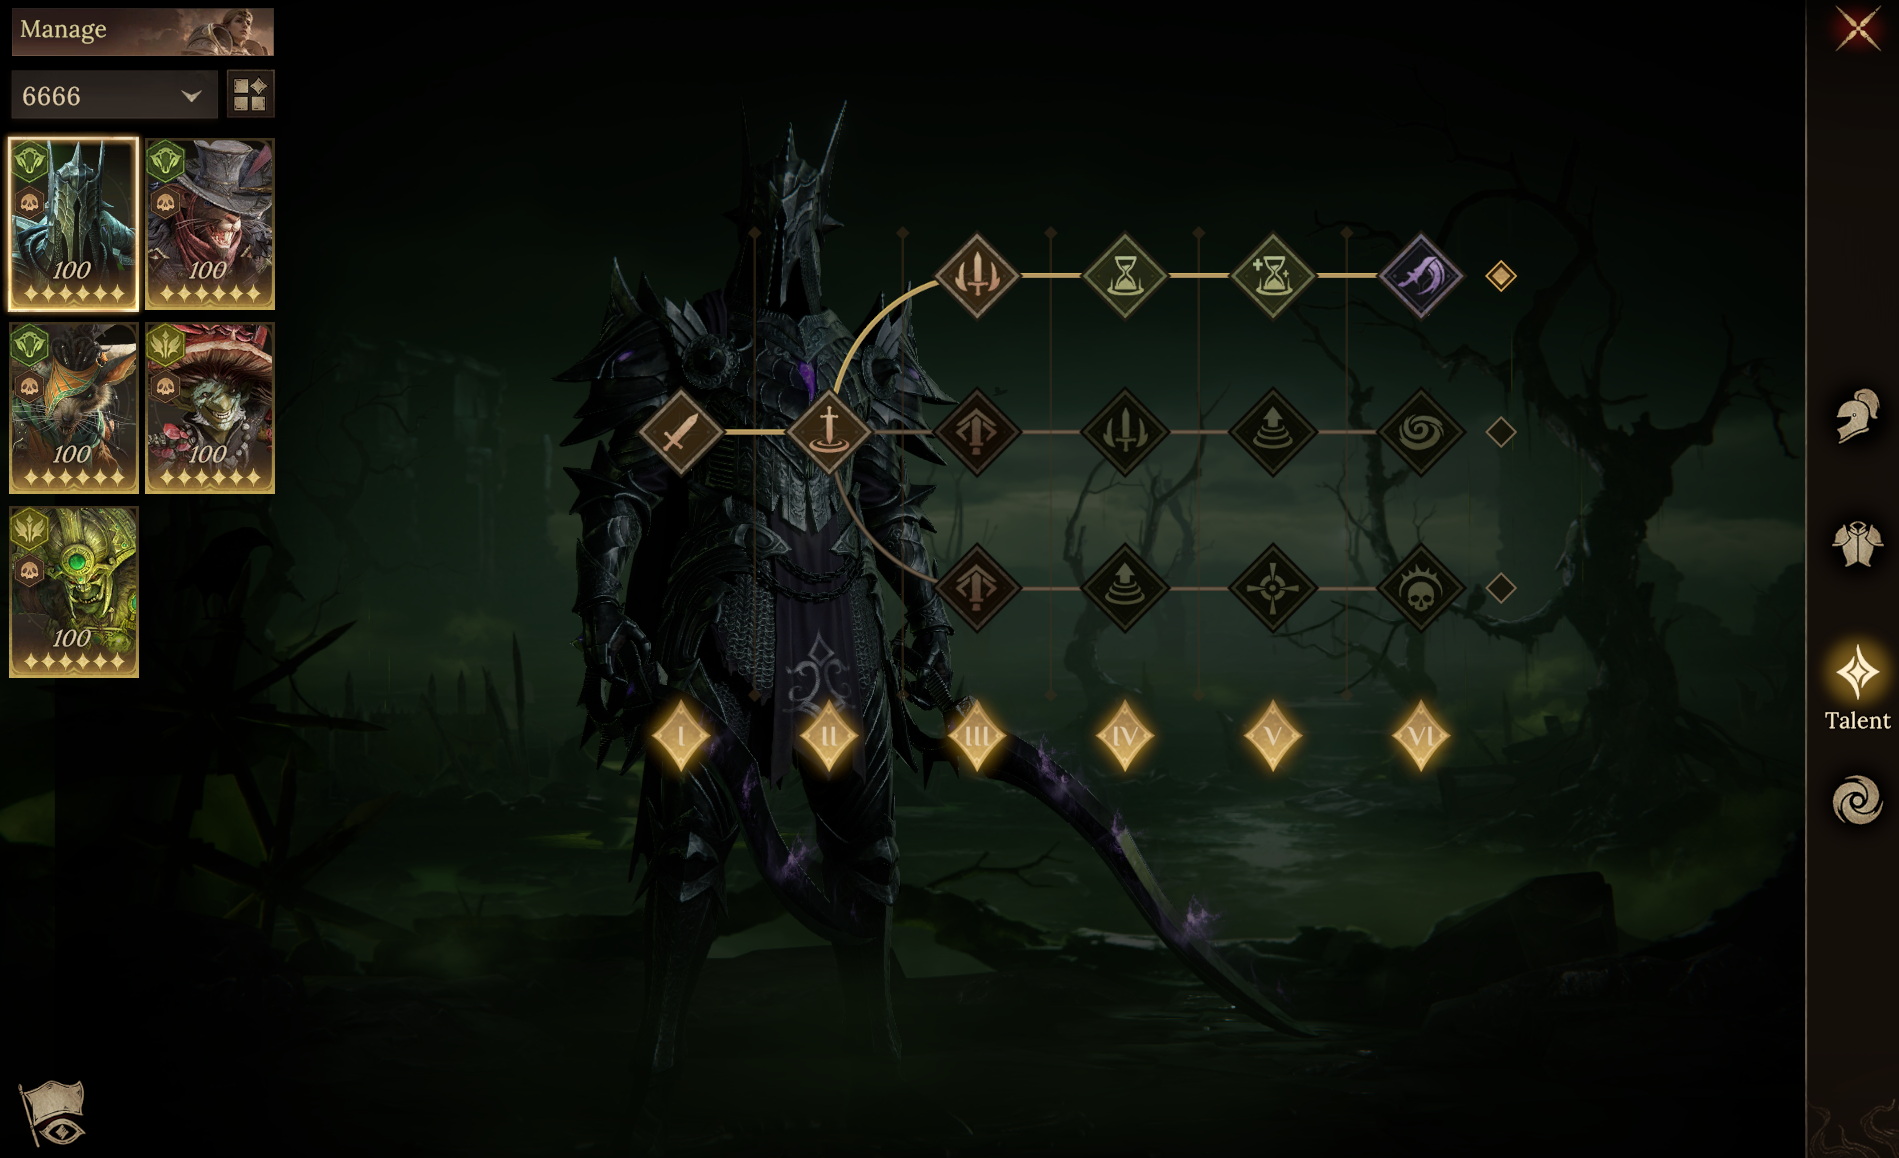
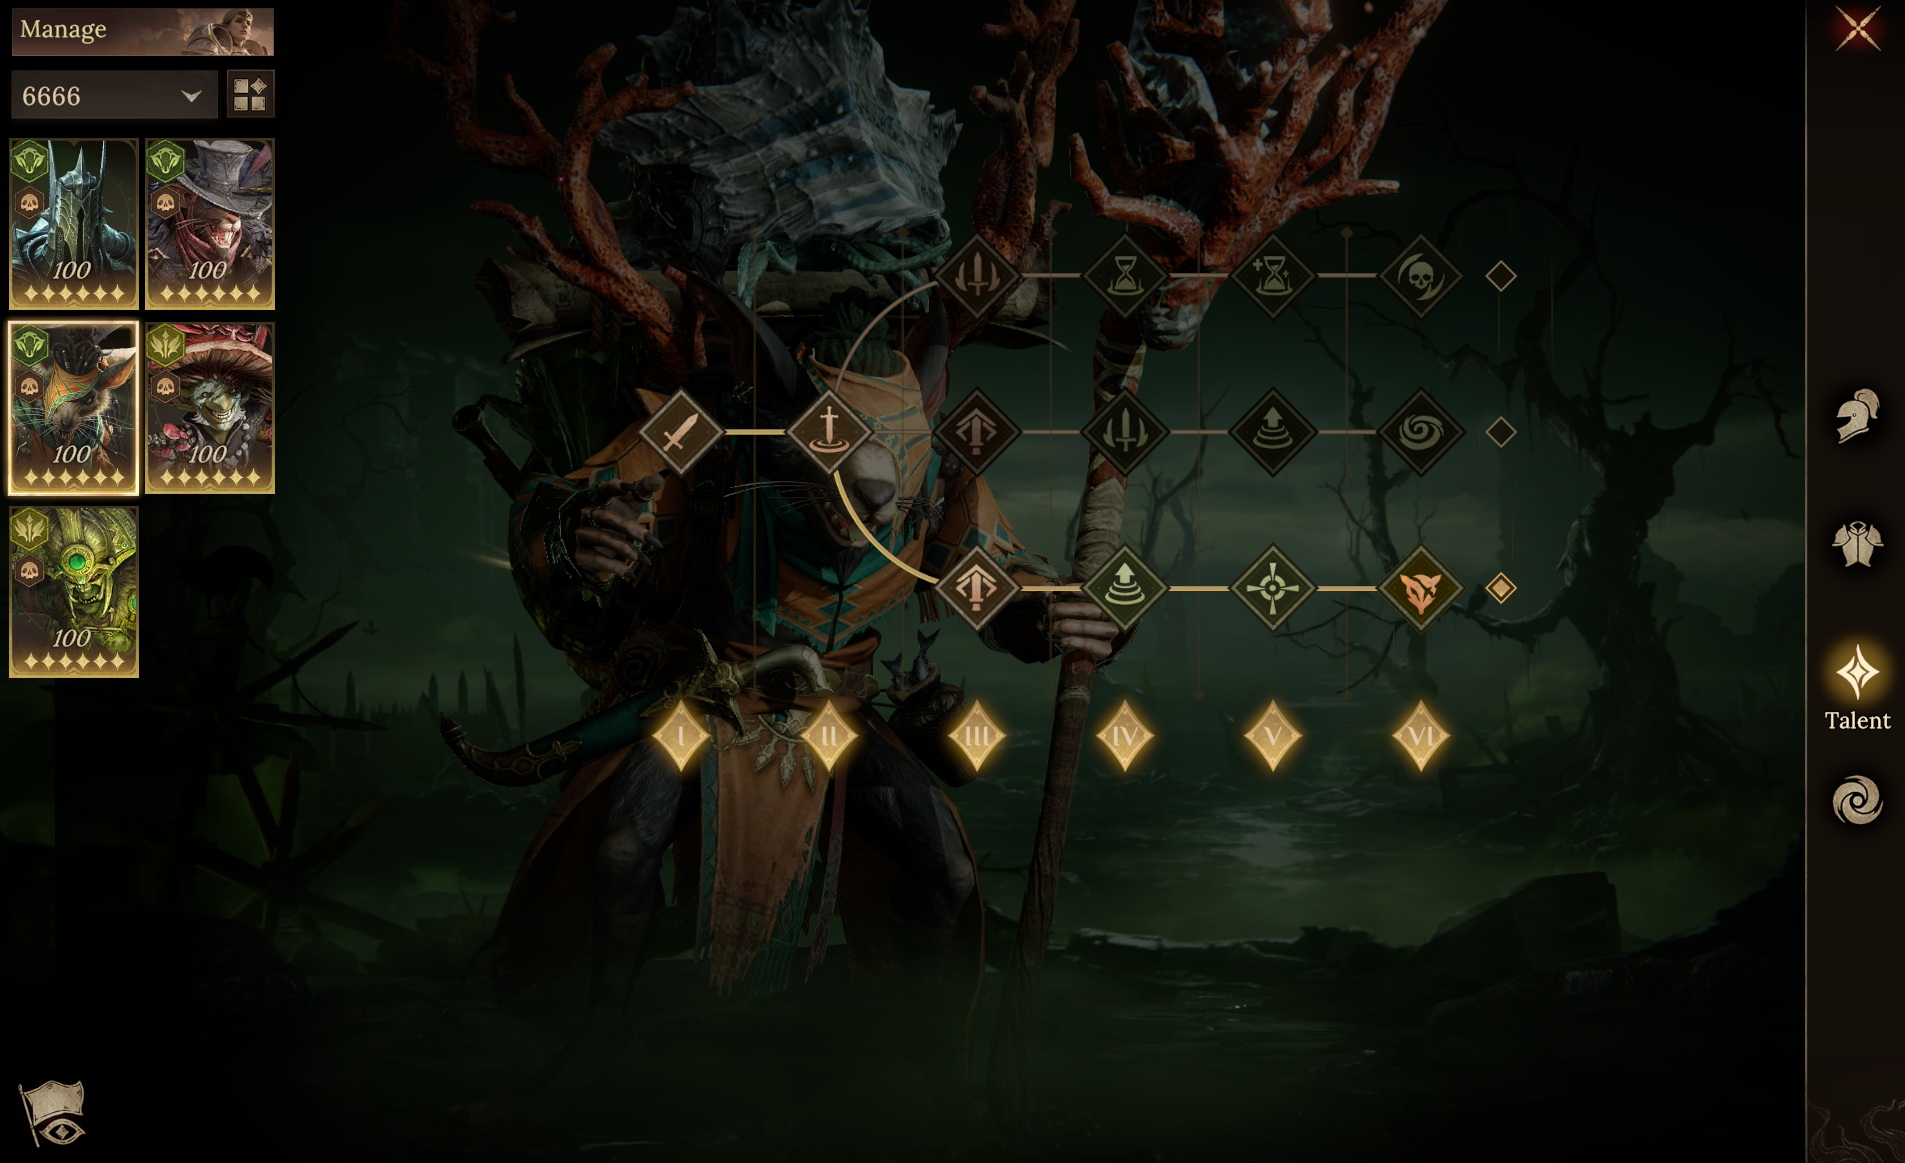
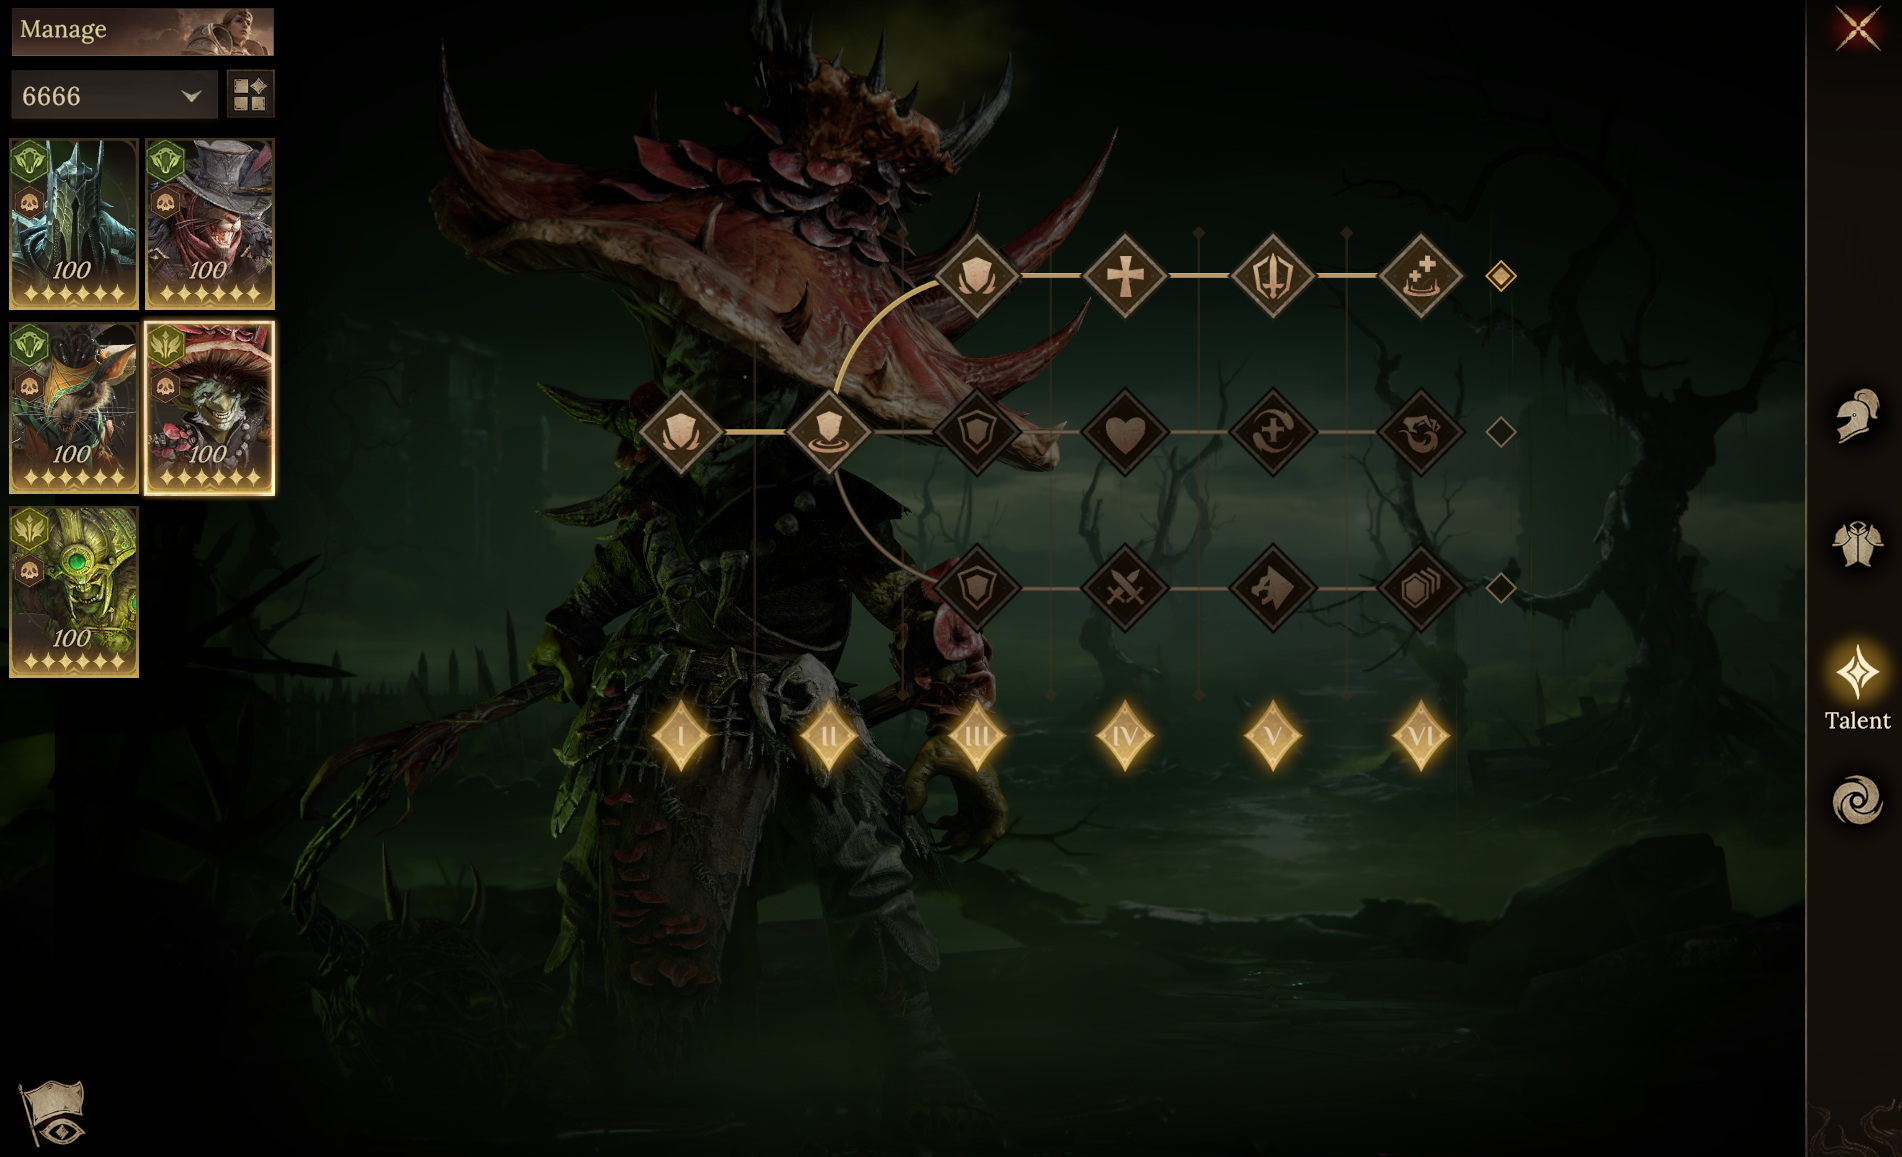
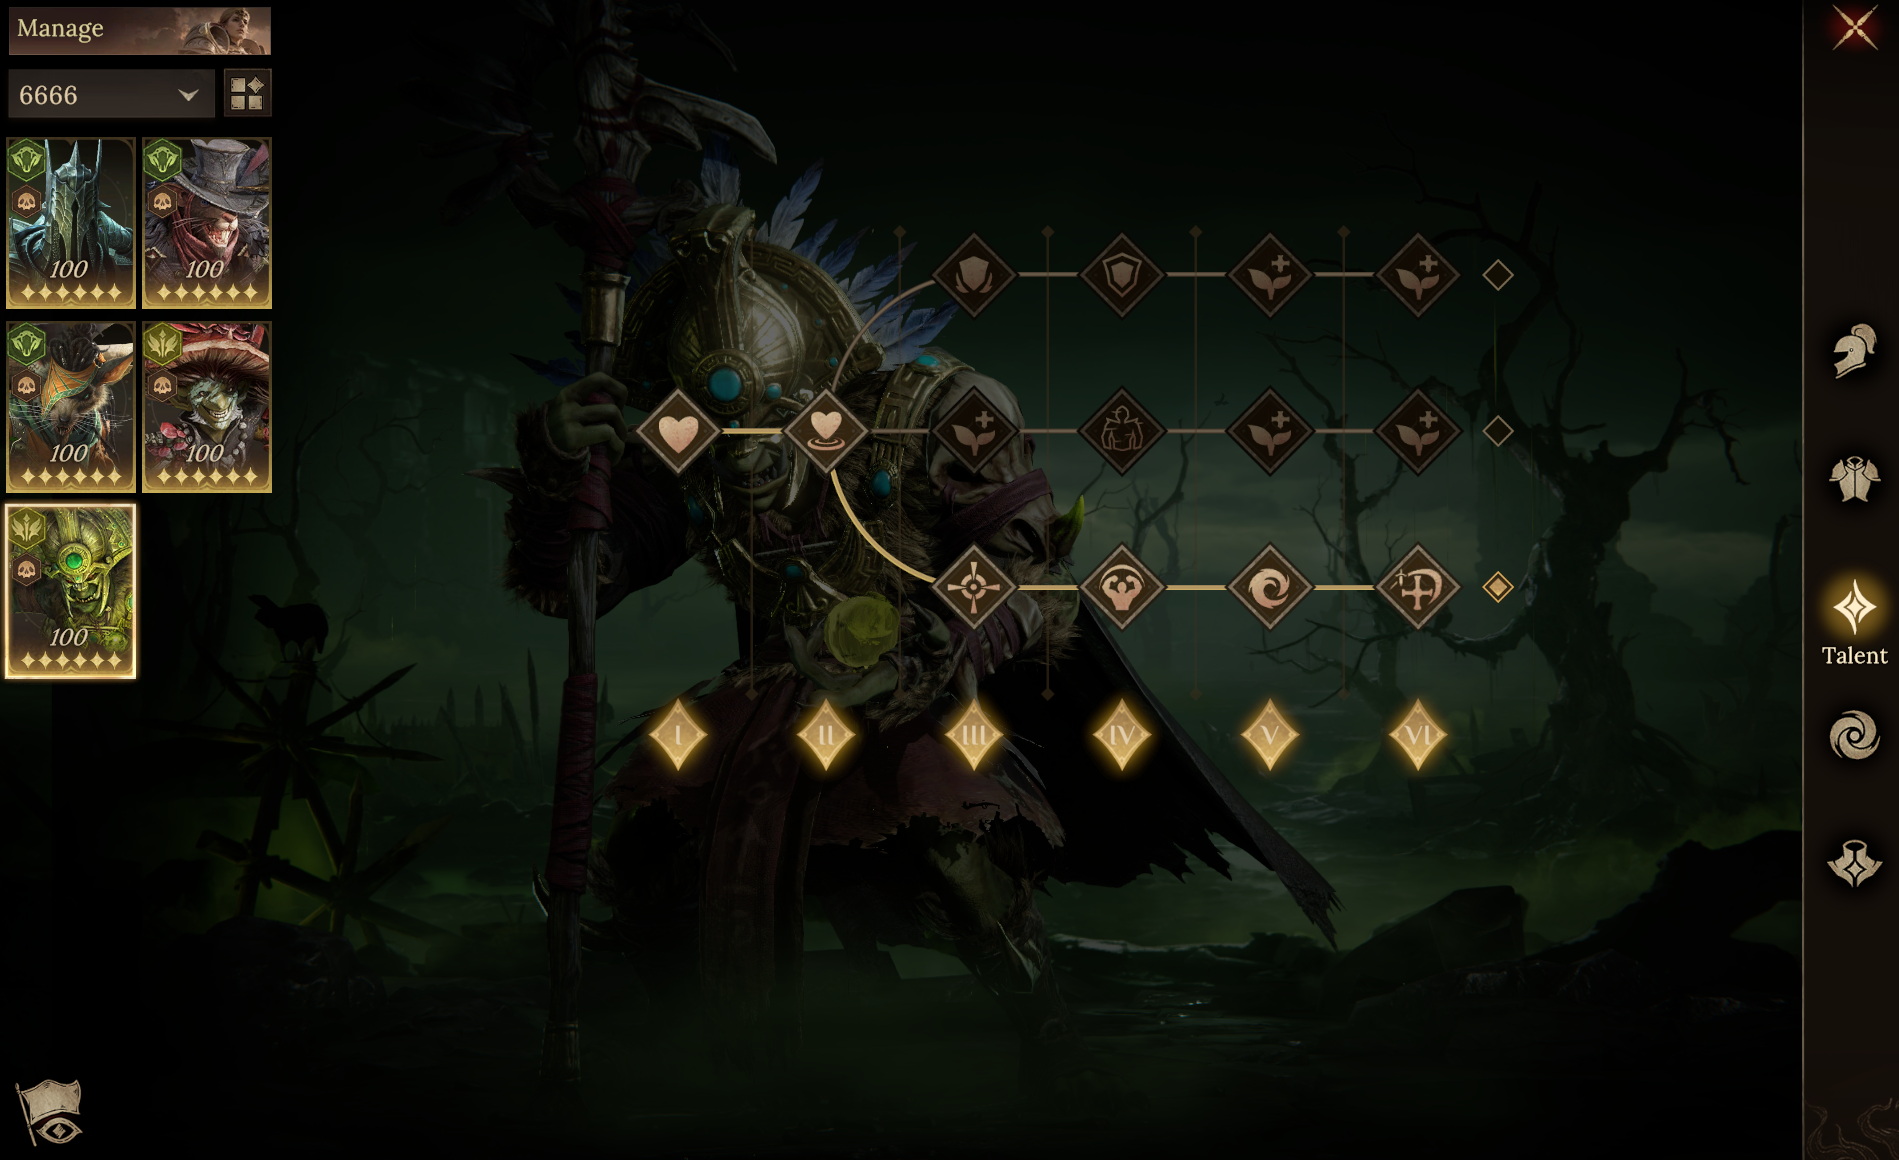
[Thelendor]
Team Composition: Ethyreis + The Dark Lady + Irzillas + Lelwanis + Bernade ● Team Aura / Familiar
Pair Irzillas's Attack Aura with the Tressym Familiar to maximize the team's damage output.
● Skill Timing Guide
1. If you don't have Ethyreis or the Dark Lady, you can use Torrin or Felosia as replacements, but the team's damage output will be lower.
2. The Boss's skills attack random targets, so if Lelwanis dies too early, your total damage will be low. We recommend you try multiple runs until you achieve a satisfactory result.
● Hero Substitutions
 Healing Boosts Attack |  Boosts Damage |  Boosts Damage Off-tank |  Main Damage Dealer |
| Substitutions | |||
 Healing Defense Up |  Boosts Damage |  Off-tank |  Main Damage Dealer |
[Build Reference]
● Key Stat RequirementsThe Dark Lady: Skill Haste > 40 and Accuracy > 260. For other stats, focus on stacking Attack and HP.
For Ethyreis, primarily stack Enlightenment and Skill Haste, then HP and Defense.
Irzillas and Bernade should both focus on stacking HP and Defense.
● Gear Reference
[Vasska]
Team Composition: Talethia + Diantha + Lincos + Anneliesis + Maashtur Pair Diantha's Attack Aura with the Tressym Familiar to maximize the team's damage output.
● Skill Timing Guide
1. Anneliesis also provides Healing. If you don't have this hero, use a 3 Aura + 2 Support composition to ensure the team's survivability. In this scenario, Maashtur can be replaced by any survival-focused Support hero from the Radiant & Lightning affinity.
● Hero Substitutions
 Healing, Shield Inflicts Debuff Grants Buff |  Healing, Shield Dispels Debuffs Boosts Stats |  Main Damage Dealer |  Boosts Damage Restores Aura Energy Secondary Damage Dealer |  Boosts Damage Restores Aura Energy |
| Substitutions | ||||
 Healing Shield Defense Up |  Boosts Damage Restores Aura Energy |  Main Damage Dealer |  Secondary Damage Dealer | 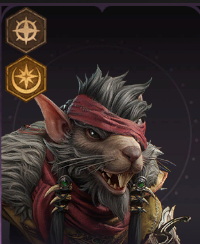 Boosts Damage Restores Aura Energy |
[Build Reference]
● Key Stat RequirementsMaashtur: Skill Haste > 60;
Maashtur, Diantha: Accuracy > 260;
● Gear Reference
[Twitch]
Team Composition: Reytah + Blah Blah + Szecedith + Sacredeia + Rook Pair Rook's Attack Aura with the Tressym Familiar to maximize the team's damage output.
● Skill Timing Guide
1. If you don't have Reytah or Blah Blah, they can be replaced with Calavera, Frurbath, or Oggok. Travelers who don't have Szecedith can use Whisk as a substitute.
2. It is recommended to stack enough Skill Haste on all Corrosion heroes. This allows them to cast an additional ultimate skill within the time limit, increasing their maximum damage output.
● Hero Substitutions
 Shield, Healing Attack Penalty Boosts Damage |  Healing Extends Debuff Dispels Debuffs | 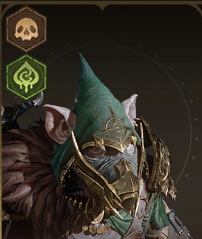 Secondary Damage Dealer Inflicts Corrosion |  Boosts Damage | 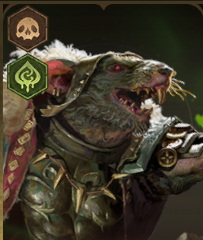 Main Damage Dealer |
| Substitutions | ||||
 Healing Attack Penalty Dispels Debuffs |  Healing Debuff Immunity |  Inflicts Corrosion |  Boosts Damage |  Main Damage Dealer |
[Build Reference]
● Key Stat RequirementsSacredeia, Blah Blah, and Reytah: Accuracy > 260;
For Blah Blah, stack HP as high as possible;
It is also recommended to stack some HP and Defense on Szecedith and Rook;
● Gear Reference
[Vinyara]
Team Composition: Vinyara + Beldelle + Fredegonda + Shinnah + Zhorak Use Beldelle's Attack Aura to maximize the team's damage output, and pair the Mimic Familiar with Vinyara to prevent the boss from using its skills.
● Skill Timing Guide
1. This strategy is centered on using Vinyara to deplete the boss's Ultimate Energy, while the Mimic Familiar inflicts a High-quality Recharging Speed Penalty. This makes it difficult for the boss to use skills, thereby resolving most of the survivability pressure. Therefore, in addition to stacking high Skill Haste on Vinyara, it is also best for the Mimic to have the Flapping Wings Talent, as it also increases Skill Haste.
● Hero Substitutions
 Replenishes Ice Crystals Boosts Damage |  Secondary Damage Dealer Boosts Damage |  Grants Ice Crystal Boosts Damage |  Main Damage Dealer |
| Substitutions | |||
 Grants Ice Crystal Boosts Damage |  Secondary Damage Dealer |  Grants Ice Crystal |  Main Damage Dealer |
[Build Reference]
● Key Stat RequirementsShinnah and Vinyara: Accuracy > 260;
Vinyara: Skill Haste > 160
● Gear Reference
If Vinyara can meet the Skill Haste threshold without a Legendary set, equip her with Brotherhood Spirit. Shinnah can then switch to damage output gear.
[Khrysos]
Team Composition: Irmoush + Nastjenka + Guinavivre + Kurvida + Tharivol Pair Nastjenka's Attack Aura with the Stoneborn Familiar to maximize the team's damage output.
● Skill Timing Guide
1. If you don't have Irmoush, you can use Acilia as a replacement, but ensure she has >60 Skill Haste.
2. Dauntless heroes are quite flexible for substitutions. However, if using Ivellios, it's recommended to stack some HP and Defense on him.
● Hero Substitutions
 Healing, Shield Dispels Negative Effects Attack Penalty |  Reduces Enemy Damage Boosts Damage |  Secondary Damage Dealer Attack Speed Up |  Secondary Damage Dealer High-Frequency Basic Attack |  Main Damage Dealer Combo Attack |
| Substitutions | ||||
 Healing, Shield Dispels Shield Defense Up |  Secondary Damage Dealer |  Attack Speed Up |  Secondary Damage Dealer High-Frequency Basic Attack |  Main Damage Dealer Combo Attack |
[Build Reference]
● Key Stat RequirementsIrmoush and Kurvida require >260 Accuracy. For Irmoush's other stats, prioritize stacking Defense and HP.
Tharivol requires ≥100% Crit Rate and >260 Accuracy.
Since Dauntless heroes rely on basic attacks for most of their damage, it's recommended to maximize their Attack Speed through Rune sub-stats.
● Gear Reference
[Tamar]
Team Composition: Talwer + Oggok + Twitch + Sleight + Lothair Use Oggok's Resistance Aura to lower your team's stat requirements. For the Familiar, select the Batwing to boost Lothair's damage.
● Skill Timing Guide
1. Ensure Lothair has the highest Enlightenment on your team at the start of the battle to consistently receive the Damage Bonus from the Batwing's mark.
2. If you don't have Oggok, you can replace him with Synarell or another defensive Support hero who can activate the Stand United Talent.
● Hero Substitutions
 Attack Penalty Accuracy Penalty Duplicates Debuffs |  Healing, Immortality Dispels Debuffs |  Inflicts Toxin |  Secondary Damage Dealer |  Main Damage Dealer |
| Substitutions | ||||
 Healing Attack Penalty Dispels Debuffs |  Healing Debuff Immunity |  Inflicts Toxin |  Secondary Damage Dealer |  Main Damage Dealer |
[Build Reference]
● Key Stat RequirementsTalwer, Twitch, Sleight: Accuracy > 260;
Oggok: Resistance > 400; for other stats, prioritize stacking Attack and Enlightenment.
It's also recommended for other heroes to stack 180+ Resistance to reduce the frequency of being influenced by negative effects.
● Gear Reference
© 2023 www.dragonheir.info Inc.All Rights Reserved.